You may be creating a personalized gift for a friend or making an old piece of wood new with an eye-catching design. To create a flawless picture, you'll want to transfer your image or lettering using a stencil. Is this your first stencil transfer? You're in luck! We have researched to create a step-by-step guide on how to transfer a stencil to your wood piece. We will lay out what materials you will need and talk through different stencil transfer methods.
The steps to transferring your stencil to wood go as follows:
- Print your design
- Shade back of design paper
- Trace your design using a ballpoint pen
- Reveal your design
- Use a marker or paint to complete your design
Now that you have the basic steps for transferring a stencil, let's take a closer look at this process's details. Read on as break down the steps and give you insight on which paint is best for this project.
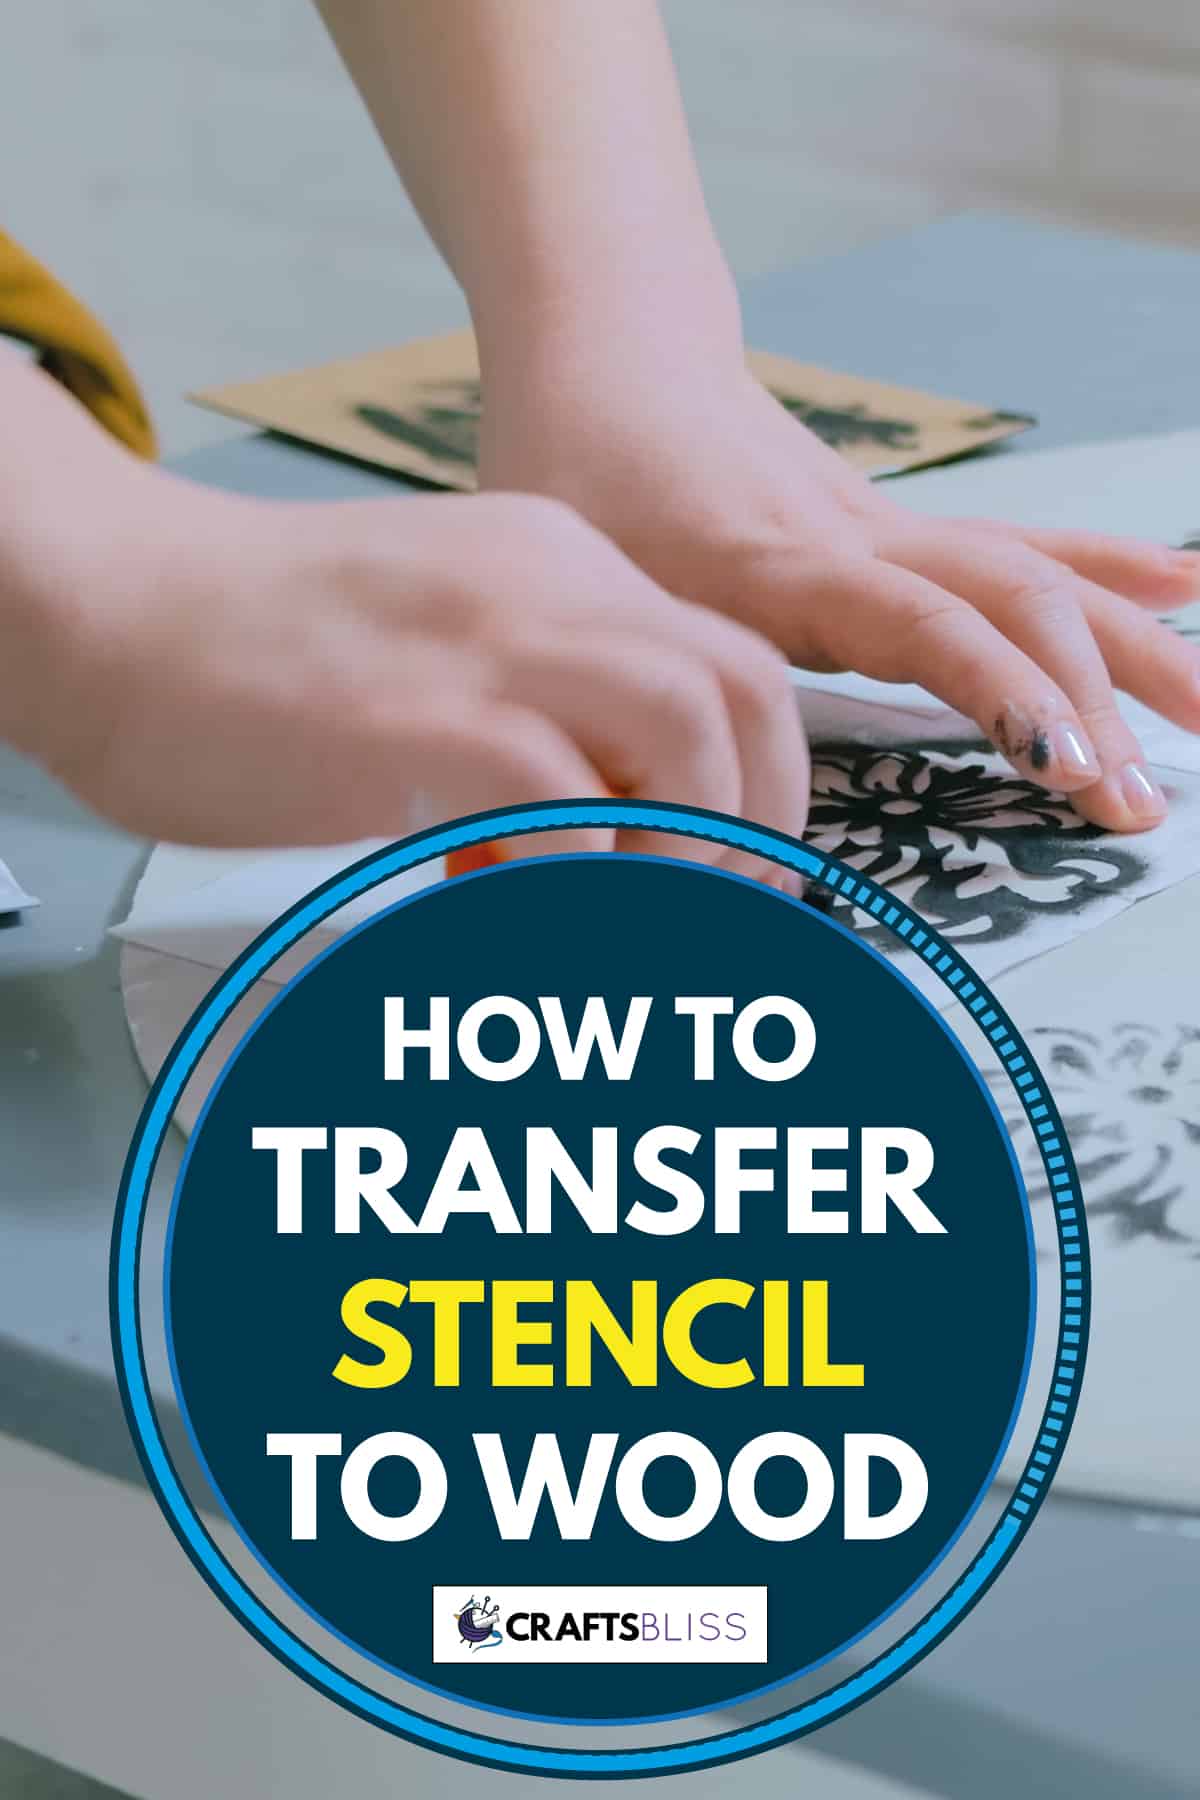
How To Transfer A Stencil To Wood
Transferring a stencil to wood is an easy process that will leave you with a smooth design. There are a few methods to choose from when it comes to transferring. We will focus on the method that requires the least materials first.
1. Print your design
The first step in any project is choosing a design to work with. You can create a personally styled picture or use a pre-made one. The design will need to be printed on paper at the appropriate size to fit your piece of wood. With your printed design, begin to cut away any excess white paper to create the perfect fit.
2. Shade back of design paper
Once you are happy with your design and have your paper cut and prepped, turn it over so the blank side faces you. Using a pencil or chalk, begin to shade heavily over this blank side of the paper.
If the design can be seen through the paper, focus on shading over only those areas. With thicker paper, you may not be able to see your design through the material - that is okay. You can shade the entirety of the blank side of the paper.
3. Trace your design using a ballpoint pen
With the shading complete, place your printed design on your wood with the shaded side down. You can secure the paper to your wood using masking tape.
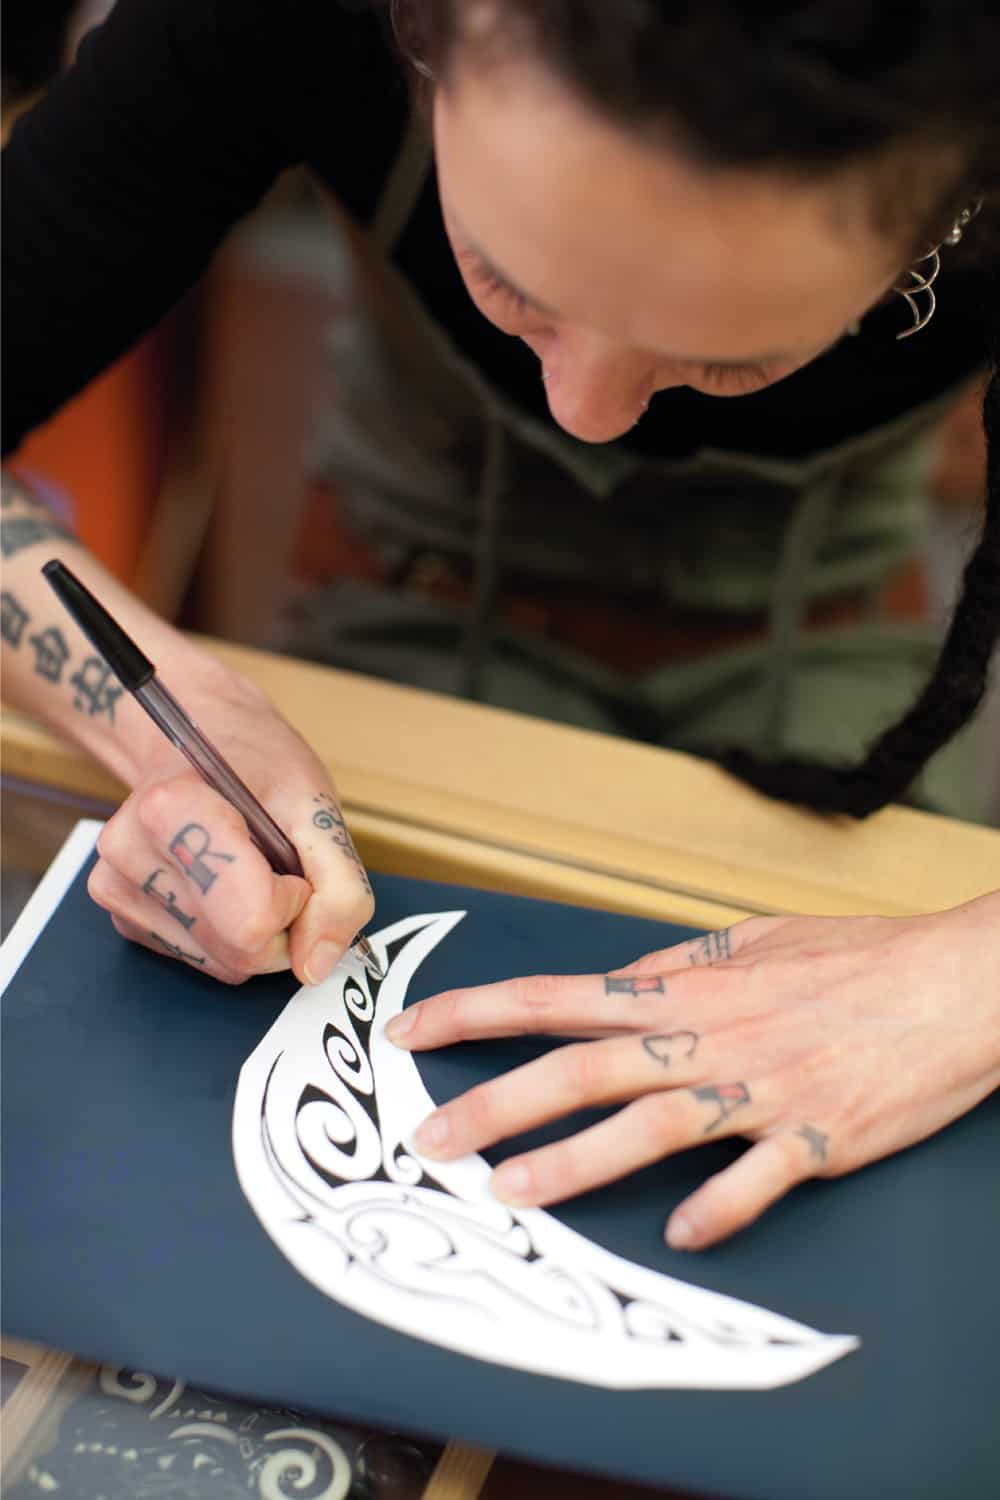
Use a ballpoint pen to trace over your picture. You can do this a few times to ensure the lines are complete.
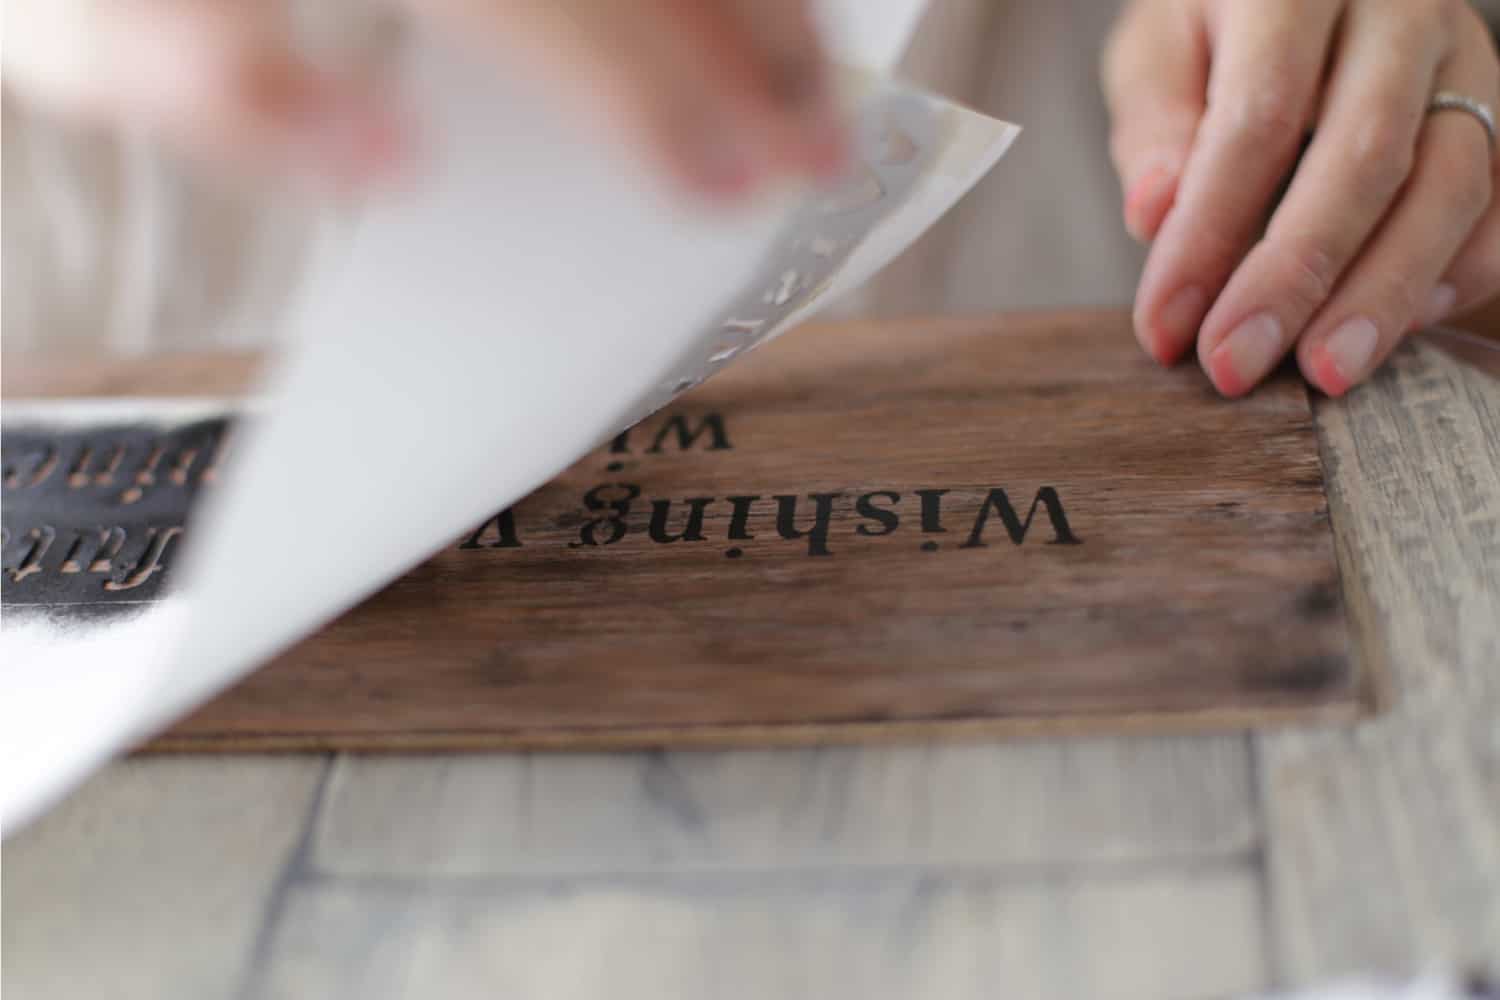
4. Reveal your design
The rewarding part of this process is revealing your design. Remove the masking tape from your paper and lift the paper off your wood. Beneath should be a neat stencil.
5. Use a marker or paint to complete your design
Complete your stencil transfer by tracing over your outline with a paint marker. You can use a permanent marker or a paintbrush to fill in the lines of your stencil. Which tool you use will depend on how small or intricate your design is.

Amazon offers a 12-pack of paint markers here.
Using these steps, you should have a design that is ready to be painted or further decorated. This is one simple method of stencil transfer. Other methods include using wax paper or utilizing transfer paper.
Fill-In Stencil Transfer
We talked about traced stencils, but what about stencils you fill-in? Fill-in stencils are best for transferring words or simple designs onto wood. You can buy these stencils or create your own.
For fill-in stencils, you will follow these steps:
- Prep your wood surface
- Stabilize stencil
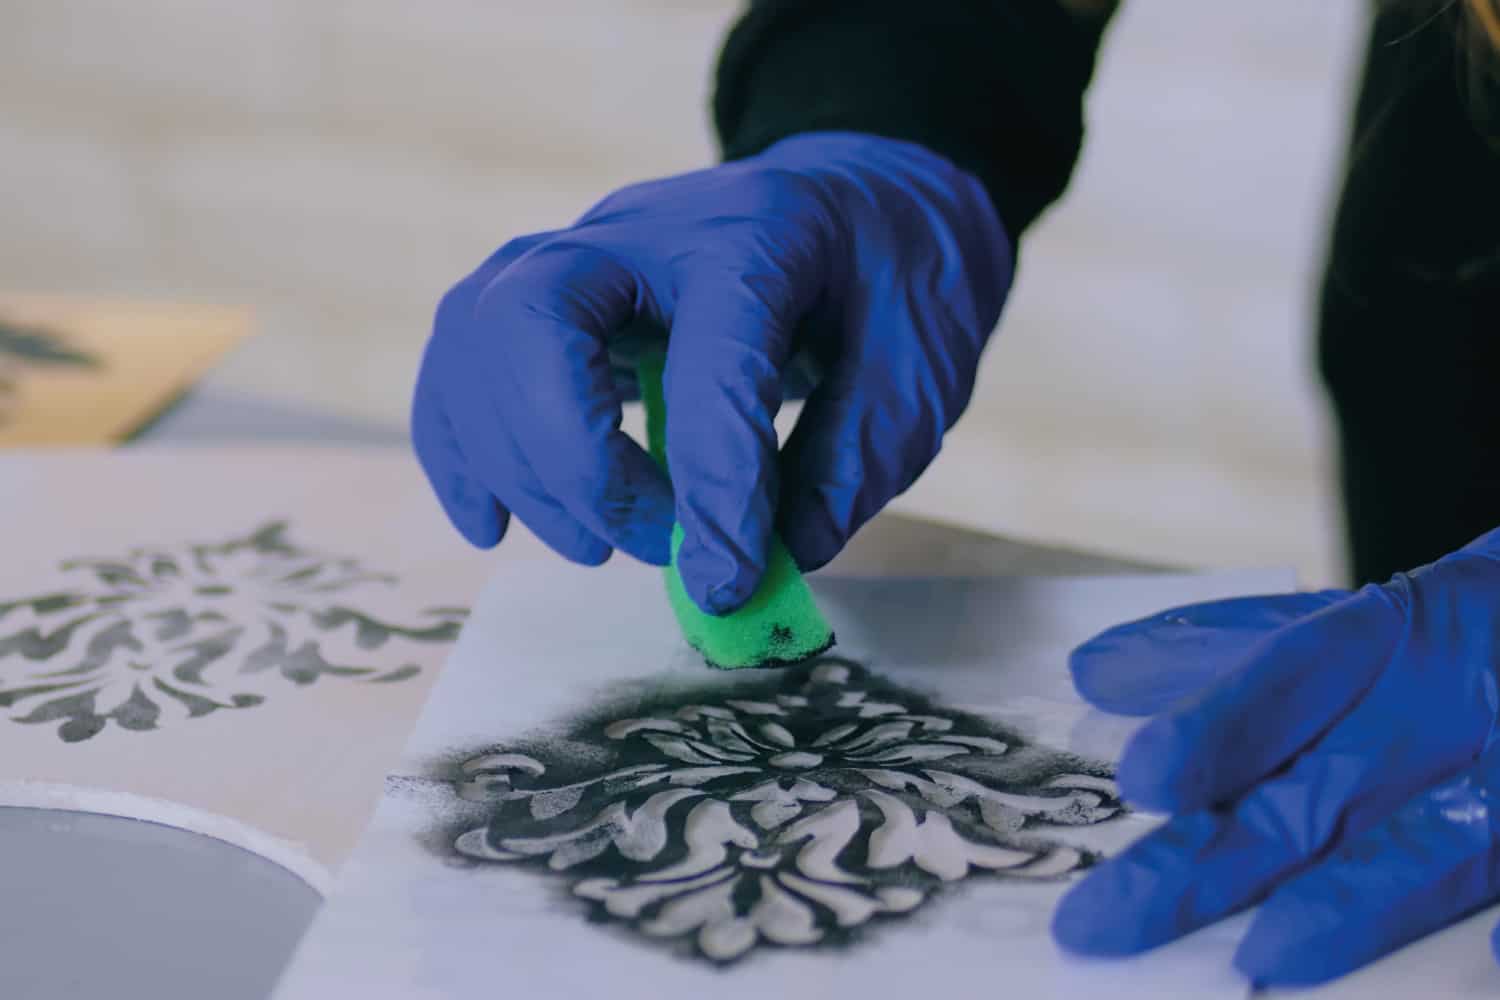
- Tap or dab your paint onto the stencil
- Let the paint dry
- Remove your stencil, reveal your design
Fill-in stencils are reusable if you take proper care of them. If you love the design on your stencil, great! Use your material on multiple projects or gifts. You will be happy with the results.
Watch this video below for a complete demo of using a fill-in type stencil on wood.
What Material Is Used To Make Stencils?
Stencils are made of a variety of materials. The most common material used to make stencils is Mylar. This material is durable and easy to clean, making these stencils long-lasting. You can find stencils made of magnetic material, wood, or acrylic as well.

Amazon offers a variety pack of reusable stencils here.
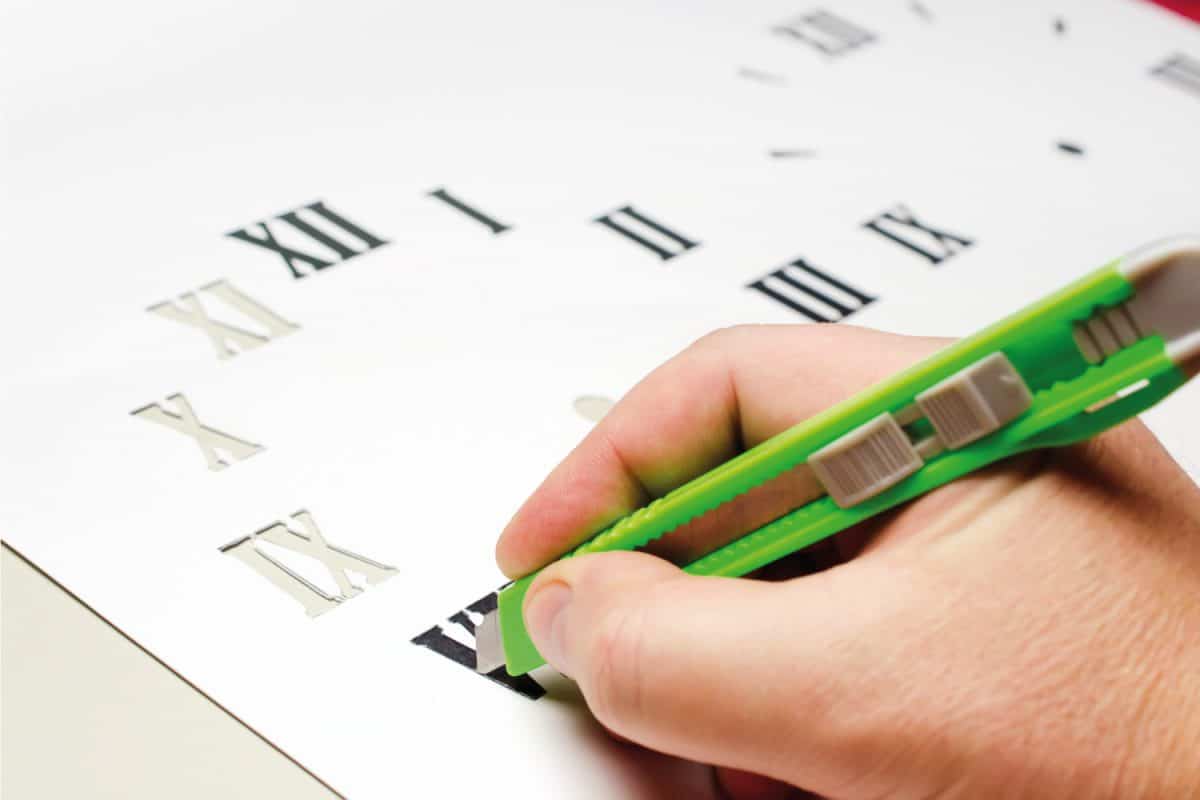
Stencils can be bought, or you can make your own. DIY stencils can be made from Mylar, wood, or metal. You can play around with cardboard plastics and thick paper for stencil creation too. Keep in mind that sturdier material is optimal if you plan to use your stencil more than once.
How Do You Stencil On Wood Without Bleeding?
All projects have a learning curve involved. One issue that you may run into while using a stencil is "bleeding." This happens when excess paint flows under your stencil, causing a distorted look to your design. Luckily, there are some ways to avoid this.
Using the dry brush technique can help you stencil on wood without bleeding. With your wood surface prepped and your stencil secured in the right position, you will use a mostly dry paintbrush to dab paint onto your stencil. This dabbing movement with a dry brush takes patience and more time than brushing paint onto your wood, but it is worth the results.
What Is The Best Paint For Stenciling On Wood?
Fast-drying paint will be the best to use when stenciling on wood. Applying paint to a stencil should be done by dabbing layers. Using a fast-drying paint, like acrylic paints, will help save some time between layers.

View this set of acrylic paints here on Amazon.
Acrylic paints will be the fastest drying, but you can still use other paints. You may need to wait a little longer between layers, but that is the only downfall. Other paints you can use include latex and chalk paints.
You can read more about acrylic paints at our blog post, "What Are Acrylic Colors Used For?"
How Do You Stencil With Spray Paint On Wood?
Utilizing spray paint with your stencil is the fast method of finishing your product. You have to be mindful of some precautions when your spraying versus brushing paint onto your wood.
Stencil Placement
Stencil placement and security are important. You want to ensure there are no gaps between the stencil and your wood. These gaps are where paint could seep into, creating a blurry image. To secure your stencil, you can use painter's tape or consider utilizing adhesive stencil material. These stencils will stick to your surface and can be gently pulled off after the paint is dry.

Amazon offers adhesive stencil material for DIY stencils here.
Spray Technique
The way you use your spray paint will affect the outcome of your project. You want to hold your spray can about 3-6 inches away from your stencil for best results. Apply medium pressure to the can as you move very slowly across your stencil. To ensure a steady flow of spray paint, it is best to have both your piece of wood and your spray can in a vertical position.
The video below gives you a visual representation of spray-painting the stencil. Spray-adhesive is mentioned. This spray is another tool that can be used to firmly hold your stencil in place, decreasing the likelihood of bleeding.
Time To Start Your Project
We have laid out multiple techniques for transferring stencil to wood. One of these will help you create the perfect gift or home decor. Time to gather your materials, position your stencil, and get started! We hope you found this article helpful for your stenciling endeavor.
Want to learn more about woodworking projects? Read our blog post, "15 Types of Wood Crafts."