Learning how to execute a granny square will give you a basis for making a wide variety of items from a blanket to a purse. You may be wondering how big you should make your granny square. We have thoroughly studied the information available and have found an answer for you.
A granny square does not have to be a standard size. Most granny squares are four to six rounds, but depending on your pattern and your personal choices in color and material, granny squares can be as small as two rounds or large enough to make one blanket out of a single square.
We understand that you may still have some questions about granny squares. Follow along as we look at where the granny square motif came from, how to measure a granny square, and how to find out how many you may need for your project.
Why Is A Granny Square Called A Granny Square?
There are differing theories as to where granny squares got their name. The first commonly held theory is that the squares require little dexterity and eyesight to make, therefore it was usually the older generation of the household that would be completing these types of projects.
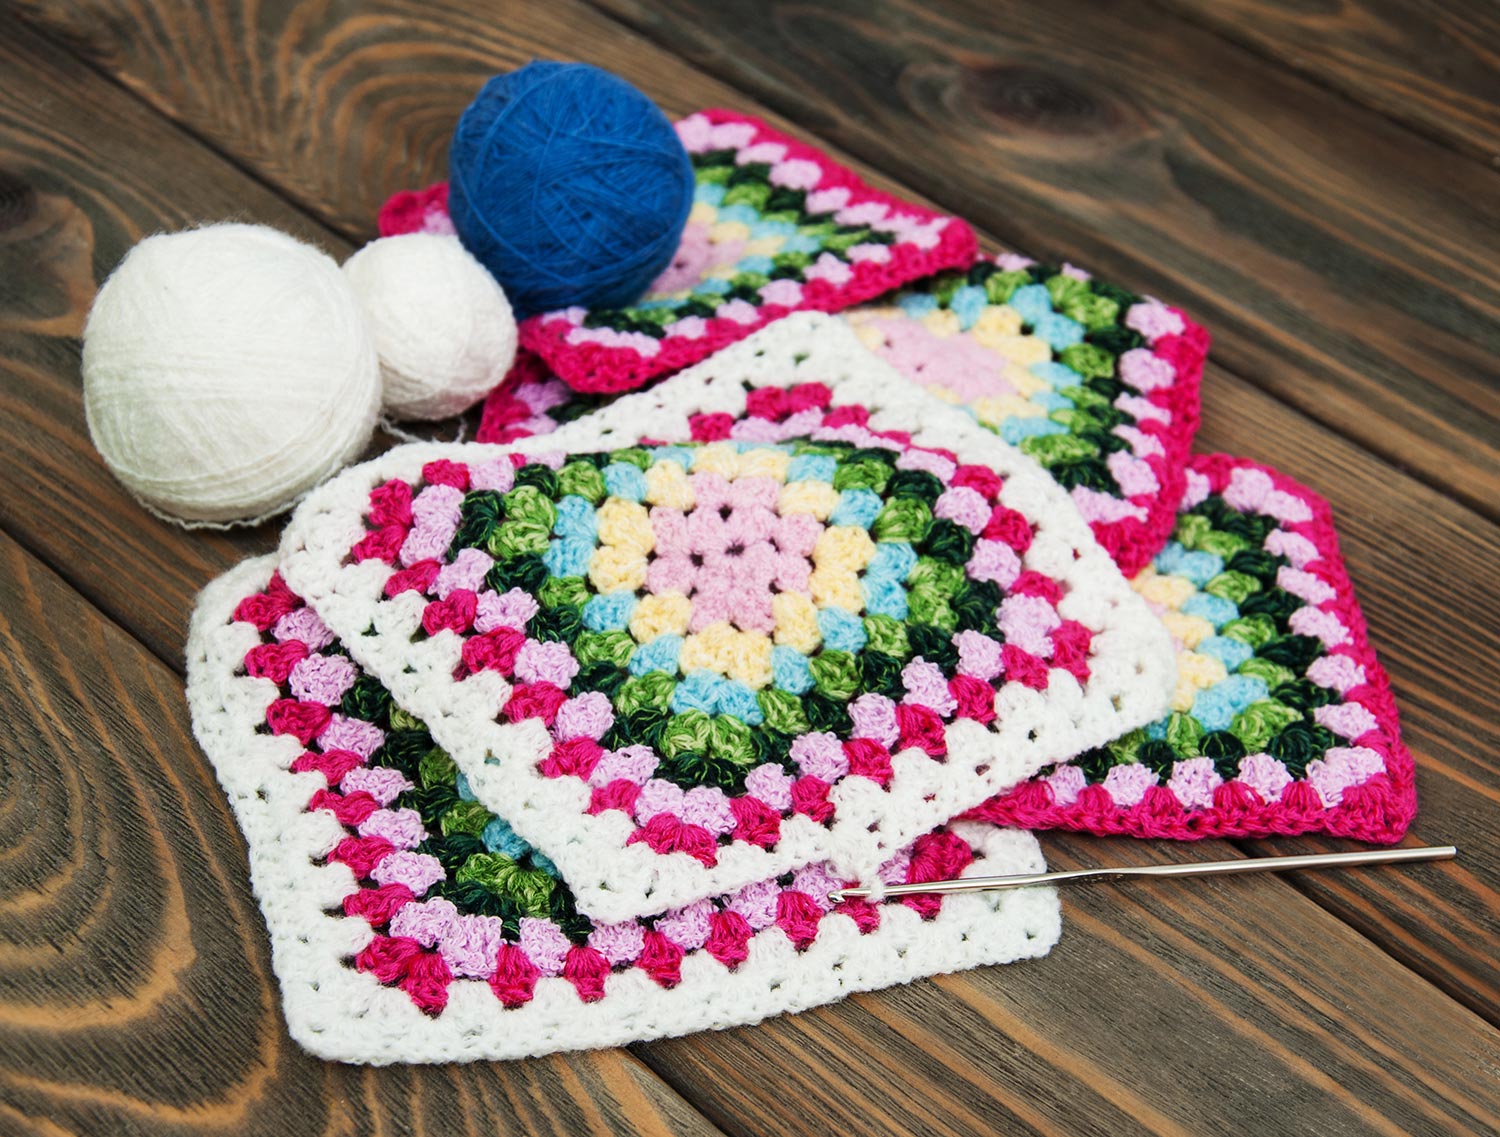
The second theory is that the name comes from the stitches used to make the square. A granny square is made up of rounds of granny clusters. Granny clusters are a set of double crochet stitches stitched in one stitch separated by spaces made by skipping two or three stitches.
These days, even squares made from other stitches can be referred to as a granny square. They will always start in the middle and be stitched outward, adding a set number of stitches to each corner on each round to form the square.
The same idea is also used to make rectangles, triangles, and hexagons. As the motifs start in the center and the finished shapes are then connected to form larger projects, they may also carry the name: granny.
How Old Is The Granny Square?
There is not a date for when the square first made its debut. Multiple craft enthusiasts say that the first granny square appeared as a picture in a crochet magazine in 1891 for the first time. Others say an article in 1897 included a pattern for a recognizable granny square.
It appears that the first description may be one in the 1885 edition of a rural magazine. The author describes what appears to be a granny square as inspired by the crazy quilts that were popular at that time.
Are All Granny Squares The Same Size?
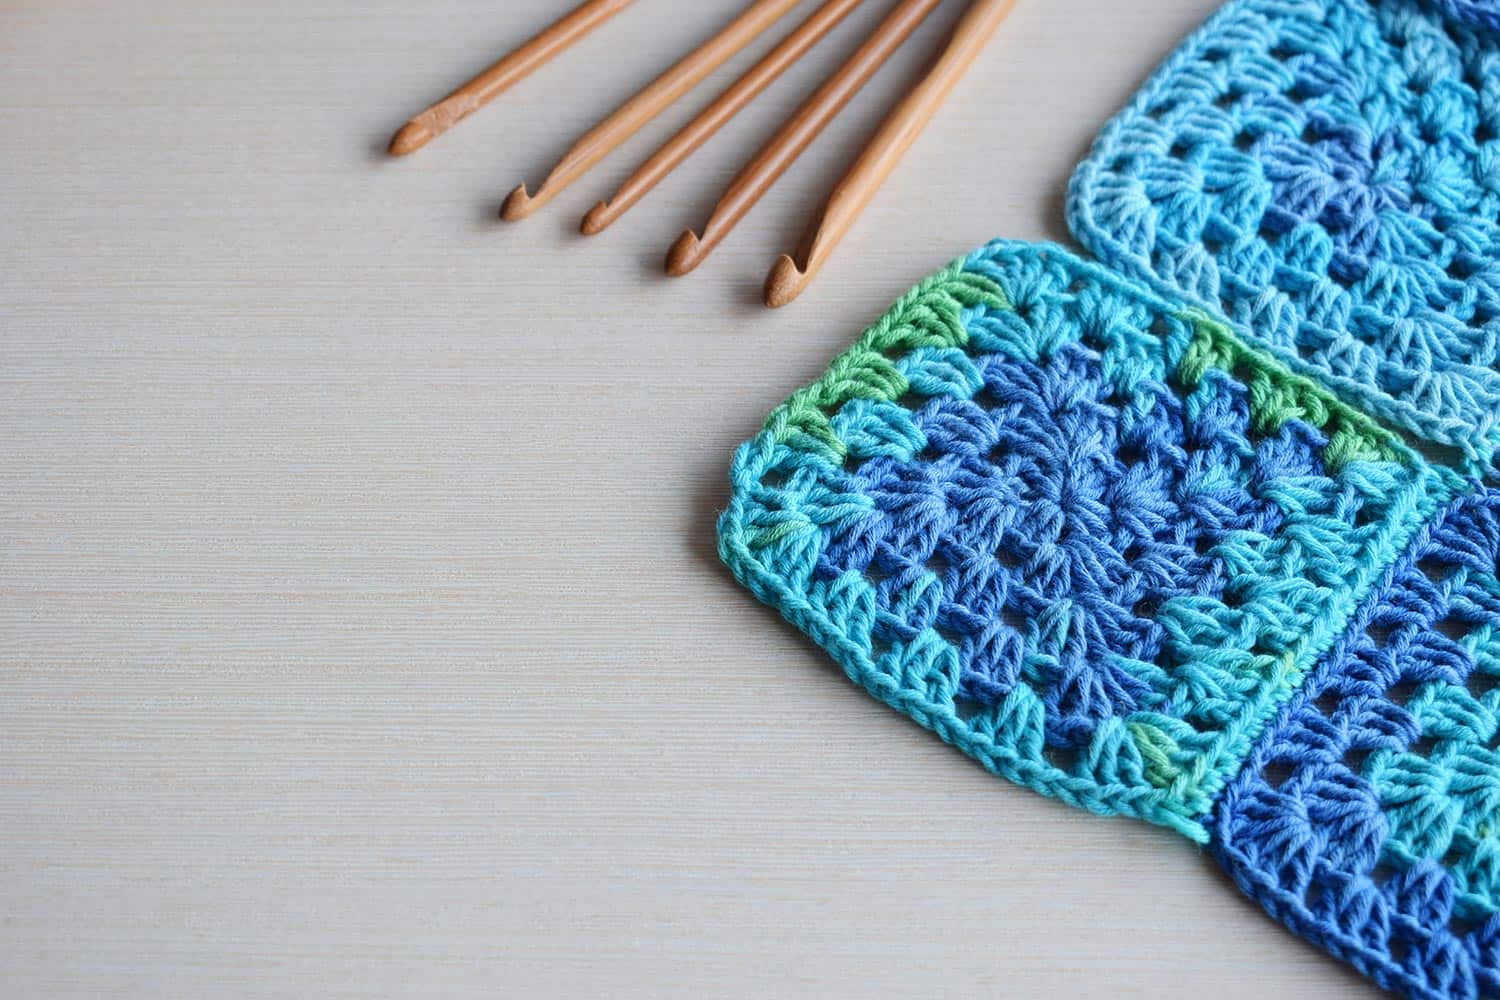
Granny squares can be made into many different sizes. The smallest size is two rounds and is called a saltine. If you are making individual granny squares for the same blanket, they should be the same size and shape to lend a uniform look to your finished product.
A well-planned project may incorporate different sizes and shapes of granny motifs, but this is not recommended for the beginner or for working without a complete pattern or plan.
Use a Blocking Board For Uniform Granny Squares
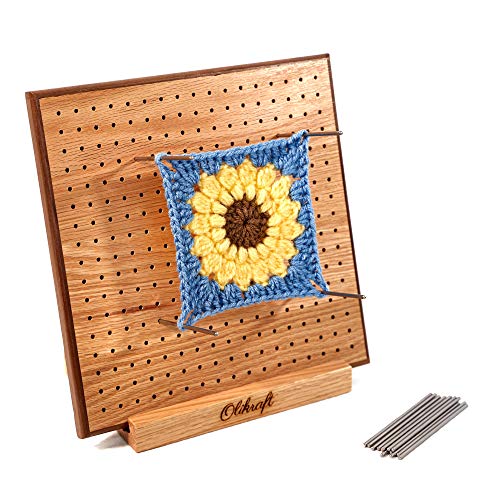
After you have completed your squares, you can get them to a uniform shape and size by using a blocking board.
A blocking board is a plastic, acrylic, or wooden board that comes with rods that you can place at a measured distance from each other. Your squares then get stacked on these rods to get stretched to the same size and shape.
For a detailed discussion on blocking your knitting and crochet projects, read our article: Do You Need To Block Crochet And Knitting After Every Wash?
Click here to see this blocking board on Amazon.
How Do You Measure A Granny Square?
Granny squares are measured in a straight line from side to side. If they are not perfect squares, then they are measured both vertically and horizontally to get an idea of how many to include in the finished project.
If you wanted to make a standard queen-sized blanket that is 90 by 100 inches then you know that your squares should fit into this measurement. The easiest way to get the number of squares you need is to make your preferred square and then measure it.
For a queen-sized blanket, you would divide 90 by the width of your squares to get the amount needed to go across, and then divide 100 by the height of your squares to get how many squares you would need vertically.
Multiply the number of vertical squares by the horizontal squares to get the total amount needed for your project.
The following video goes in depth on measuring your granny squares and provides a visual so that you can get the right number for your project.
Are Granny Squares Easy?
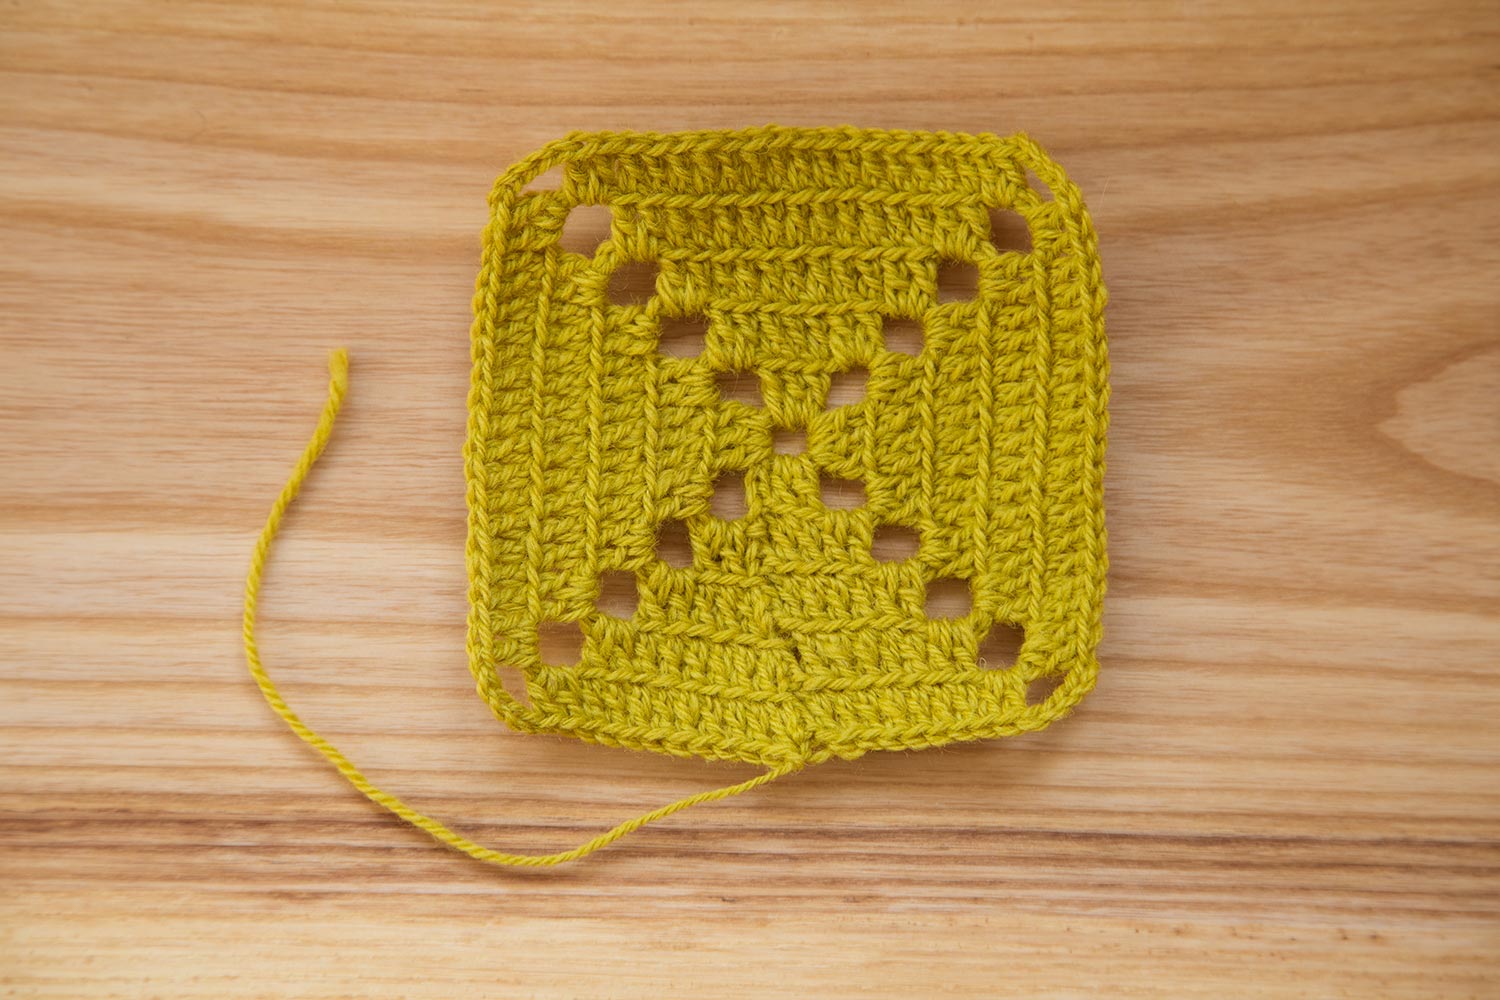
Granny squares are usually one of the first projects that are taught to beginners. They are versatile, the stitches are easy to remember, and they take shape quickly, making it easier for young learners to stay interested.
Since they are squares that make up larger blankets, you won't have to carry all your yarn and the whole project with you. This makes granny squares a great take-along project.
You can find complicated and intricate patterns for Granny squares, but it is not necessary. Most beginners find that choosing a basic, easy-to-remember granny square pattern is fine. It can then be connected in any combination desired to provide variety and show creativity.
How Long Does It Take To Make A Granny Square?
How long it takes to turn out a granny square will depend on dexterity, experience, and how complicated the granny square design is. The most basic four-inch granny square could be turned out in a few minutes, whereas whole blankets made of granny squares can take 10 to 30 hours or longer to complete.
How To Make A Granny Square For Beginners
Though there are many patterns and ways to go about making a granny square, the best way to get started on your project is to practice to become familiar with the different yarns and needles as well as the stitches.
For more on beginner crochet projects, see our article: How To Crochet Coasters [18 Easy Patterns For Beginners!]
Follow these basic steps for your next granny square. If it is your first time, using a different color for each round could help.
- Chain four stitches into a ring and close with a slip stitch.
- Chain three more stitches followed by two double crochet stitches inside the ring.
- Chain two stitches then three double crochet stitches inside the ring.
- Repeat these steps until you have one round of four complete clusters.
- End the first round by chaining two stitches, and a slip stitch in the second stitch of the first chain.
Once your first round is created, repeat the above steps two through five for each round. Form one cluster in every large hole left by the chains in the previous round. Chain one stitch in between the shells or clusters that form the sides, and chain two in between the shells or clusters that form the corners.
Form as many rounds as you would like, then complete your project by cutting the yarn and making a slip knot. Use a yarn needle to sew the remaining yarn back into the project. Watch this video for a visual of these steps.
The Granny Square Formula
One crafter describes a basic "law" for granny squares. For granny squares made with single stitches, you'll want to increase the square on each round by eight more stitches. That is two stitches in each corner more than you placed in the corner of the preceding round.
For the more common double-stitch granny square, you'll want to increase each round by 16 more stitches or four more stitches in each corner.
What Size Needle For Granny Squares?
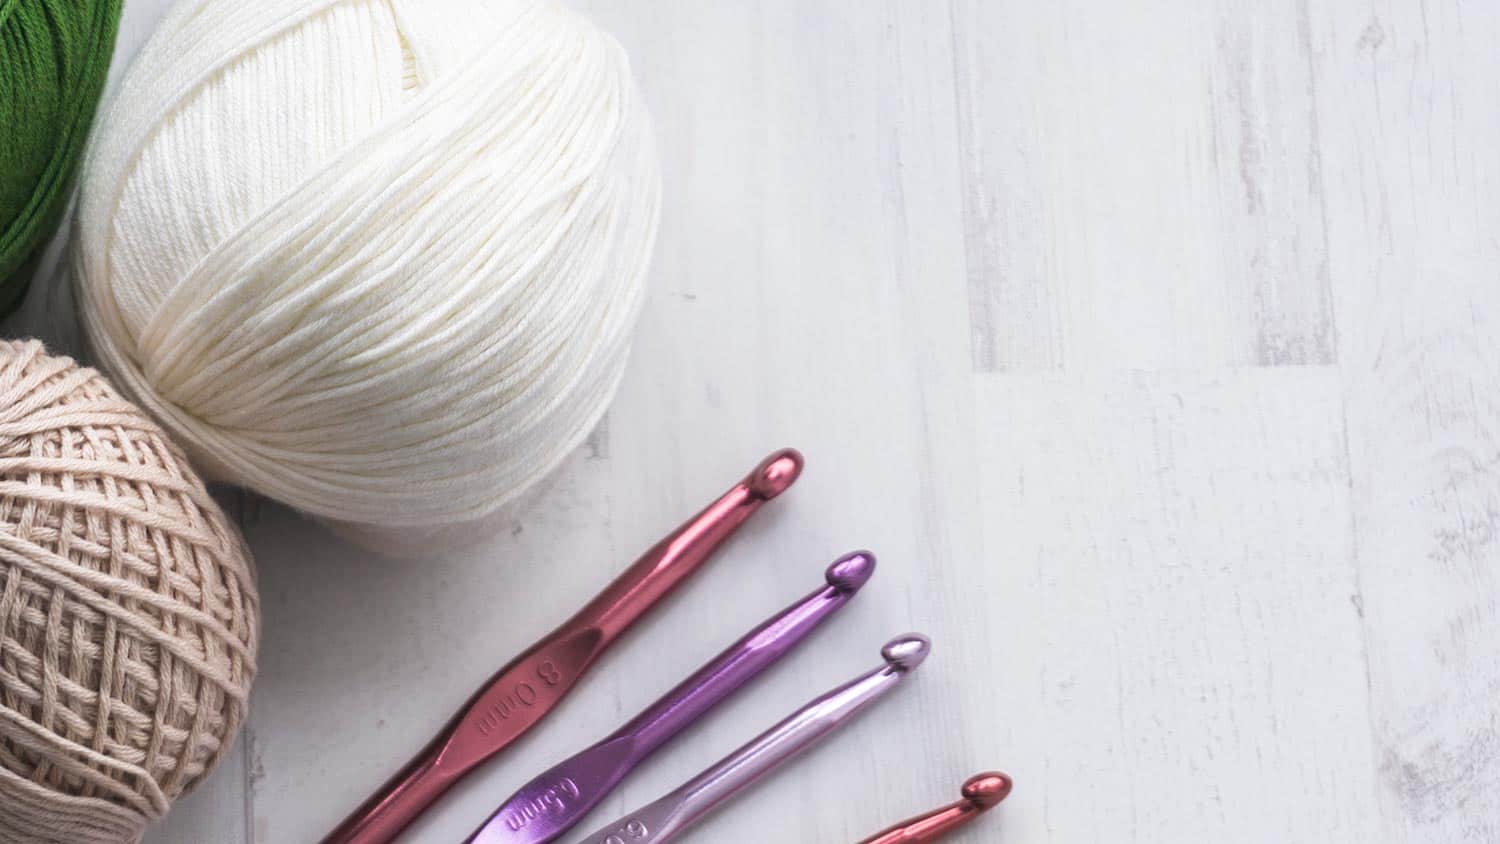
Choose your needle size based on the material you are using and how loose you want the stitches. Bigger needles work best with bulkier yarn and looser stitches.
The finer the stitch or fiber the smaller the needle you'll want to use. A, F, J, or H hook is a good standard size to test with. Try a few stitches and choose a larger or smaller size as needed.
To learn more about the different sizes of crochet hooks, take a look at our article: 7 Best Crochet Hooks For Cotton Yarn
Click here to see this crochet hook set on Amazon.
In Closing
Now that you know how big a granny square should be and that it really could be any size, plan your next project! Make big squares for a simpler look, or create a project out of little squares for a more complicated mosaic presentation. Whatever you choose, granny squares are a great foundation for any crochet project.
Do you want some ideas on what to do for your next crochet project? Check out these articles:


![Read more about the article Can You Glue Ceramic Back Together? [And How To]](https://craftsbliss.com/wp-content/uploads/2023/01/Hand-applying-liquid-glue-on-ceramic-broken-pieces-repairing-a-green-plate.-Can-You-Glue-Ceramic-Back-Together-And-How-To-500x333.png)
![Read more about the article Can You Quilt Without a Sewing Machine? [Here’s How]](https://craftsbliss.com/wp-content/uploads/2020/11/Sewing-a-quilt-with-quilting-machine-500x333.jpg)
![Read more about the article Can You Carve Faux Leather? [Here’s how to create the effect]](https://craftsbliss.com/wp-content/uploads/2020/10/Craftsman-emboss-picture-on-leather-by-veiner-tool-500x333.jpg)
