
Making paper at home can be a fun and rewarding experience. Once you know how, you can make your own paper for all kinds of things -- special notes to loved ones, scrapbooks, or event invitations. The process doesn't have to be intimidating, and you can get started without a huge investment on your part. So how do you make paper from sawdust or wood? We've done some research and have the steps for you.
To make your own paper, you'll need to complete the following steps:
- Arrange your papermaking tools
- Break the wood down into small, thin pieces
- Mix the wood pieces or sawdust with water in a blender
- Pour the pulp into a plastic tub
- Use a mould and deckle to scoop some of the pulp slurry
- Couch the sheet from the mould to a flat, absorbent surface
- Press excess water from the paper
- Allow to dry completely
Now that you know the basic steps of making your own paper, let's go over all the finite details of the process. We'll discuss the tools and terms involved, as well as discuss other questions you might have. Keep reading!
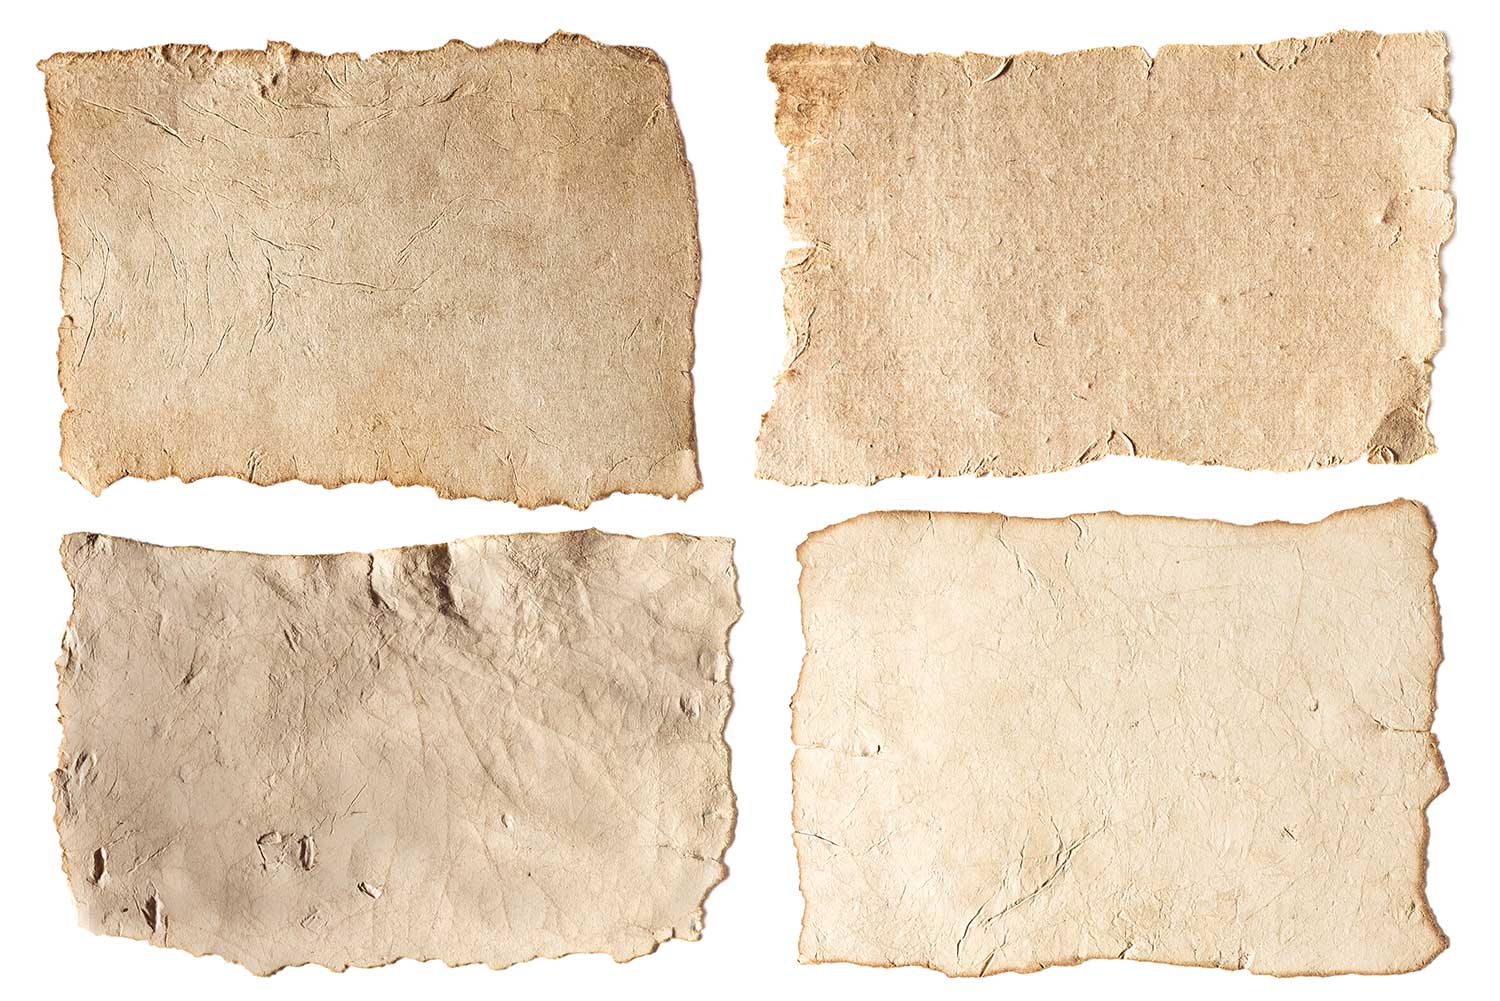
![A scattered wooden sawdust and blank old burnt paper sheet for drawings on dark concrete surface in carpentry workshop, How to Make Paper From Sawdust or Wood [8 Steps]](https://craftsbliss.com/wp-content/uploads/2020/12/How-to-Make-Paper-From-Sawdust-or-Wood.png)
1. Arrange your papermaking tools
Before getting started, there are some tools you will need to get the process done right:
- Mould and deckle.
- A wood plane (only necessary if you are using wood and not sawdust). The smaller the pieces, the better for the blender.
- A large, household blender. Do not use a blender you intend to use for food later. Shop secondhand if possible. Remember, putting wood in the blender is going to dull the blades.
- Sawdust or wood. Soft woods are best, such as pine.
- Plastic tub (larger than the mould and deckle).
- Absorbent materials. Traditionally wool felt, but super absorbent towels or even batting (inner quilt material) work well for this.
- Wooden boards or a sponge and rolling pin can be used to press excess water from between your paper sheets.
- A flat, non-absorbent surface or a clothesline is ideal for drying.
2. Break the wood down into small, thin pieces
If you have sawdust, no need to make the pieces any smaller or go through any further treatment. They are likely small and soft enough for your blender to process without a problem.
If you're using fresh wood pieces, you'll first use a wood plane to make pieces as small as possible. Remove any knots or bark attached. Allow the wood to soak in water (a process called "retting") for at least 24 hours so that it softens. After that, bring a pot to boil and add the wood pieces. Allow it to simmer at a low temperature for at least 30 minutes. Allow the mixture to cool completely, and then rinse the wood pieces well. The wood pieces should pull apart in your hands.
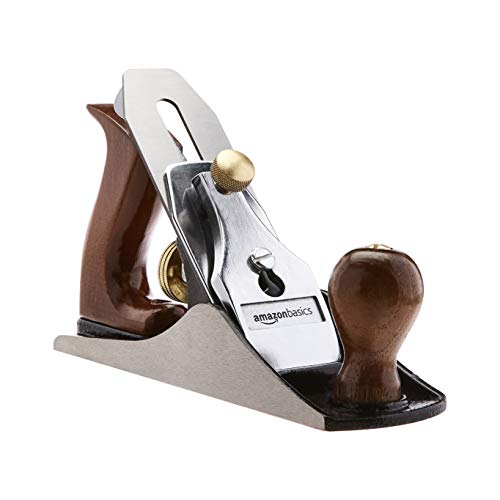
View this wood plane on Amazon.
3. Mix the wood pieces or sawdust with water in a blender
Fill your blender about 3/4 of the way full with water. Add a handful of sawdust or treated wood pieces to the blender. Start at a low setting to ensure your blender will process. After a few seconds of no issues, feel free to up the setting of the blender.
Take a look at your pulp. If you desire the slurry to be thicker, add some more sawdust or wood pieces. The thicker the slurry, the heavier your paper will be.
If you want pure white paper, you can add a few tablespoons of bleach when mixing the water and wood. However, we think this takes away from the natural color and lovely fibers of the wood.
4. Pour the pulp into a plastic tub
Empty the blender into a plastic tub. You will likely have to make several blenders full of pulp to fill this vat most of the way. It needs to be deep enough for your mould and deckle. Once your vat is about 2/3 of the way full, you're ready to start using the mould and deckle. Make sure to mix the pulp well with your hards before making your sheets.
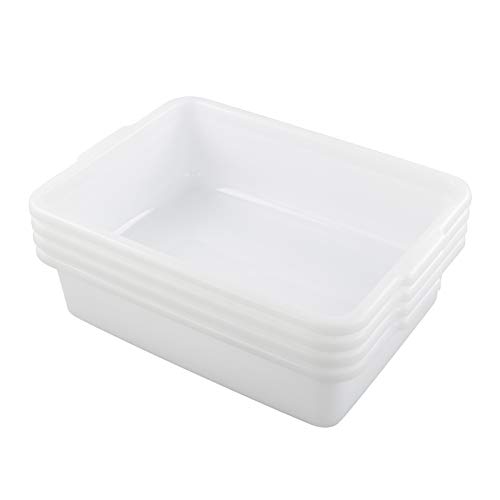
View this plastic tub on Amazon.
5. Use a mould and deckle to scoop some of the pulp slurry
The mould and deckle are two wooden frames of the same size where one of them is covered by a mesh screen. This is what you will use to form the paper and strain the pulp. You can make one yourself or buy one specifically for papermaking.

View this mould and deckle on Amazon.
Holding your mould and deckle firmly in both hands with the mesh screen facing upward, insert it into the pulp at a 45-degree angle. Dip it to the bottom of the vat and then scoop up, moving to hold the mould and deckle horizontally. Shake the newly formed sheet up and down and back and forth until it settles and only a few drips come from the screen. Hold the sheet steady until it stops dripping.
6. Couch the sheet from the mold to a flat, absorbent surface
"Couching" in the papermaking world means transferring a newly formed sheet of paper to an absorbent surface to drain. To do this, think of closing a door. Remove the deckle from the mould. Place a long side of the mould, paper facing up, against your work surface on top of where your absorbent material is located. Quickly flip it over, as though closing a door, transferring your sheet to the absorbent material. Press down a bit to ensure it transfers. Remove the mould, leaving the paper.
7. Press excess water from the paper
To help the drying process, you want to squeeze as much excess moisture from the paper as possible. There are a few methods to get this accomplished.
Place a piece of absorbent material on top of the paper. Using a sponge, press down on the paper as hard as possible to squeeze out the water. Use a rolling pin on the surface to add more pressure. Do this until it seems no more water escapes from the paper.

Another method is to add the absorbent material to both sides of the paper, and then place multiple sheets of paper in between multiple wooden boards. Place the boards on the floor (an outside area would better, as a fair amount of water is going to be expressed) and stand on the top board, effectively squeezing the homemade paper between each board.

View these wooden boards on Amazon.
8. Allow to dry completely
Once your paper has been pressed, it's time to lay it out to dry. You can do this by placing it on a non-absorbent surface, such as Formica, wood, or stone, and leaving it to dry. This method would take about 24-48 hours for the paper to be completely free of moisture.
Alternatively, you can leave the paper attached to the wool felt (or whatever absorbent material you used) and use clothespins to hang the paper from a clothesline. This method is a bit quicker than leaving the paper on a flat surface to dry.
Once the paper is dry, it's ready to be used. You have the option of placing it under a heavy, flat object if that paper has naturally curled or has a wavy appearance.
Mix it up!
One of the fun things about making paper at home is the freedom you have to make the paper look however you'd like. You can add pigmentation for color, shredded up construction paper, flowers, glitter, or any other special thing you would want in your paper. Have fun with it.
What Wood Can Be Used For Making Paper?
There are many great kinds of wood that can be used to make paper. The most popular trees used in papermaking are pine, birch, spruce, and hemlock because they are considered softwoods. These tend to make the smoothest paper as they can make a fine granule slurry. Just about any type of wood can be made into paper; however, the process is just more complicated and will likely increase the paper's cost.
How Do You Make Paper Waterproof?
Waterproofing paper can be done with a handful of different techniques. You can seal your paper with a protective wax coating, effectively turning it into wax paper and protecting what is underneath. Additionally, many commercial protectants, such as shellac, can be applied to the paper to keep it from being water damaged. If you had the patience, you could even cover your paper in clear nail polish.
Be aware, however, these waterproofing methods would leave the paper unusable and stiff, so make sure you've added what you need to the paper before covering it in a protective coating.
Does Mod Podge Stiffen Paper?
Mod Podge stiffens paper, which is its primary function, as well as changing its overall texture. It adds some water-resistance but does not make paper waterproof.

View this mod podge kit on Amazon.
In Closing
Papermaking is a fun and rewarding craft for anyone who loves to do-it-yourself. Follow these simple steps and make something as unique as it is special! Enjoy.
Want to make some paper flowers with your homemade paper? Read our post about that.
![Read more about the article Can Leather Be Dyed Any Color? [Popular shades suggested]](https://craftsbliss.com/wp-content/uploads/2020/10/Pieces-of-colorful-raw-leather-hanging-on-wooden-shelf-500x333.jpg)
Good Day
were can i get more info on a compleate plant from saw dust to paper