Resin crafts are popular in the small business and crafting worlds. And of course, the more sparkly the product the more desirable it is! If you are thinking about getting involved in resin crafts, you might be wondering if glitter sinks in resin. We have done the research for you!
Yes, glitter does sink in resin. Although glitter is very small, it is a solid that is heavier than resin, which causes it to sink. Luckily, there are ways to prevent this from happening, such as:
- Using fine glitter instead of chunky glitter
- Designating a warm space for resin crafting
- Adding glitter in layers
- Waiting before adding glitter
- Saturating the piece with glitter
We will explain each of these methods in further detail for you. That way, you can choose the method that works best for the project you are doing, the environment you are working in, and the end result you are trying to achieve.
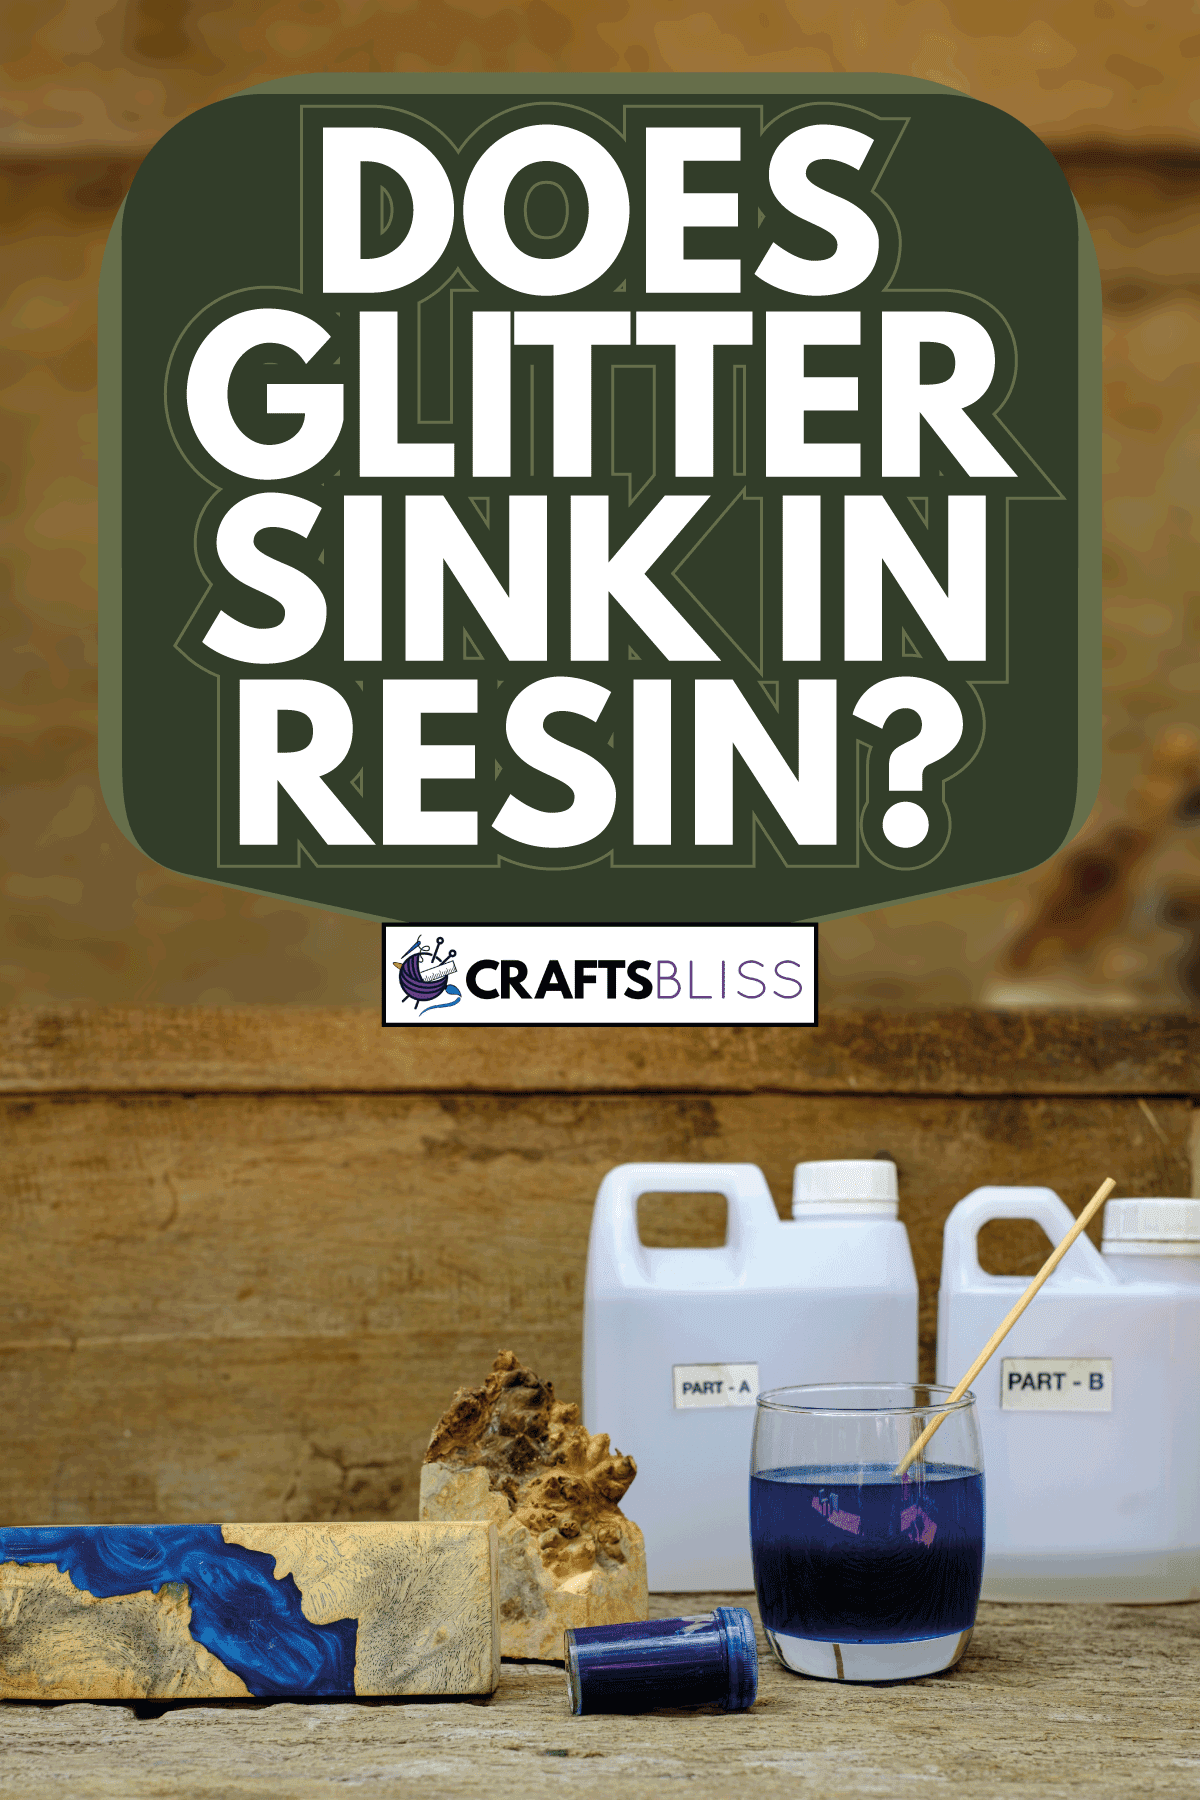
How Do You Stop Glitter From Sinking In Resin?
Some methods will work better for you than others depending on your skill level and the piece you are making. Don't be afraid to experiment to see which method will give you the result you want.
Fine Glitter Vs. Chunky Glitter
"Glitter" and "heavy" don't seem to belong in the same sentence. However, the heaviness of glitter is the main reason that it will sink in resin. An easy way to prevent this is to use fine glitter instead of chunky glitter. Naturally, fine glitter will weigh less and will be less likely to sink.
Using fine glitter will reduce sinking, but it may not eliminate it. You might find that you need to use fine glitter in addition to another method to suspend the glitter properly.
Click here to see this glitter for resin on Amazon.
Craft In A Warm Space
The temperature of your crafting space makes a big difference in how quickly your resin creations will set. Resin takes a longer time to set when placed in cold temperatures, leaving glitter more time to settle to the bottom of your piece.
Warm temperatures, on the other hand, set more quickly, giving the glitter less time to settle. Crafting experts suggest a room temperature of 70 degrees when working with resin. This doesn't mean that warm temperatures will prevent settling completely, however; it will just slow the process.
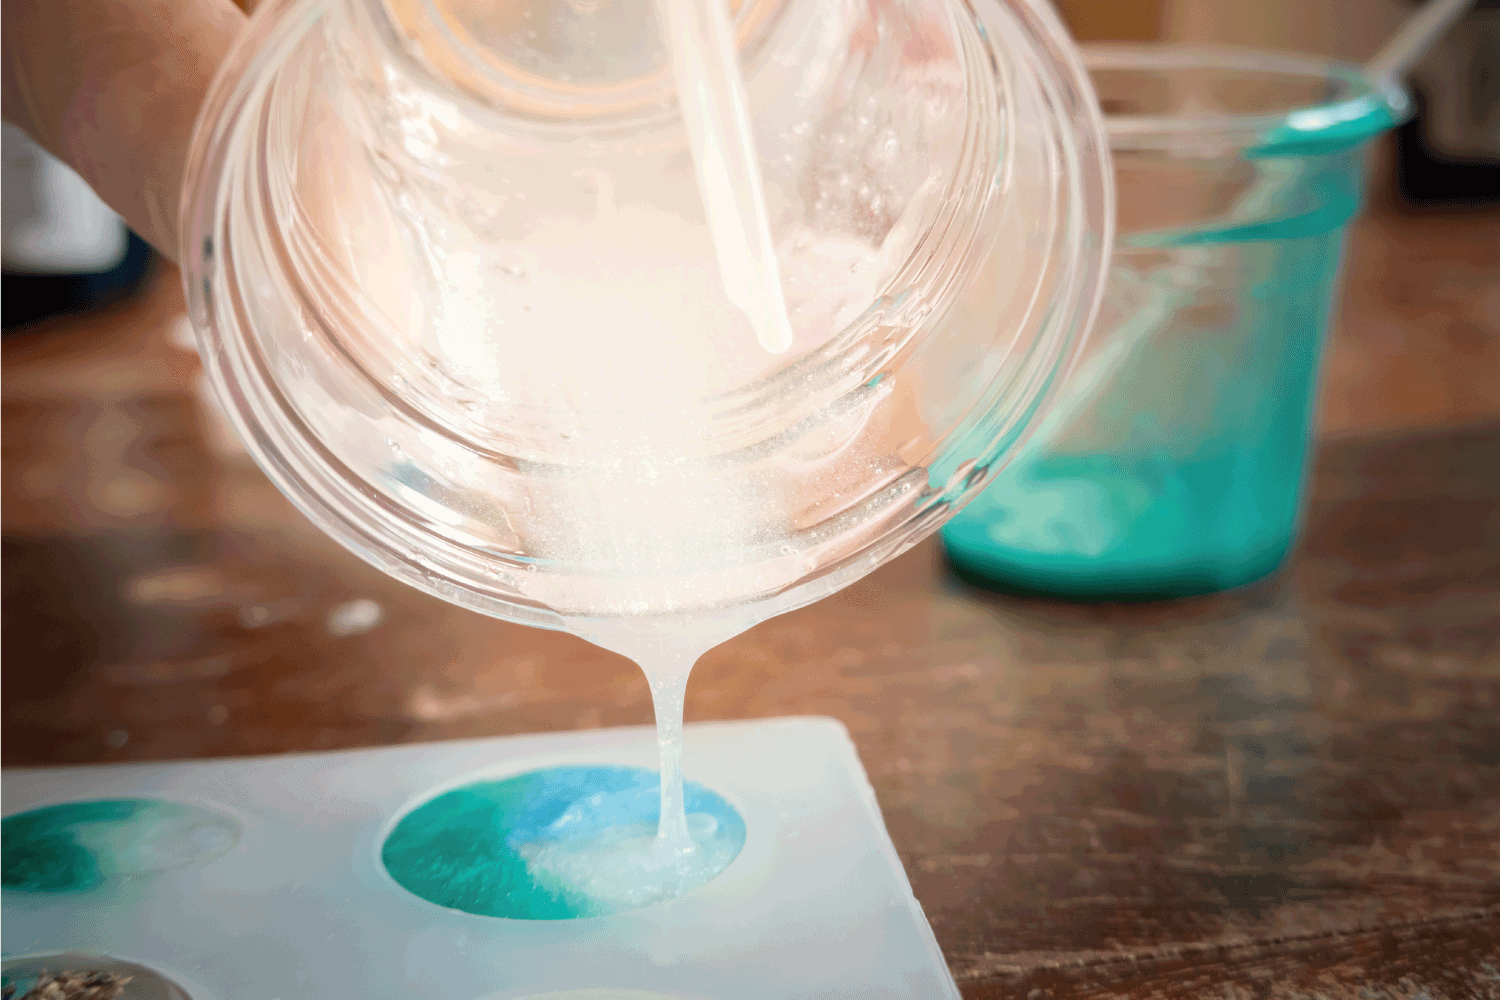
Separate Layers
When adding glitter to your mold, you can keep it from shifting by filling the mold layer by layer. Allowing each layer to slightly harden before adding a new layer will create one solid piece while keeping the glitter in the right place.
To do this, add one layer of resin, allow it to start to film over before adding each subsequent layer. Be sure not to allow the layer to fully harden. If this happens, your layers won't stick together.
Add glitter to the layer where you want the glitter to remain. For example, you can put glitter in the middle layer to give the illusion of floating. To keep the glitter at the surface of your piece, add the glitter to the bottom layer.
Delayed Glitter Addition
Give glitter less time to settle by adding your glitter after you've given the resin some time to set. Again, you don't want your resin to completely harden. If you let the resin begin to gel before adding the glitter, it will remain suspended.
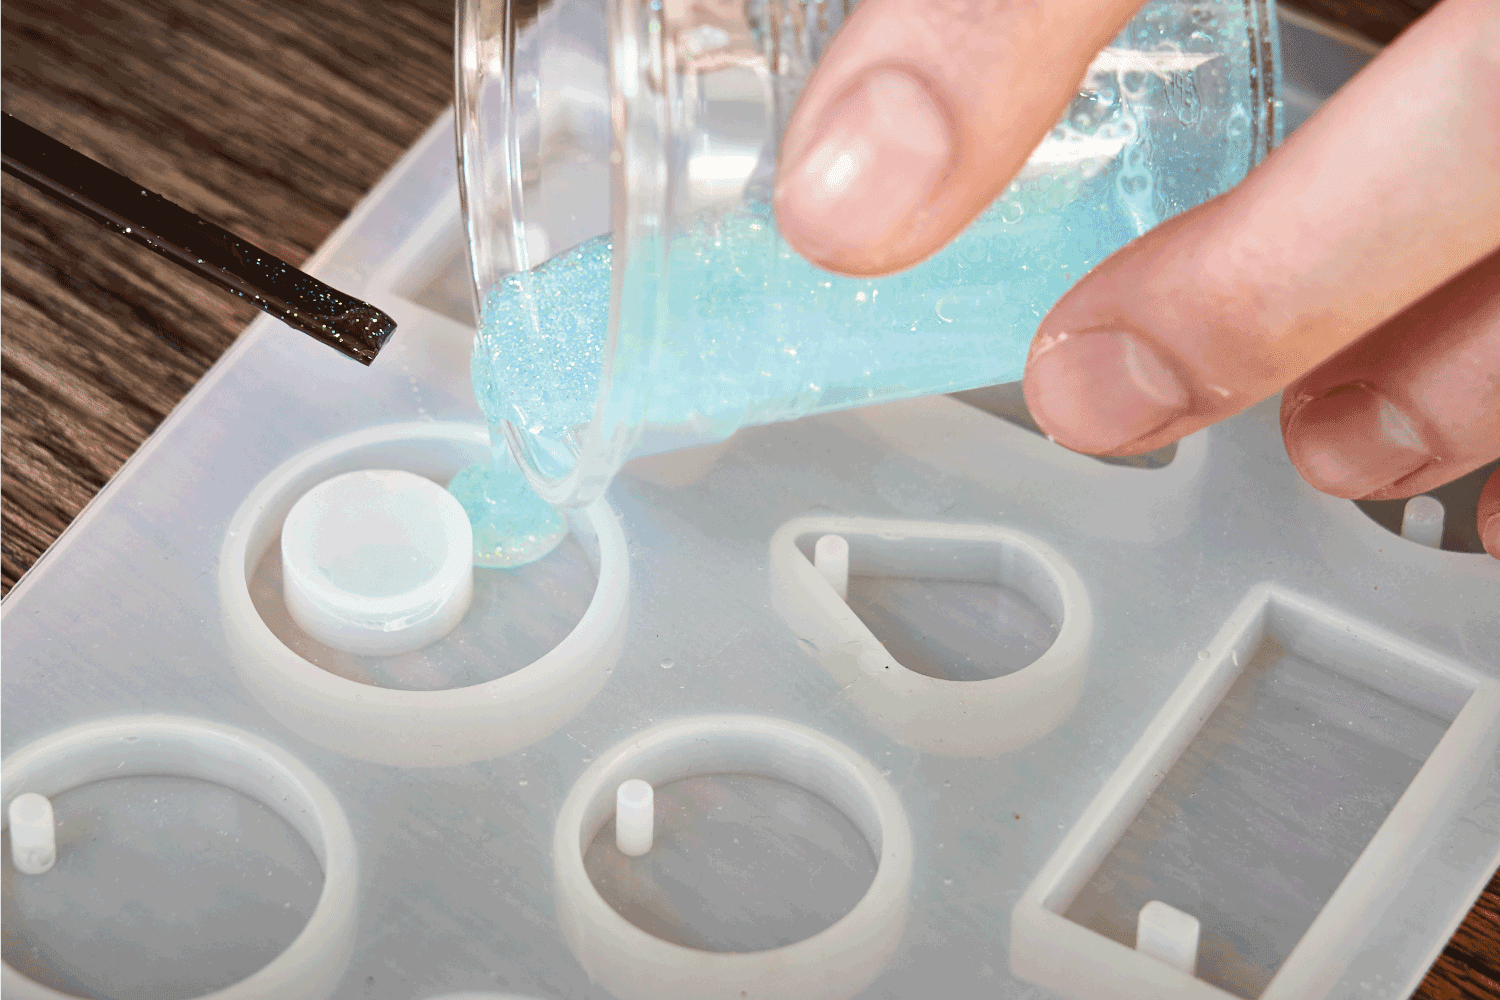
Saturate The Resin
Add enough glitter to the resin that the glitter cannot sink to the bottom of the mold. If you've added enough glitter for this method, the glitter will be as though it is part of the resin.
How Much Glitter Can You Add To Resin?
If you want to saturate your resin so there is glitter throughout, you need to know how much glitter to add so you don't use too much. There is no set rule for how much glitter to use, but some crafters prefer to use the 6% rule. This means that glitter should not be more than 6% of the total resin volume.
How Do You Add Glitter To UV Resin?
A UV resin retailer explains that UV resin contains an activator and uses UV light to cure the resin. When adding glitter to UV resin, it is important that the resin is cured quickly to prevent the glitter from sinking to the bottom.
Choosing A UV Lamp
All sides of your mold need to be exposed to UV light for the resin to harden evenly and completely. Choose a box-shaped lamp that has UV light on all sides.
Click here to see this box light on Amazon.
If you have to use a lamp that only focuses on one spot, use a turntable so each side is given the same amount of time under the light.
Click here to see this light and turntable on Amazon.
How Do I Add Glitter To Epoxy Resin?
In most cases, the best way to add glitter to resin is through a layering process. However, epoxy resin is a little different.
The easiest way to add glitter to epoxy resin is to mix it well with the hardener and colorant before pouring it into the mold. The glitter will naturally spread itself out. Here are some steps to follow for a successful piece:
1. Gather Your Materials
To make sure the process is smooth, make sure you have all of your materials before starting. You will need your resin, hardener, colorant, glitter, a mixing cup, and a stir stick. You will also need the mold you will be using for your piece.
2. Mix Resin And Hardener
Combine the resin and hardener in your mixing cup. Be sure that you use the correct ratio of resin and hardener so the resin sets correctly. Because all resins and hardeners are different, consult the manufacturer's instructions for the correct amounts. Mix until the resin and hardener are fully blended.
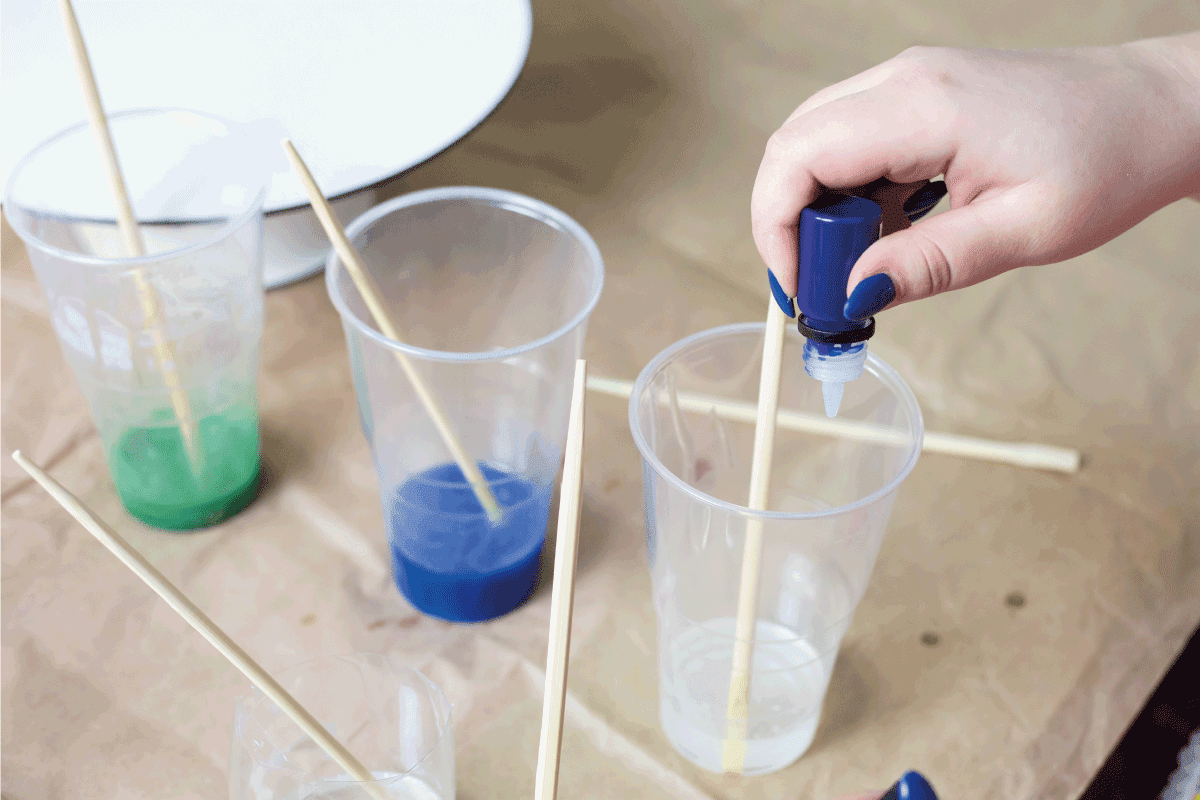
3. Add Colorant
Add colorant to your resin mixture and stir completely. You can always make a color darker, but it is harder to lighten it. So start with a few drops of colorant and add more as needed to get the desired shade. Again, combine until the color is thoroughly mixed.
4. Add Glitter
Add the glitter to your mixture. Stir well to spread the glitter throughout the mixture. If you are using more than one type or color of glitter, add each one, and mix until they are all combined with the mixture.
5. Pour Into The Mold
Now, all that is left to do is pour the mixture into your mold. Allow the resin to fully set before removing.

Is Art Resin The Same As Epoxy?
Art resin is a type of epoxy resin, but it stands apart from the others in a few ways.
Safer
Both epoxy and art resin are non-toxic to a degree, but art resin doesn't contain the irritating chemicals that most epoxies contain. You still need to make sure you are working in a well-ventilated area, but art resin is generally safer to use.
Less Yellowing
Over time, pieces made from epoxy can be susceptible to yellowing. Pieces made from art resin can also yellow over time, but they remain clear for longer than those made from other epoxies.
Beginner Friendly
Art resin is easier to use than some of its other epoxy counterparts. Art resin employs a simple 1:1 mixing ratio that makes it easier for beginners to work with.
Click here to see this art resin on Amazon.
In Closing
While it's hard to believe that glitter can be heavy enough to sink in resin, its heaviness is the number one factor that crafters have to contend with when making resin pieces with glitter. But with some patience and experimentation, you can suspend glitter in your pieces and reduce sinking.
Be sure to take into account the look you are going for. You can saturate your resin with glitter, for example, but that method isn't a good fit if you are using glitter to accent details.
Likewise, using fine glitter will not work if you want your piece to have chunks of glitter. Trial and error is the best way to know what method is best for you!
If you're thinking about starting resin crafts for the first time, take a look at these articles for more information and inspiration:



![Read more about the article Is Glass Blowing Expensive? [Price ranges discussed]](https://craftsbliss.com/wp-content/uploads/2020/10/A-glass-blowing-artist-forms-a-blob-of-glass-into-a-vessel-using-a-gas-torch-500x333.jpg)
![Read more about the article Why Does My Rotary Cutter Skip? [And What To Do About It]](https://craftsbliss.com/wp-content/uploads/2022/05/Circular-blade-500x333.jpg)
