Making a crochet blanket takes time and patience. So, if you notice your blanket curving, you're probably feeling confused and frustrated. What's causing this to happen, and how can you fix it? We've scoured the web and can tell you everything you need to know about curving crochet blankets.
The main causes of your blanket curving are if the stitches are too tight or if you're inconsistent with the number of stitches per row. Your blanket may also curve if you change yarns or hooks mid-project. Finally, it may curve because you're not placing your first or last stitch correctly.
Crocheting a curved blanket is a common mistake that both veteran and novice crocheters have made. Fortunately, there are some things you can do to fix this problem. Keep reading to learn more about preventing curving, resolving it, and more must-know information!
![Crochet blanket focus, Why Is My Crochet Blanket Curving? [And How To Fix It]](https://craftsbliss.com/wp-content/uploads/2022/04/Why-Is-My-Crochet-Blanket-Curving-And-How-To-Fix-It-600x900.png)
Crochet Blanket Curving
Here we'll talk more about why your crochet blanket is curving and what you can do to address it.
Tension
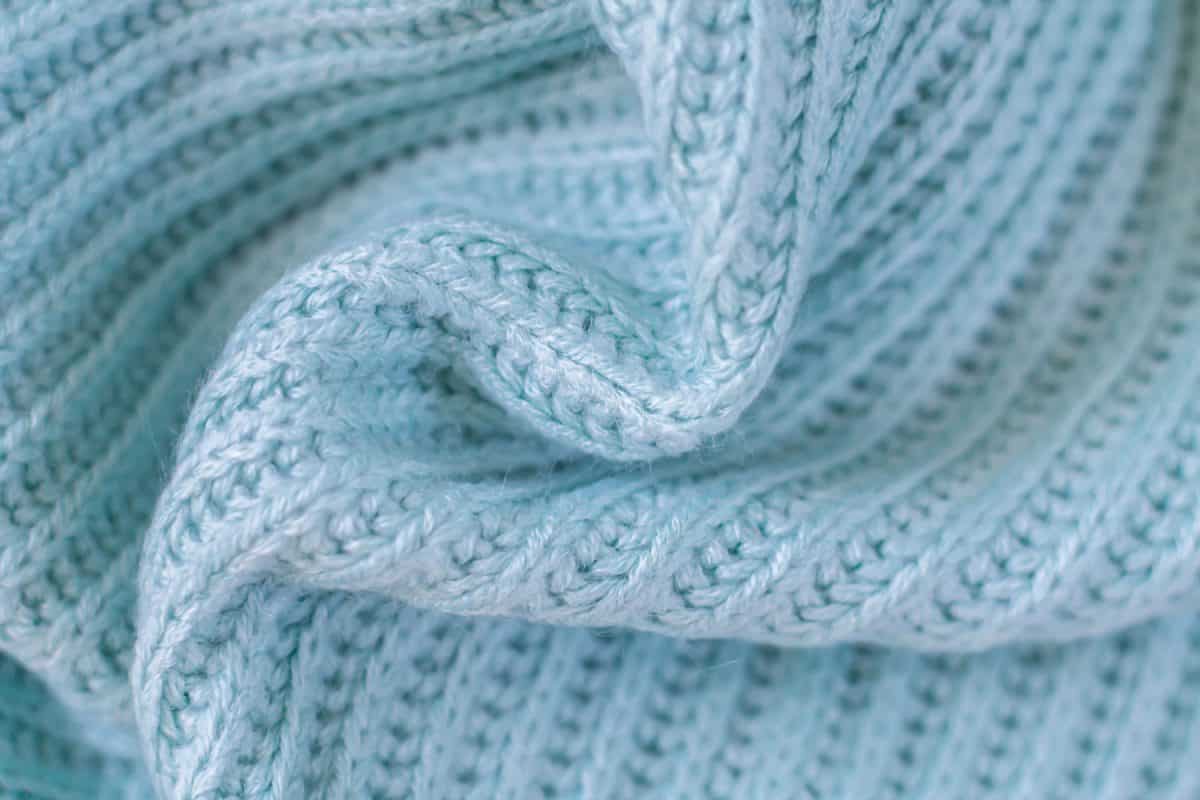
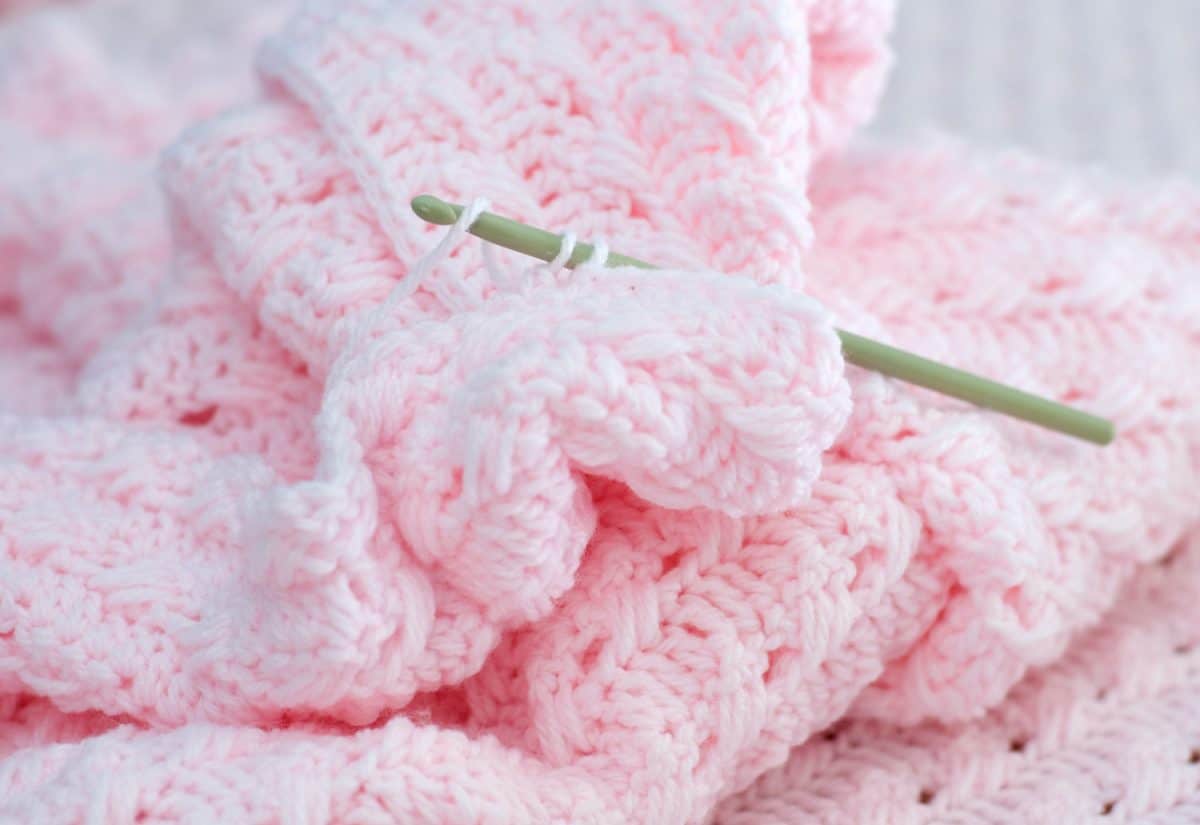
The most common reason for a blanket to curve is because of tension. If your first row is too tight, it will affect the entire blanket. The blanket will begin to curve into more of a rainbow shape than a rectangle as you continue to work.
If you frequently make your first row too tight, you can use a larger hook size when making it. After finishing your foundation row, you should go back to the recommended size.
Tension can also affect your blanket if it's not consistent for each row. If some rows are tighter than others, your blanket can curve or look wavy.
Inconsistent Number Of Stitches
Sometimes you may accidentally add or leave out a stitch. Frequently making rows with the wrong amount of stitches will cause your blanket to come out wrong. Your final results may look triangular, wavy, curvy, or otherwise distorted.
One way to keep track of your stitches is to write down the pattern you need to follow and check off each row as you go. There are also digital counters available to help you keep track.

Check out this digital crochet hook on Amazon.

Check out this digital finger counter on Amazon.
Changing The First Or Last Stitch Placement
Like with the number of stitches, it's important to be consistent with where the first and last stitches go. This problem tends to be more common with beginner crocheters or with more complicated designs. Regardless of your skill level, be sure to stay consistent with the first and last stitches.
One great way to keep track of where these stitches should go is to use stitch markers. Stitch markers look like safety pins and are great for keeping track of where your rows begin and end. You can even use them to help you keep track of the number of stitches per row.

Check out this 150-stitch marker set on Amazon.
Changing Yarn Or Hooks
Except for a few instances, it's important to use the same hook throughout your project. This will keep all of your stitches uniform.
You would think that all hooks of a specific size would be the same no matter the brand. Unfortunately, this isn't true. The way each manufacturer designs their hooks can create different stitches, even if they're the same size.
Keep notes of which hook and size you use when you start your project. Then, stick with that specific hook.
Changing yarns can also cause your blanket to become misshapen. Different yarns may have different weights. In these cases, you should adjust your hook size. You should select a size that will most closely resemble your previous stitch sizes.
Methods For Fixing Curved Crochet Blanket
There are several ways you can fix a curving blanket. One of the most time-consuming is to undo your work and start over. Some other ways to fix a curving blanket are to undo the mistake, block your finished product, or add a border.
Frogging Your Work
This method is very straightforward and involves ripping out your work until you find the last correct stitch. Once you find this point, you'll stop taking stitches out and start again.
Since this method may cause you to redo a lot of work, it's best to really think about it before you do it. Consider how severe the curving is. If it's not so bad, then you may be able to fix it once you finish your project.
However, if there is severe curving, you'll need to locate the problem and rip out your work to that point. If your foundation chain is the problem, you'll most likely have to start over from the very beginning.
Block Your Blanket
Another method for fixing a curved blanket is called blocking. With blocking, you'll stretch your blanket into the desired shape. For a curved blanket, you'll typically only need to use water. However, you can also use water, steam, or heat to block your final product.
To block your blanket with water, decide if you want to completely soak it or only get it damp. You can wash your blanket in a tub or the washing machine and then air dry it. Another option is to use a spray bottle to get the blanket damp and then air dry it.
Whichever way you decide, you'll need to pin your blanket to a towel until completely dry. It's essential to make sure your blanket is the shape you want and doesn't have any bumps. You can aim a fan at it to help your blanket dry faster!
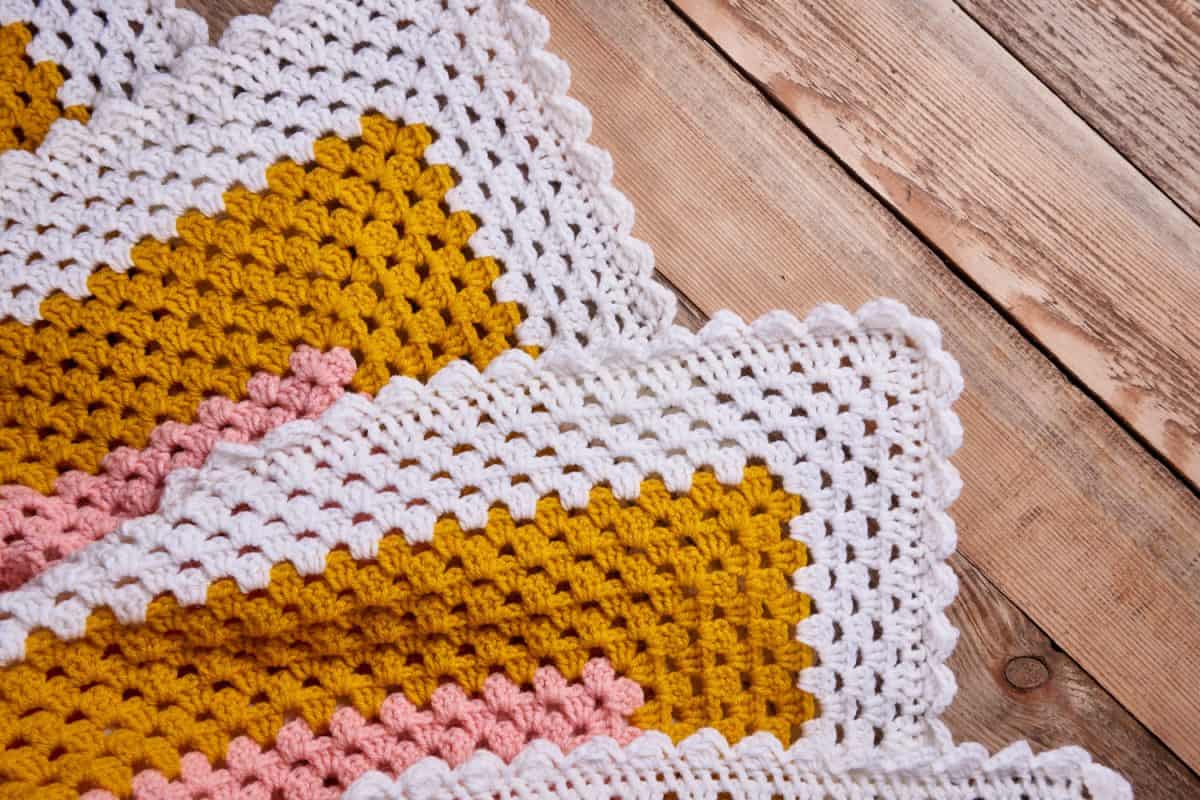
Add A Border
If your blanket only curves slightly or you're near the end of your project, you can also add in a border. Add as many rows as needed to the shorter side of your blanket so your finished product will be the correct shape.
To add a border to your project, select a different color of the same yarn. Be sure to use the same hook that you did for the central portion of your blanket.
Why Is My Blanket Curling?
Another problem you may face with crocheting your blanket is curling edges. The most common reason for your edges to curl is crocheting too tightly. You can usually fix curling by blocking your project.
With practice, you'll be able to get the correct tension for your projects. You can also use a larger hook size than your project calls for. This won't help you loosen your stitching, but it will work around your tight stitches.
How Tight Should A Crochet Stitch Be?
You have to find the perfect amount of tension for your crochet stitches. You don't want it to be too tight. Then, you'll have projects that are too small or curl. You're also more likely to hurt your hand while working.
You also don't want your stitches to be too loose. These projects are larger, look sloppy, and are prone to falling apart.
There are a few products you can use to help you regulate your tension. One thing you can try is a yarn holder or dispenser. These products hold the skein in place and allow you to pull yarn more smoothly.

Check out this yarn bowl on Amazon.
Another way to help your stitch tension is to get a tension ring. Tension rings are worn on your finger and help you hold the yarn. These products also protect your fingers from yarn burn!

Check out these tension rings on Amazon.
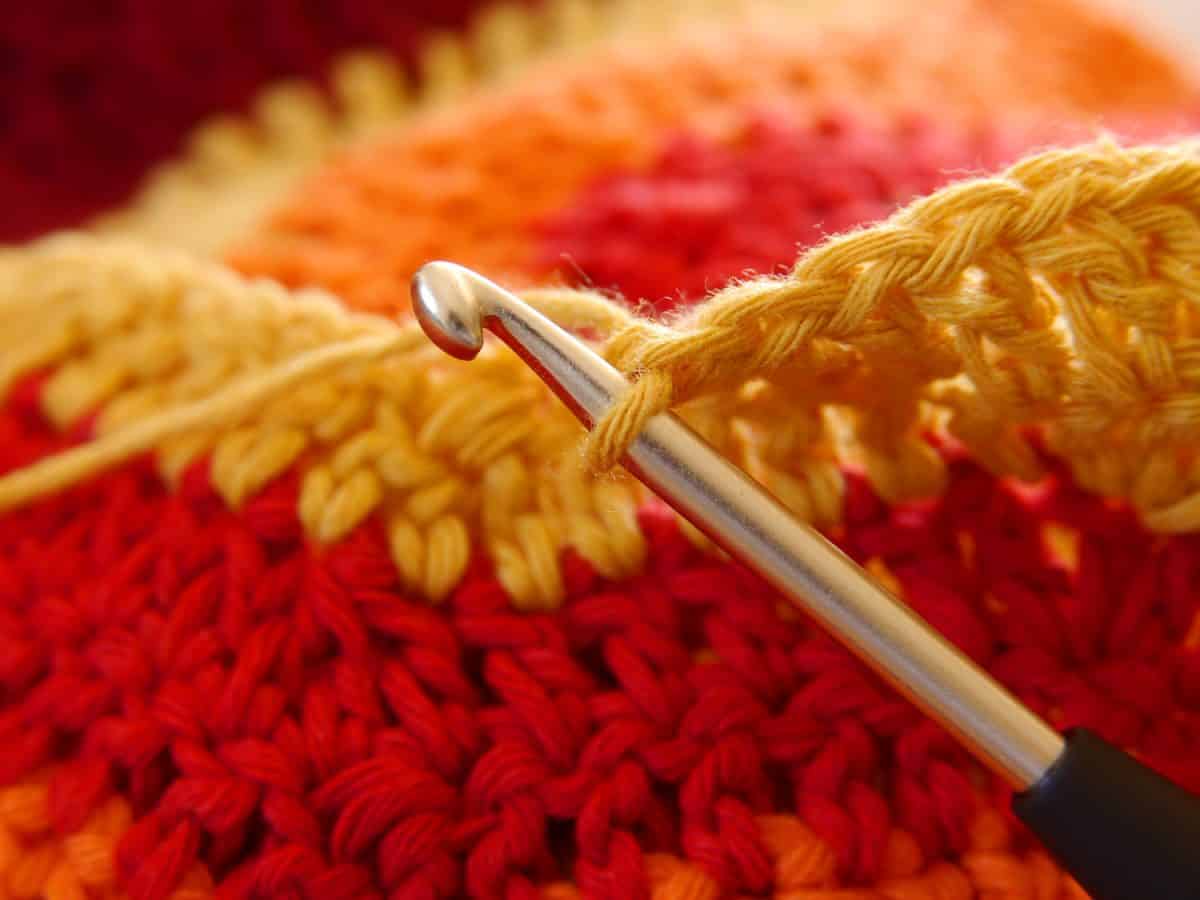
What Is The Proper Way To Hold A Crochet Hook?
Holding your crochet hook and yarn properly can help you regulate your tension and eliminate pain from continuous crocheting.
As you progress in your crochet journey, you can adjust your grip to suit your style. However, most prefer to practice with the pencil grip or knife method of holding the hook when first beginning.
Pencil Grip
For this method, you should pick up your hook by the flat portion with your thumb and index finger. Keep the hook facing you. This will help you notice yarn hooking onto the back of the hook.
Bring all of your fingers down in a loose fist and rest the hook on your finger. This should feel just like you're holding a pencil. You'll use your fingers to guide the hook for this method. It's great for crocheting for longer periods.
Knife Grip
For the knife grip, you should place your thumb on or just below the flat section of the hook. Then, wrap all of your fingers around it. This should feel like you're holding a knife. For the knife grip, you're using your wrists to guide the hook. This is also a good grip for people who crochet too tightly.
In Closing
Curving crochet blankets are commonly caused by incorrect tension or incorrect stitches. If you don't want to undo work you've already done, you can add in a border or block your project to correct this problem!
Need more? Try one of the posts below:
![Read more about the article Can You Quilt Without a Sewing Machine? [Here’s How]](https://craftsbliss.com/wp-content/uploads/2020/11/Sewing-a-quilt-with-quilting-machine-500x333.jpg)