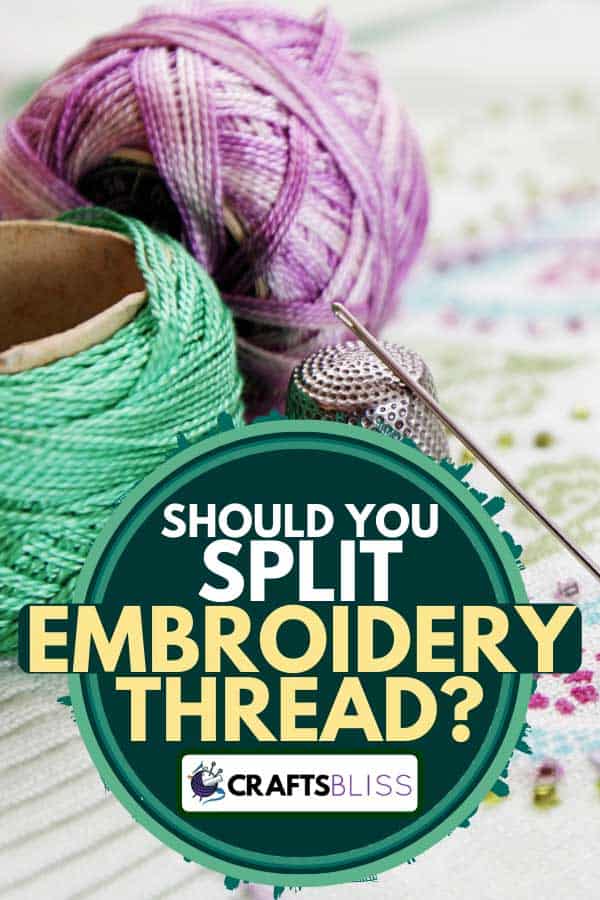
Have you begun your journey cross-stitching or embroidering? Or maybe you have been crafting for a while and just realized that embroidery thread could be split, and you are wondering whether it should be. Regardless of your skill level, you've come to the right place! We have researched for you, so you know how to best use your embroidery thread.
There are many instances when you should split the embroidery thread. Embroidery thread gives the impression that it is one strand; however, there are actually six strands that are typically separated. The thickness of the thread, or the number of strands used, will vary depending on the needle size and the type of fabric used.
It is helpful for future projects to understand that embroidery thread is sold as six strands. Some material may even be saved, now that you know that all strands are not meant to be used at once! Please keep reading as we discuss when to separate your thread.
Splitting Embroidery Thread
Knowing when to split the embroidery thread can depend on a few things, such as fabric count, design pattern, and stitch being used. Let's take a closer look at determining what thickness thread to use, given these considerations.
Fabric Count
To know how many strands your embroidery thread should be split into, you should look at your material's fabric count. The most common counts are provided for Aida cloth. The fabric counts are 11, 14, 18, and 28. The higher the number, the smaller the stitches will become. Beginners should start with an 11-count or a 14-count fabric because it is easy to see bigger stitches.

Click here to find this product on Amazon.
When working on a piece of 11-count fabric, typically use three strands of embroidery thread. Two or three strands can be used for 14-count fabric. Eighteen-count and 28-count fabrics work well using either one or two strands of embroidery thread.
Design Pattern
When working on a cross-stitch project, there are pattern instructions to follow. Depending on the design pattern you have chosen, the pattern key will determine how many strands of thread to use. If you decide to disregard a design pattern's instructions, there can be consequences. For instance, not using enough strands can result in the fabric showing through the cross stitches being made.
Consequently, if you use too many strands for the fabric count chosen, stitching will become increasingly difficult. The thread's thickness can damage the fabric due to pulling too hard to get the thread through the holes. The overall quality of your stitches can decrease and become bulky.
For all cross-stitchers and embroidery thread users, it is a great idea to use a reference book. Reference books offer new ideas and inspiration to use for future projects. Most design books like this have designs for every occasion and therefore provide many excuses to practice! There are also stitch diagrams with instructions and cross stitch tips to use if you are unsure about fabric count or the number of strands per project.

Check out this product on Amazon.
Type of Stitch Used
Sometimes the type of stitch that will be used can require a higher or lower number of strands. For example, single thread chain stitches require a single thread or one strand of embroidery thread. This is because single thread chain stitches are typically used for details in a cross stitch pattern or garment components such as button attaching and hemming.
Opposite of the single thread chain stitch, the multi-thread chain stitch requires three to four strands. This particular stitch is used on heavy fabrics and therefore needs more strands for thickness and strength.
How Do You Split Embroidery Thread?
Splitting embroidery thread is also known as stripping. It is important to use regular DMC embroidery thread because it comes in the standard six strands. Follow these simple steps to split threads:
- Measure the length of the thread that you will be using and cut with scissors.
- Use your index finger and thumb to grab the thread. Pat the tip of the thread until the thread starts to separate from each other.
- Grab one strand from the bunch and pull the strand out. Even if the number of strands required for your project is higher, try to grab one strand at a time.
- Repeat the process if more strands are needed.
- Gather the strands together and keep them even to group back together.
What Are The Best Embroidery Threads?
To create a beautiful piece, the quality of the stitches requires a quality embroidery thread. There are plenty of embroidery threads available to purchase, but it is important to know what makes good embroidery thread. It is crucial to understand the different purposes behind specific embroidery threads. Some embroidery threads are used for embroidery machines rather than hand stitching.

Click here to find the product on Amazon.
Without reading the purpose of the embroidery threads, the variety of color is significant. There is an array of colors and a spectrum to choose from. But the purpose of the thread is fundamental and should be considered. This embroidery thread is great for embroidery and sewing machines. The spools are designed to be washed and bleached and therefore do best on clothing, bags, blankets, or pillowcases.

Click here to find the product on Amazon.
This embroidery floss is arguably the best. DMC embroidery floss is common and designed for DIY projects such as cross stitching and punch embroidery. The thread is made from 100% cotton and very durable. The embroidery thread is also very vibrant in terms of color.

Click here to find the product on Amazon.
This embroidery thread is ideal for cross-stitch, needlepoint, hand and machine applique, and for creating quilts. The way that this floss is packaged allows for better organization and decreases the chance of tangles. This is better for storage and putting away unused threads.
Is Embroidery Thread Different Than Regular Thread?
Embroidery thread is different than regular thread because machine sewing thread is significantly thinner. Machine sewing thread is also tightly spun to give off a neat, clean, and quality appearance. Loose thread or thick thread would not be great for clothing or piecing together material. There are also different stitches used for different projects. Embroidery thread is not ideal for hemming pants or sewing a dress pattern due to the thickness.
Can You Sew With Embroidery Thread?
Although it is not recommended to sew with embroidery thread, it can be done! Interestingly enough, embroidery thread, after being stripped, can be used in a sewing machine. However, the embroidery thread behaves differently than sewing thread because it is much weaker in tensile strength. Embroidery thread is more likely to fray compared to regular or sewing thread.
It is common to use an oil thread lubricant on the embroidery thread before sewing to prevent breakage or poor stitches.
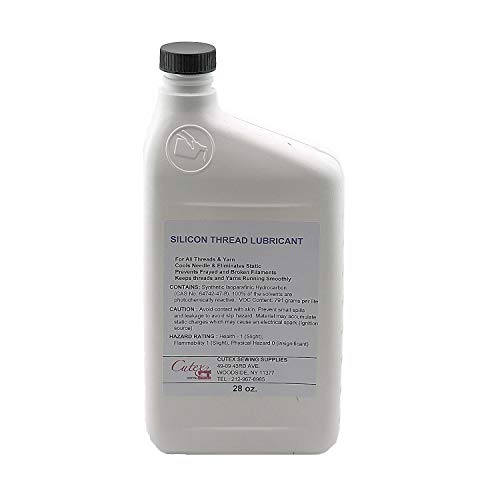
Check out this product on Amazon.
Silicone sewing thread lubricant is common to use when sewing or working with embroidery thread. This lubricant is odorless and non-staining. Additionally, this lubricant will prevent snagging, static electricity, and skipped stitches.
Conclusion
Next time you are working on a project that requires embroidery thread, consider the fabric count, the design pattern, and the type of stitch used. The fabric count will tell you how many strands you will need to strip the thread into. It is important to use the right amount of strands to properly execute a design and prevent the fabric from showing or being damaged. Also, consider the right kind of embroidery thread to use for your needs. There are plenty out there, and you should not be afraid to experiment with them all!
Check out our other posts for helpful embroidery tips:
![Read more about the article What Is The Best Paper To Make Flowers? [4 Suggestions]](https://craftsbliss.com/wp-content/uploads/2020/11/Colourful-handmade-paper-flowers-on-pink-background-500x333.jpg)
![Read more about the article What’s The Best Glue For Fiberglass? [Our Top Products Explored]](https://craftsbliss.com/wp-content/uploads/2023/01/Worker-rolls-glue-solution-through-fiberglass-sheets-500x333.jpg)