The art of leather crafting can be traced back to the dawn of early man. In fact, the earliest leather artifacts found are estimated to be from around 2200 B.C. As one would expect, techniques of leather processing and sealing have evolved over the years. If you are working with leather, you probably wonder if you have to seal the leather after dyeing it. We've researched the leather dyeing process to get the answer for you.
Leather should be sealed after dyeing to protect it from various environmental factors, such as putrefying, shrinkage, drying, cracking, water damage, and color pigmentation loss. Sealing your leather will aid in its longevity.
Please keep reading as we discuss the various stages of leather finishing. We'll also delve into dye drying times and suggest leather sealers for your piece.
How do you finish leather after dyeing?
Preparatory
This is the beginning stage in preparing the leather for tanning by removing hair and other debris from the hide. It also includes liming or bleaching the hide. At the end of this stage, your piece is considered rawhide.
Tanning
This second stage actually stabilizes the rawhide. When rawhide dries without treatment, it forms a rock hard petrified material that will putrify when it is rewetted. There are different products that tanners use to treat rawhide so that it is protected.
In tanning your leather, there are different types of available products to help you along with this process. The type of product you choose is entirely dependent on the type and thickness of the leather and how you intend to use it. Also, be aware that the medium you use to tan leather will directly affect your finished product's color after dyeing is completed.
Tanning product formulations are normally grouped as follows:
- Aldehyde or wet white - will give the leather a whitish tone.
- Chromium or wet blue - will turn leather a greyish-blue tone.
- Alum (Tawing) - will give the leather a whitish tone.
- Emulsified Oils - will give the leather a yellowish tone.
- Vegetable Tannins - will turn leather a brownish tone.
Once you choose your tanning product, it is simply a matter of brushing, spraying, airbrushing, or rubbing the product into your dried piece of leather. If you choose to purchase a product (versus making a product from scratch), be sure to follow the manufacturer's directions.
Crusting
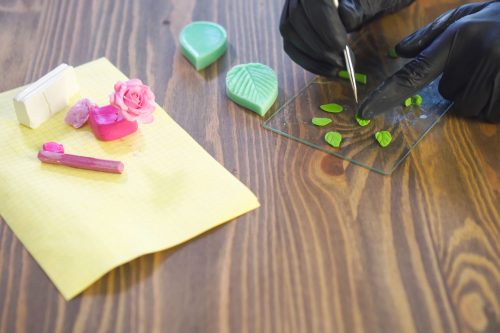
This third stage involves drying and softening your rawhide leather including dyeing and whitening. The finishing stage takes place at the end of the Crusting process. Finishing means applying oil or your chosen finishing product after drying is completed. You can also emboss or polish your leather during this stage.
The most popular technique for dyeing leather is to use is a dye bath. The process of dyeing is separated into three parts:
- Primer - applied to your tanned leather to prepare the surface for pigmentation.
- Colour coat + crosslinker - applied to the primer coat.
- Top-coat - depending on the desired finish and type of leather, top-coat finishes range from matte to glossy.
How long should you let your leather dye dry?
In the world of commercial tanneries, drying leather has been reduced down to its own science by using mechanical dewatering, air drying tunnels, vacuum dryers, and high-frequency dryers. For the home or studio artisan, drying leather is commonly done by ground drying or drying by hanging on racks or pegs. You should ensure that there is proper ventilation because dye chemicals can be overpowering and harmful to breathe in enclosed spaces.
Drying times following a leather dye bath can vary greatly depending on your leather piece's size and thickness. Temperature and relative humidity in your drying space will also affect drying time. On average, and with proper air movement, you can expect drying time to be around 30-minutes.
If additional color is needed, repeat the dye bath process and dry for another 30-minutes. You can continue this process until you reach your desired shade. The two main techniques in using a dye bath are submerging the entire piece of leather into the dye liquid or pulling the leather through the dye bath slowly and evenly while watching for even color distribution and absorption.
Types of drying methods also differ. Techniques include hanging your leather on a drying frame, laying on a flat well-ventilated surface such as a mesh screen, or drying on the ground. Direct sunlight does affect the outcome of your shade. Throughout history, tanners have even used direct sunlight to aid in the dyeing process. The longer a piece of leather dries in the sun, the deeper the patina's shade - no dye necessary.
When the dyeing process is complete, and you have your perfect shade, it is important to condition your leather. The processing of your piece of leather thus far dries out the leather's natural fibers. Some products can be considered conditioners strictly, while others can be classified as conditioners with added protectants.
What are the best leather sealers?
If you have crafted your leather from the raw product, your leather has been through quite a few steps once you reach the point of leather sealing. Whether you are performing the first initial sealing of your leather or resealing a treasured piece, there are many choices for products out on the market.
Not all leather sealers are created equal. What might be appropriate for a leather handbag is not appropriate for a piece of leather furniture or leather used for more industrial purposes. It is also important to note that sealing will help prevent the dye from transferring onto your skin if the leather is being turned into a garment.
As far as the best leather sealers, that is a matter of personal preference and depends entirely on how your leather will be used. Does your leather need general protection, or does it need to be waterproof? Would you like your sealer to contain a color restorer? In choosing a sealer, there are a plethora of options.
The most common leather sealer types are either solvent-based, acrylic-based, or wax. And let us not forget home-crafted sealers. Modern product development does add to the convenience of multi-step leather processing in half the time.
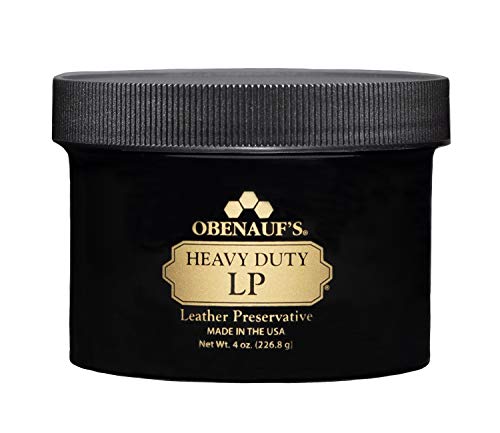
Obenauf's Heavy-duty LP Condidioner
This sealer provides a heavy-duty finish to your leather using natural beeswax. It leaves your leather piece with a water-resistant, scratch-resistant, mildew-resistant, durable layer of protection. As a conditioner, it can also be used to rejuvenate dried-out leather.
Fiebing's Resolene Finish
Without altering your leather piece's color, Fiebing's Resolene Finish will leave a gleaming, glossy shine. It is simple to apply using either spray or wipe techniques. This sealer also provides a water-repellant feature and helps your leather stay flexible.

Angelus Acrylic Leather Finisher
This sealer is best used over smooth leather surfaces, particularly to preserve painted-on designs. The acrylic base is easy to keep clean and does not crack or peel away over time. This seal will leave a high gloss finish on your crafted leather piece.

Click here to see Angelus Acrylic Finisher at Amazon.
![Read more about the article 8 Best Sewing Machine Oils [Incld. Safe Alternatives To Sewing Machine Oil]](https://craftsbliss.com/wp-content/uploads/2020/11/A-man-pouring-oil-into-the-sewing-machine-to-lubricate-it-1-500x333.jpg)