Polymer clay is a versatile medium for creating original figurines, jewelry beads, miniatures, and other craft projects. However, after baking the clay, you may wonder what to do if it is still soft? We researched common problems with working with polymer clay related to baking it in the oven. So, dive into your next clay project with confidence and be able to correct clay that is still too soft.
There are more than a few reasons why polymer clay may still not be hard enough after baking. Thankfully, as long as you haven't glazed or painted the clay, it is possible to rework it and re-bake it, so it becomes set. Check out some of the following reasons clay is too soft and not cured after baking.
- Didn't leave the clay in the oven for long enough
- Clay was placed in the oven at a cold start
- The quality of the clay is low
- The clay project has thick areas
- There need to be adjustments to the oven
- A mix of different brands of clay was used for the project
For more details, continue reading for helpful solutions to troubleshoot clay that is still too soft.
Troubleshooting Still Soft Clay
Working with polymer clay is a lot of fun. However, when clay won't fully set after baking, it can lead to some frustration. Not to worry, as we will cover some reasons why polymer clay is still soft after being heated. If needed, clay can be reworked before baking a second time if it has not been painted or glazed.
1. Need More Time In The Oven
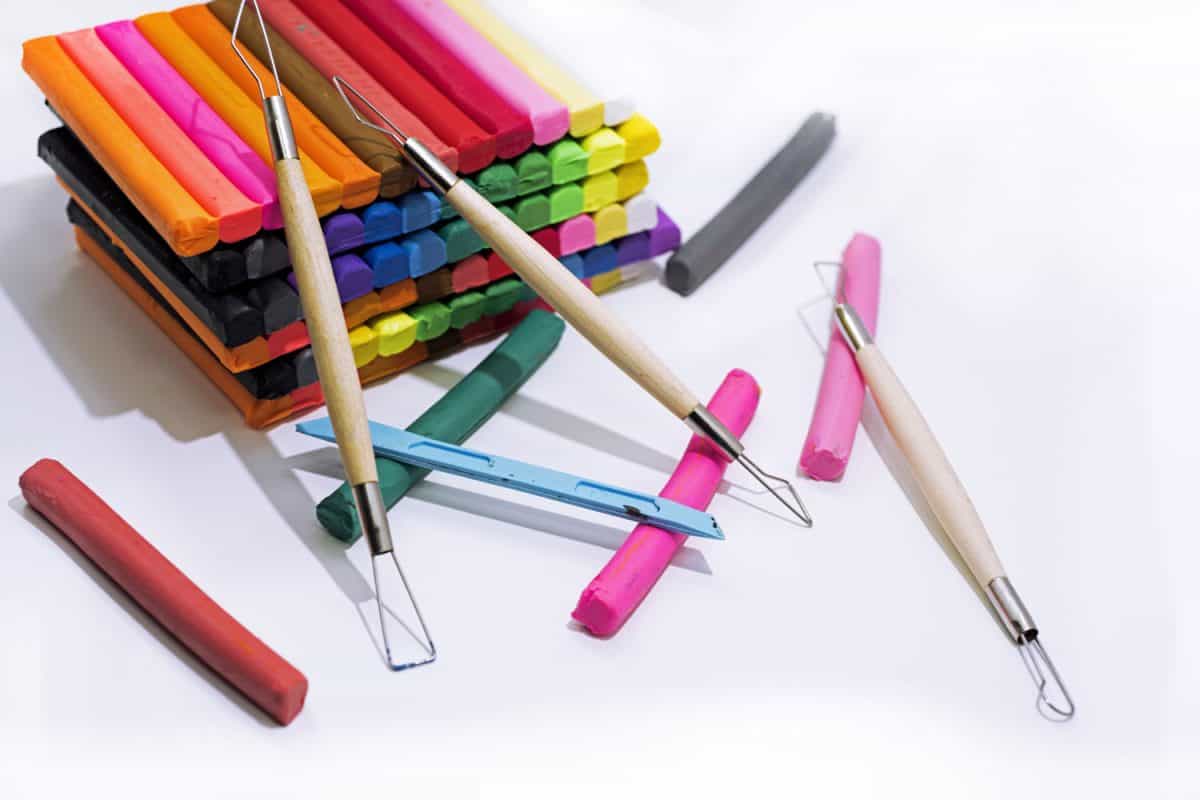
Sometimes, even if you follow the suggested instructions on your clay and the oven settings, the clay is still soft. Take a good look at your design for any thick areas or hidden supports that might be affecting the piece. Make sure to give your clay more than enough time in the oven. Turn the oven off once the time runs out and allow the clay to cool inside the oven with the door closed or slightly open.
2. Clay Placed At Cold Start
It is essential to bake your clay in a pre-heated oven rather than risk an uneven bake and have your piece spending longer than needed in the oven. If you placed your clay in an oven with a cold start, chances are you have thrown off the results for curing your project.
3. Low-Quality Polymer Clay
Note that all polymer clay is not of the same quality, and different formulas are used to make this delightful medium. Choose your clay wisely, as mixing other brands of clay can lead to disappointing results. Also, lower-quality clay may be more brittle or challenging to mold, dry out quickly, or become crumbly.
4. Thick Areas Of Clay
It is possible to have areas of your clay project that are thicker than others. Especially if you choose to cure your clay with a heat gun or hairdryer, chances are you may have areas where the clay is still soft. Thicker areas of clay will take longer to harden and need more time in the oven. Keep in mind that for every 1/4 of an inch of clay, it needs 15 minutes in the oven.
5. Oven Adjustments
The manufacturer of your polymer clay may suggest a range of temperatures to cure your piece. However, where you live, humidity and your sea level can impact how well your oven performs when baking your clay. Do some trial and error to get a more uniform bake.
You may need to adjust your oven's settings to successfully harden your clay at different thicknesses. You may find it helpful to note varying temperatures and cook times that get you the results you seek.
6. Mix Of Different Polymer Clay Brands
If you desire to mix different brands of polymer clay, you may be in for a surprise. Because all clay is not the same formula, you get uneven areas where the clay is still soft after baking. You may need to allow the clay to bake longer in the oven, at a higher or lower temperature, and experiment to get the results you want. When you want to mix different clay, stick to the same brand when possible.
How Do You Know When Your Polymer Clay Is Done Baking?
You can tell your polymer clay is done baking if you give it a close inspection. The polymer clay should be a bit flexible and bend but not break or crumble when done baking. The clay should have an even-looking appearance, which may be shiny or matte. It should not be so soft that it loses its form when handled.
Check out this Sculpey set with classic colors on Amazon.
What To Bake Polymer Clay On?
After you are finished shaping your polymer clay, half the fun is putting it into the oven to bake and checking on it occasionally. Make sure that the oven is properly heated to the right temperature before placing the clay project inside.
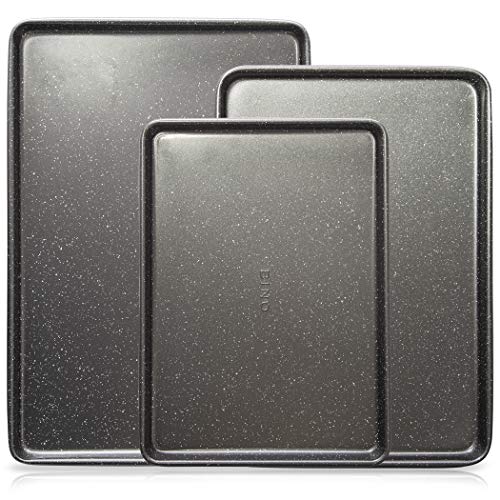
Many craft lovers like to bake their clay on a non-stick baking sheet, in a disposable aluminum pan, or atop a ceramic tile. If you wish, place a piece of cardstock or copy paper between the clay and the baking surface. Doing this prevents the clay from taking on a shiny appearance at the bottom.
Check out this non-toxic, non-stick baking sheet set on Amazon.
How Long To Let Polymer Clay Cool?
It is equally essential to let polymer clay cook long enough in the oven and have ample time to cool and harden. Keep in mind; most polymer clay should bake a minimum of 15 minutes for every 1/4 inch of thickness. After enough time has elapsed, allow your clay project to sit in the oven after it has been turned off and cool down.
Give the oven and your clay a minimum of two hours to cool down. Leaving the door of the oven slightly ajar helps speed up the process, but be patient.
Check to see if your clay is cured by pressing a fingernail into the cooled-down clay in an area where it will not be seen. The clay should not have a deep indentation left behind but may have a slight mark visible.
For improved accuracy when baking clay in an oven, use a temperature and make adjustments based on sea level, humidity, and oven type.
Check out this Arteza polymer clay kit on Amazon.
Why Is My Polymer Clay Brittle After Baking?
When working with polymer clay, it is essential to follow the manufacturer's instructions and experiment with results. Clay might become brittle after baking if the oven temperature was too low or the clay was not left in the oven long enough to cure. Another reason clay is brittle is due to the brand, as all clay is not the same quality.
Making fragile pieces are liable to become brittle and break and use older clay that has been exposed to the air. Note that when manufacturers change their polymer clay formula, they may be more susceptible to drying out, be difficult to work with, or are incredibly brittle after processing.
How To Harden Polymer Clay Without An Oven?
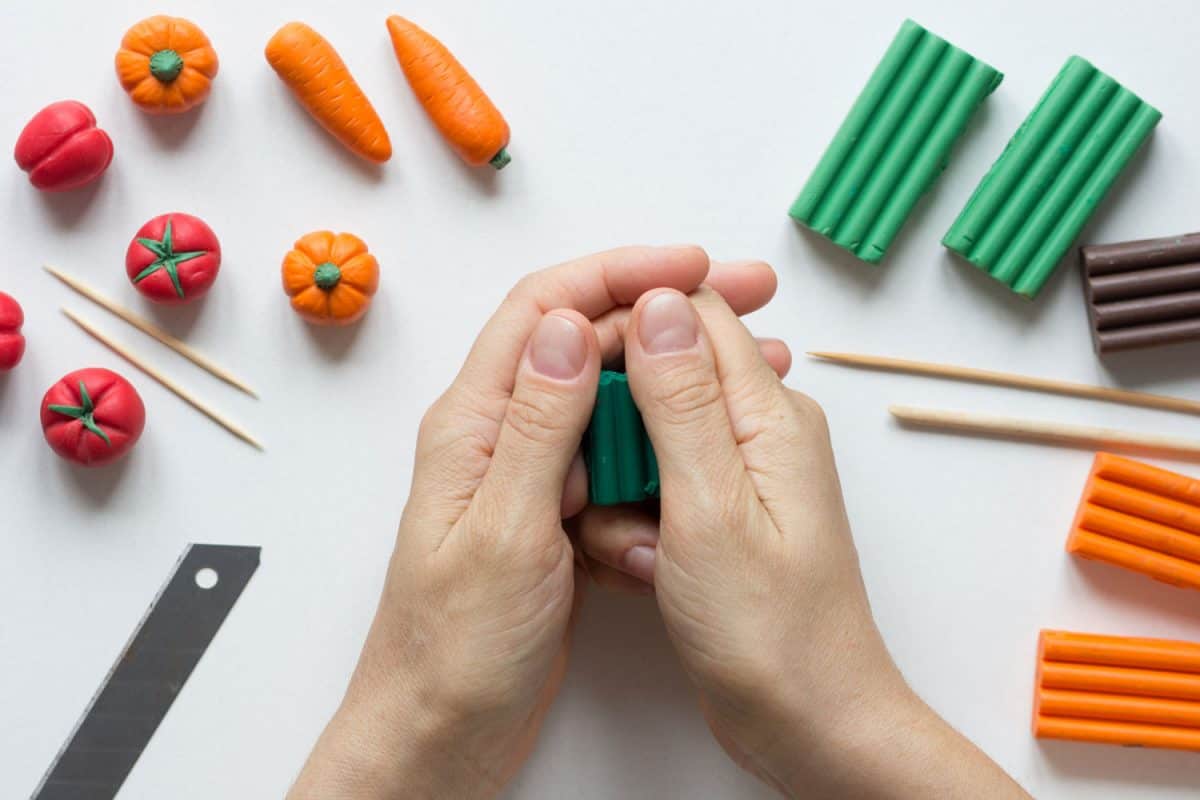
Want to harden your polymer clay but lack an oven? Not to worry, as you can finish up your craft project using a handheld hairdryer, a heat gun, or a heat-embossing tool. To harden clay without an oven, place your object on a ceramic tile or woodblock that is heat-safe and non-stick.
When applying a dryer or heat gun to the clay, keep a distance and move around the clay slowly to prevent burning and emission of toxic fumes. A length of 6 to 12 inches away from the clay piece is good.
Realize that hardening clay without an oven may lead to uneven results, and some areas may still be pliable. If you cannot use an oven or heat-gun to cure polymer clay, look for clay that air-dries. Do not use a microwave to attempt to harden polymer clay.
In Closing
We hope you dive into your next polymer clay project with enthusiasm after reading this article. There are multiple surfaces you can use to bake your polymer clay in the oven. Plus, you can choose an air-dry brand of polymer clay, a heat gun, or a hair dryer to harden clay when an oven is unavailable. Polymer clay is a fun medium for crafting jewelry, figures, and whatever your imagination inspires you to make.
Be patient and follow manufacturer instructions when using polymer clay for best results. Depending on the thickness of your clay project, your oven's settings, and elapsed time, it may take longer to harden clay or require re-baking.
Before you go, check out the following articles of interest.
Read More: Can Polymer Clay Get Wet? Is It Waterproof After Baking?



![Read more about the article Can You Put Glitter In Candles [Pros And Cons]](https://craftsbliss.com/wp-content/uploads/2022/01/Three-different-candles-coated-in-glitter-500x333.jpg)
![Read more about the article Can You Quilt Without a Sewing Machine? [Here’s How]](https://craftsbliss.com/wp-content/uploads/2020/11/Sewing-a-quilt-with-quilting-machine-500x333.jpg)
![Read more about the article Can You Glue Fabric To Leather? [Products & Steps Included]](https://craftsbliss.com/wp-content/uploads/2023/01/In-workroom-girl-makes-purse-with-brushglueleather.-500x333.jpg)