Polymer is a fun and easy crafting material that can make a number of items. One of the top rising trends right now is making unique earrings out of polymer clay. We've put together a list of 15 awesome design ideas for you to get your creativity flowing!
Also in this article, you'll find some helpful tips and tricks for beginning to work with clay as well as keywords often heard when researching polymer clay. Making clay earrings will give you a relaxing craft to do while being able to show off your handy work afterward!
Polymer clay, like any other medium, can have its pros, cons, and even challenges. The biggest challenge you'll face is just taking your time. Clay is a craft that can show small details, such as fingerprints or dents. By taking your time and spending the time learning how to handle the clay, you'll be making near-perfect designs each time.
Polymer clay advantages:
- Handmade
- New skill
- Relaxing
Polymer clay disadvantages:
- May not hold thin details
- Can show imperfections
- Breakable
For the tools needed, you have a lot of wiggle room. Molds, textures, stamps, and finer poking items can be everyday objects. These items are just the starting point for polymer clay earrings; you can add in as many design tools as you'd like! Below is a list of some of the essentials you'll want on your work table:
- Sharp cutting edge
- Thin or medium-sized poker
- Round cut-outs
- Baking or parchment paper
Now, let's get started with some inspiring designs!

1. Imprinted memories
Time to stamp in your favorite spots. Here we see the crafter used a stamp of the desert, showing a cute cactus and setting sun. Using stamps will give you personalized earrings that tell a story.
2. Seasonal goodies
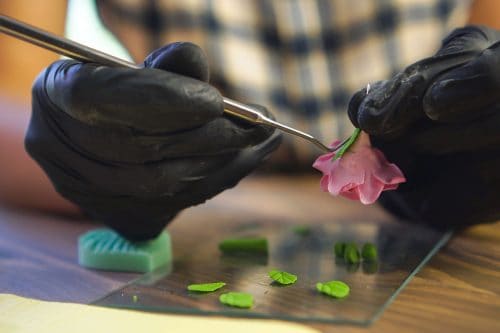
Themed earrings are a classic accessory. These earrings are special Valentine's or Galentine's Day earrings complete with hearts and flowers. Archive this look by using a sharp edge to cut the side edge design. Then carefully sculpt your small details and attach!
3. Push and play
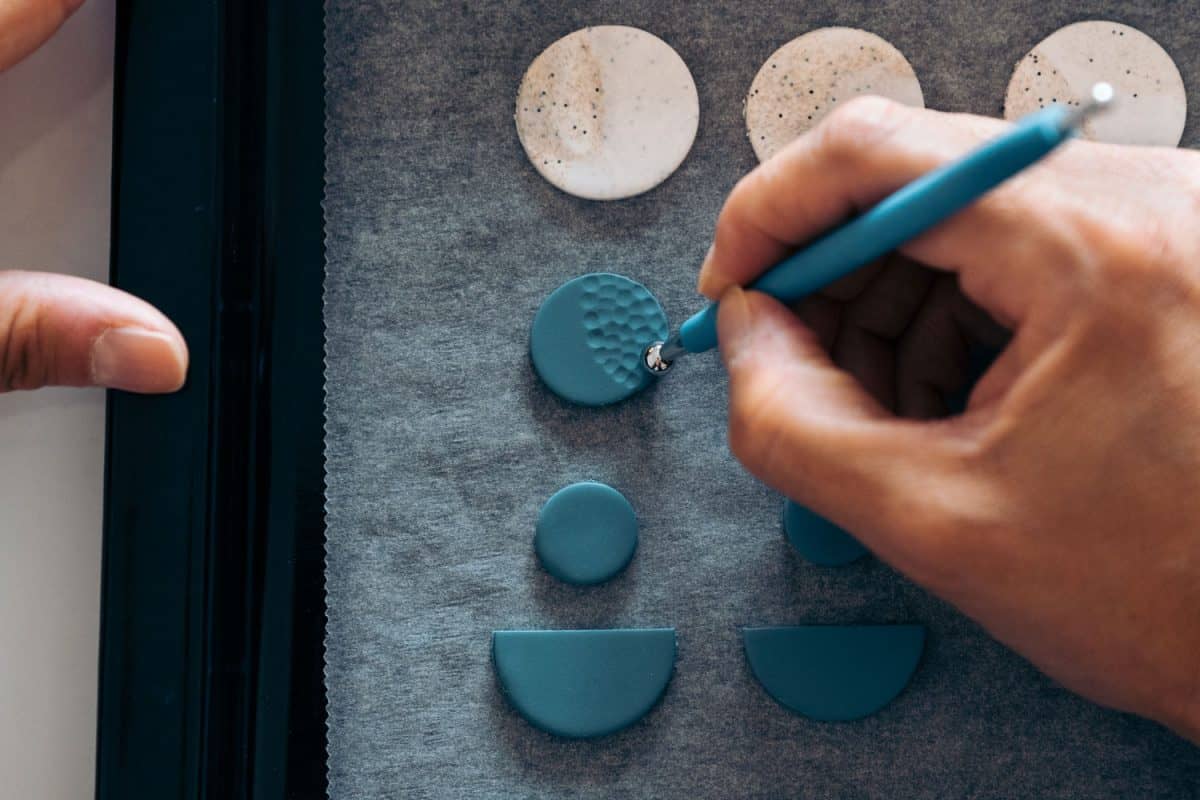
Not sure what kind of design you want just yet? Just play! Here we see a smooth edge is pressed into the clay to give the earring soft indents. It is a simple and clean look to enhance the overall style.
4. Eye of the tiger
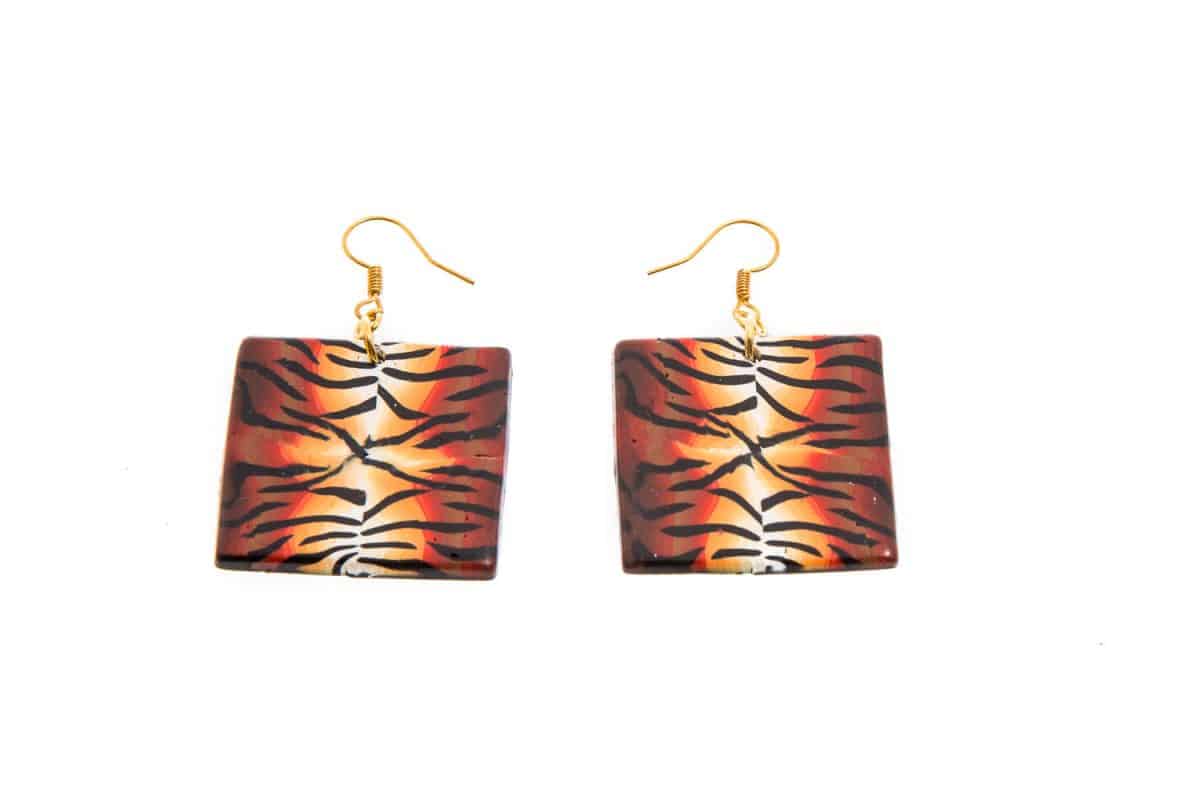
There are two ways to make this design. The first is to overlay different colored clay onto each other and roll them together for a gradient effect. Then you can roll on the black lines once the back color is the way you like it. The other method would be to start with a middle ground color and hand paint the tones and lines.
5. No hassle with this tassel
An easy way to add that extra wow. When you're at your local craft store, pick up some small, lightweight tassels. Just like adding in the earring clips, you'll loop an eyehole through the tassel and connect it into the clay. Adding little extras like this opens up even more possibilities!
6. Spooky good details
Ready to try your hand at the small details? As seen in these earrings, a shape was cut out, baked, and then glitter plus resin was added on. Using a well-mixed paint and a small brush, you can make intricate designs, each special in its own way. After they dry, add on a top coat of resin to make them shine and protect the paint.

Click here to view this glossy resin sealant on Amazon.
7. Bold on the dash
Don't be afraid to mix solids with patterns. This design combination takes a bold pop of color for the top earring and then mixes it up with black and white. Instead of having the black and white feel static, add a pattern to give it life. Earrings like this can go from office to night out without missing a beat.
8. Into the worm hole
Five circles to draw you in! Polymer clay is awesome since it doesn't dry right away and lets you size things out. On your parchment paper, start to stack each layer within each other to see how they'll fit. Keep in mind to leave a little room for the connecting hardware.
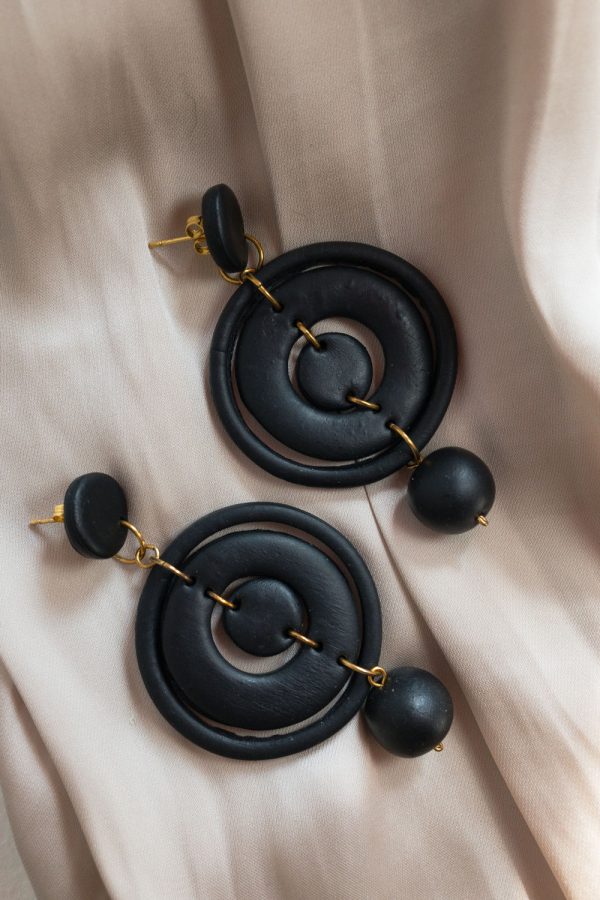
9. Totally Metal Add ons
Another trend popping up is earth tones and combining materials. The crafter of these earrings matched the round figure of the metal to the clay for a seamless look. Adding in metal charms like this can be a great choice when painting or stamps aren't your forte.
10. Glitter and paint splashes
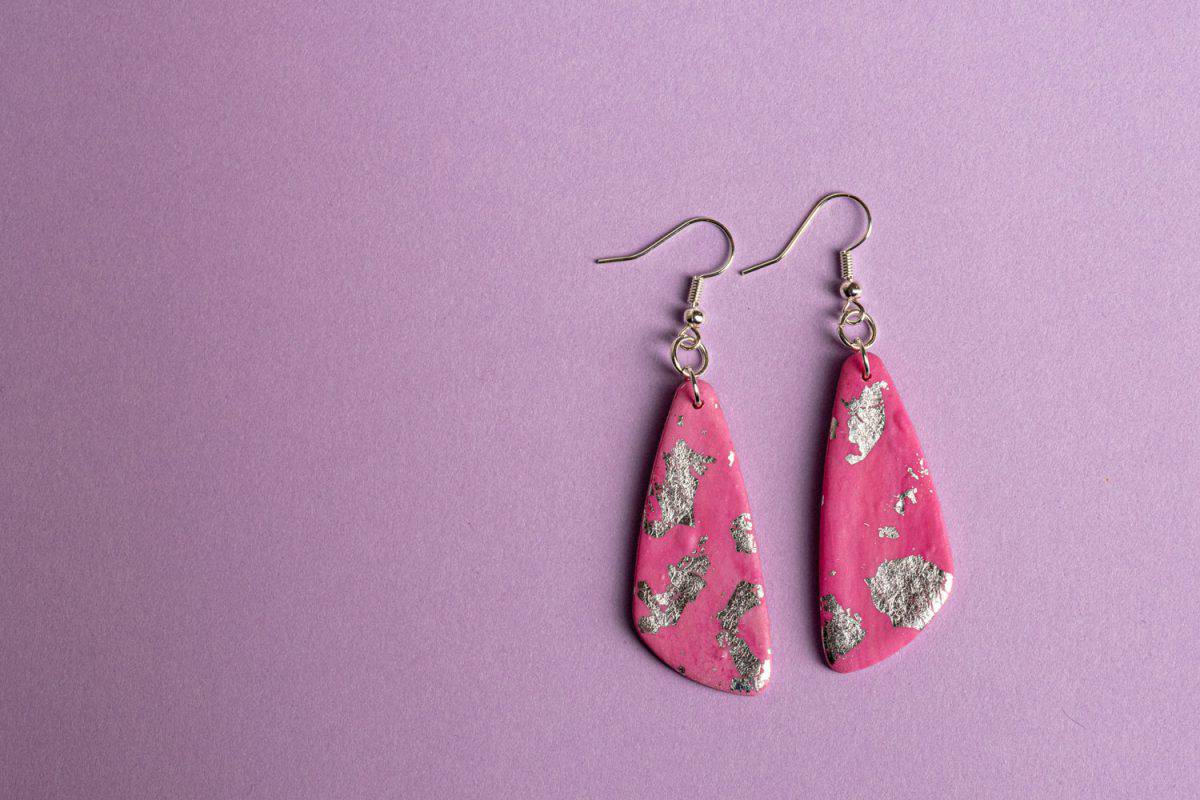
Clay is meant to be fun, so why not have fun with paint too? Take your colors of choice to make a designed clay base. Then either before or after baking, splash! Dip your paintbrush and fling paint on the top of the earring. The end result is your own distinctive style.
11. Spots, lines, and swirls, oh my!
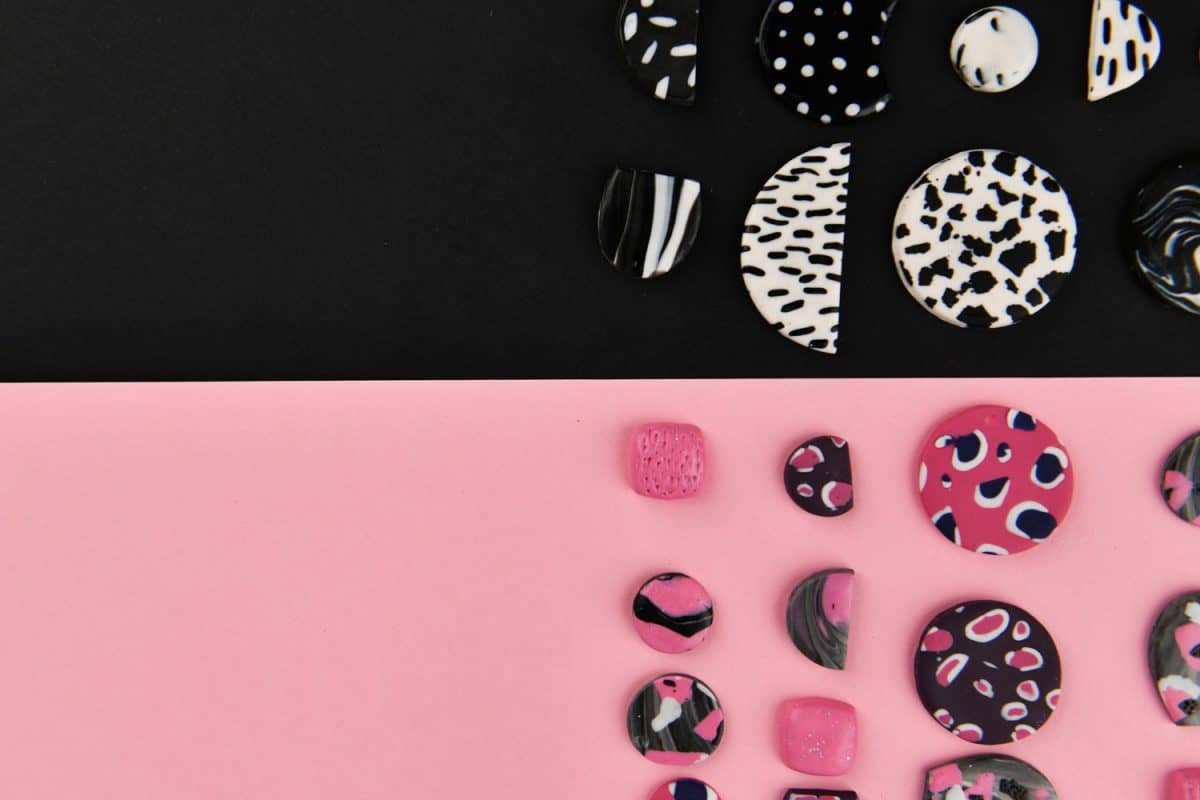
If all you have is paint on hand, get weird. Make dots within dots and pair them with squiggly lines. You can also gently mix together two clay colors, roll it out, and have a tie-dye end piece. Using similar colors will allow you to mix and match the earrings you wear too.
12. Topsy Turvy Shaped
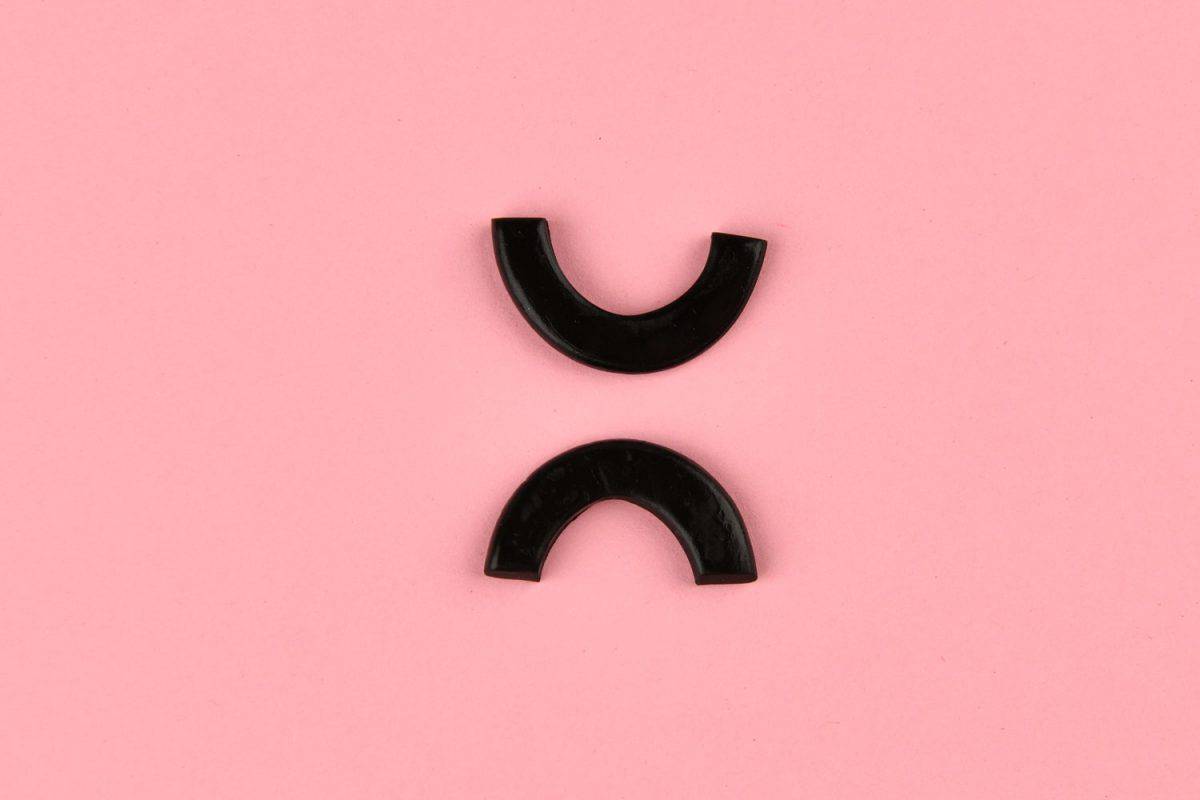
A sophisticated look, keeping earrings shiny black and clean. These earrings still have character with their slight curve but aren't as loud for a more professional look. Taking either black clay or black paint, bake and then add a top coat of sealer. You can use either resin or a clear coat to give you a glossy finish.
13. Above the clouds
The weather is small talk, lets make it big. Clouds, stars, moons, you can make it all. Either stick with one repeating pattern, like the stars above or have it stand out. Another idea would be to make a cloud and raindrops, you can space them out and connect for a cute rainy day.
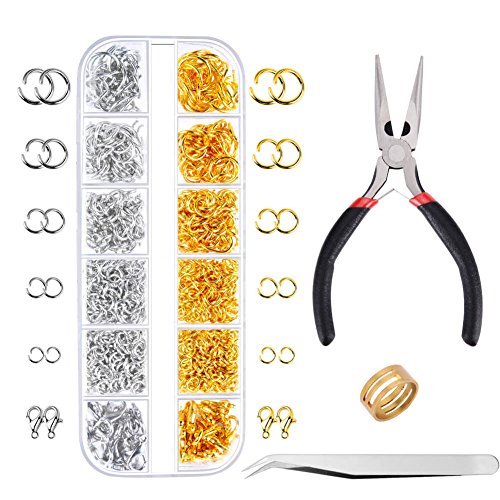
Click here to view this jewelry ring kit on Amazon.
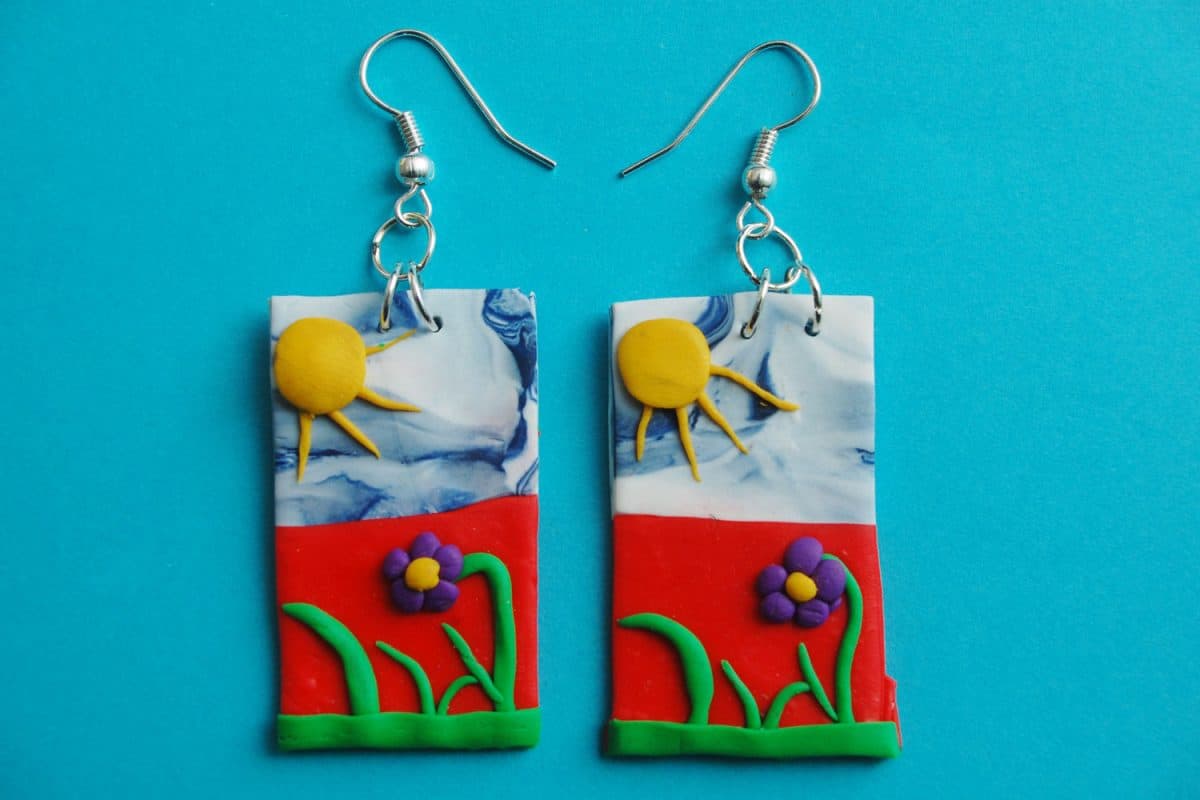
14. One, two, three, four
A bit funky in its lines, the earring design here is simple to put together with a pleasing end result. Using singular colors can allow you to match it with any outfit. You can also make it a rainbow! Layer purple, blue, yellow, orange and red.
15. Home away from home
Your plants make your house a home, and now you can take them with you. Start off by rolling out the color of the plant or any other color you like. Study the lines of your favorite plants' leaves and make a cut out of them. Add on a shaped top earring and you're good to go!
Helpful tips and tricks
If you're a fan of smooth edges, bring a piece of sandpaper to your work table. After the clay is done curing in the oven and has cooled down, you'll be able to smooth the edges. You can even rub the wet clay with a little corn starch to smooth out fingerprints.
When the clay is in the oven, there is a risk of the tips burning from the heat coils. To avoid this make a tin foil tent to go above your earrings. The tinfoil still lets through heat while shielding the surface from getting burnt.
Start off with minimalistic designs to get a feel of the weight. While polymer clay itself is very light, adding a lot of layers or add ons could add some weight. Begin with single pieces, attaching two, and so on and so forth. It would be heartbreaking to make a pair of earrings you love and find out they're too heavy!
Overall
Making earrings out of polymer clay is fun and rewarding! Not many tools are needed to create them and imperfections are part of the process! These 15 ideas give you a wide range of styles and methods of making your new signature piece.
![Read more about the article What Is The Best Resin To Use For Molds? [5 Suggestions]](https://craftsbliss.com/wp-content/uploads/2020/10/Pouring-white-glitter-resin-into-mold-500x333.jpg)