So, you've been plugging away diligently on your macrame projects only to have them turn out looking like the work of a novice. If you've made it to the internet, you're most likely feeling frustrated. Well, we can help with that. We've conducted extensive research and can tell you everything you need to know to make professional-looking macrame projects.
The following tips and tricks will help you to learn how to create amazing macrame!
- Use high-quality string geared toward beginners
- Practice the basic knots
- Stick with simple designs
- Keep even tension when tying
- Try tying when your project is stored vertically
To create fantastic macrame projects, you will need to keep practicing and stay patient. Keep reading to get more in-depth information on these tips and even more important macrame information!
Macrame Tips and Tricks
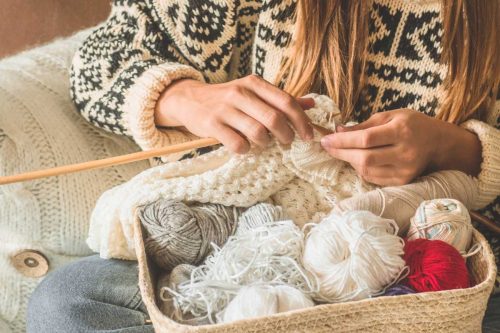
1. Choosing The Best String
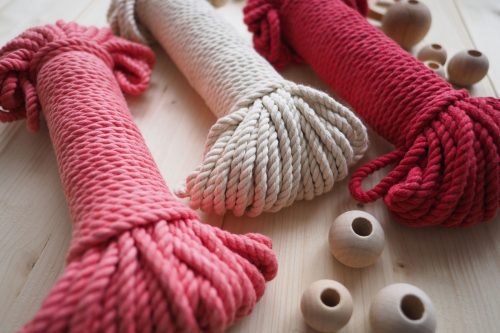
Macrame is done with several pieces of string that look very similar to rope. Many people choose to work with a single twist string. This string is very soft and works well for a variety of projects.
However, if you're having trouble using this string, there is a better option. Many beginners find that they have better success using a thicker rope.
Try switching to a 3-ply macrame cord. You can choose between 3, 4, 5, or 6 mm thicknesses. As your confidence and skills grow, you can switch to a thinner or single-strand cord.
Take a look at this post for more information on macrame string: "Can You Use Cotton Yarn For Macrame?"

Check out this macrame string on Amazon.
2. Keep Practicing Basic Knots

It's important to master the basic knots of macrame. These are the ones that you'll need for most of your projects, so it's good to make sure you're comfortable working with them.
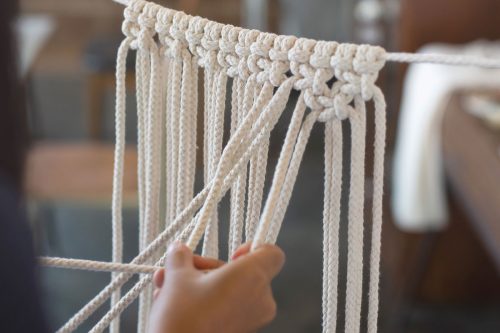
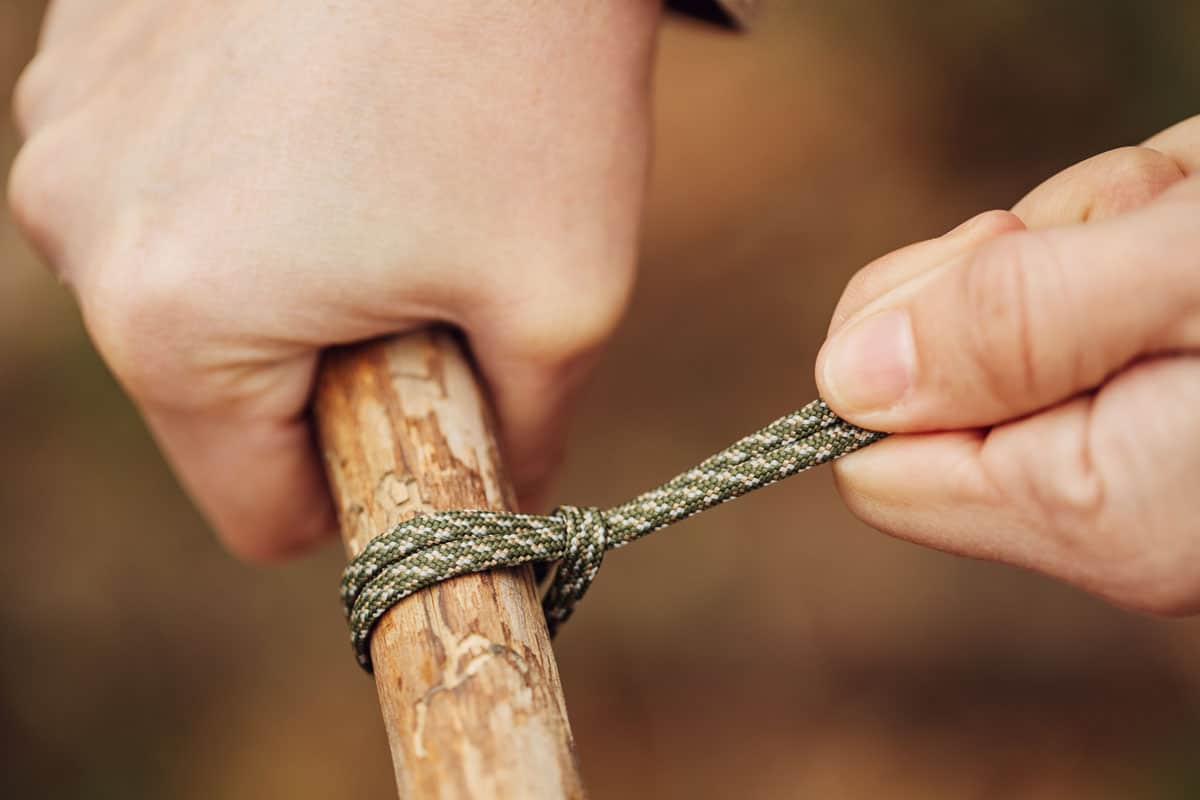
Lark's Head Knot and Reverse Lark's Head Knot
Many projects start with either a lark's head or a reverse lark's head knot. These knots are nearly identical. The difference is the direction in which you put the string around your anchor.
Take your cord and fold it in half. It's important to keep the string even. This is the base of your project. Having an off-center beginning knot will make it more challenging to work with.
For a lark's head knot, you should take the looped end of the string and put it over your anchor. Pull it down far enough to thread the end of the string through. Pull down until your rope is secured onto your anchor.
For a reverse lark's head knot, you'll still start with a string folded in half. However, this time you'll put the looped end of the string behind and over your anchor. You should now thread the end pieces of rope through the loop. Finally, pull tightly to secure it to the anchor.
Watch this helpful video for details on how to do both types of knots!
Half Square Knot (Right or Left Facing)
You'll need at least 4 strings to make a half-square knot. For this knot, you'll only be working with the outside cords. If you number your string to keep track, then you'll be only tying the first and fourth ones.
These knots are commonly used to make spirals because you typically don't change the direction that you're knotting.
To make this knot, take your first string and loop it over your middle strings and under the fourth or last string. Then take your fourth string, and loop it under the middle ones but over the first string. Now pull your working cords to tighten the knot. Repeat for as long as your project requires.
To make a spiral in the opposite direction, you'll do the opposite. So, take your fourth string and loop it over the inner cords and under the first. Then take your first string and loop it under the middle cords but over the fourth. Pull to tighten.
Take a look at this helpful video to see how it's done!
Square Knot
To make a square knot, you're going to do a left-facing half-square knot and then a right-facing half-square knot. So, you'll take your first string, loop over the center cords, and under the last one. Then, take your last string and guide it under the middle knots and over the first string. Pull tightly to secure.
Unlike the half knot, you still have one more knot for this to be completed. Now, you'll take your far right string, go over the center strings, and then under the first. Then, you'll take your first string and go under the center and over the last cord. Pull tightly, and you've completed the square knot.
Check out this wonderful video for more help!
Half-Hitch Knot
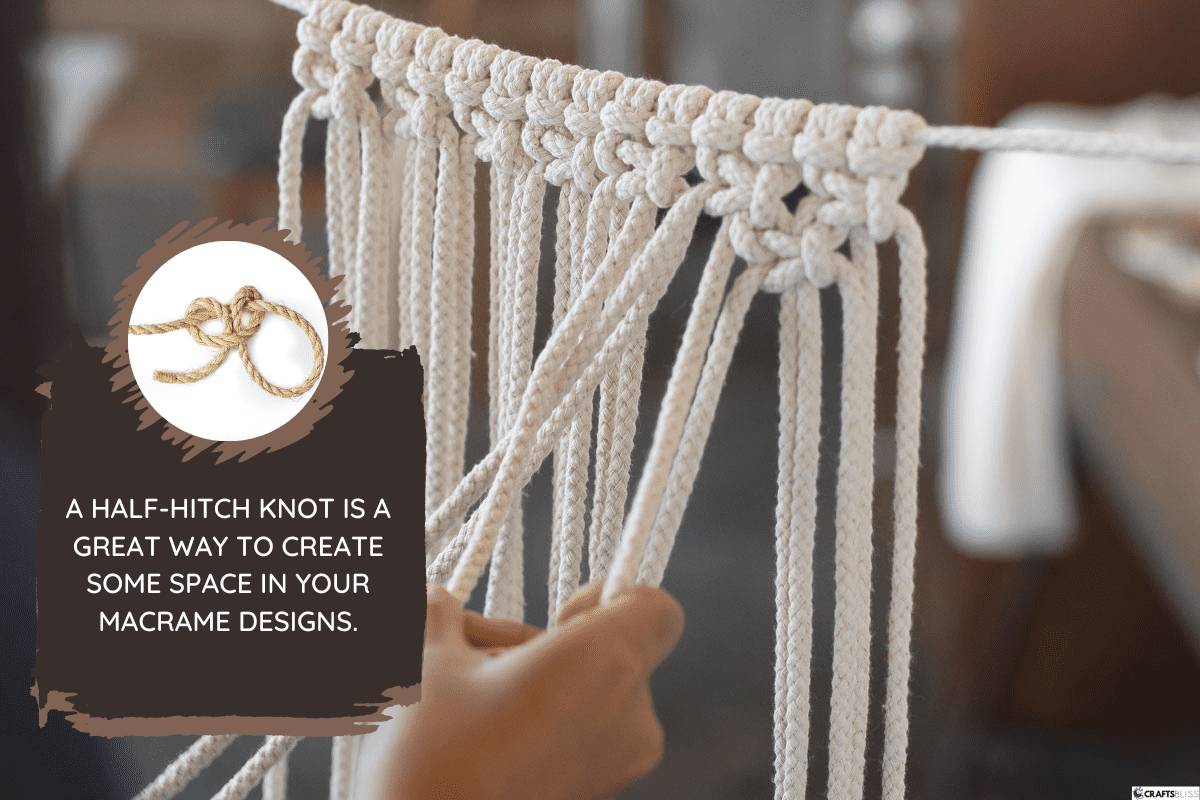
A half-hitch knot is a great way to create some space in your macrame designs. To make this knot, you'll only be working with two strings. However, you can have multiple cords in your project to make half-hitch knot rows.
To make a half-hitch knot, you'll pull your first string so it is diagonal across the other strings. Then, take the second string and loop it up and under the diagonal string. Pull through the loop and tighten. Repeat with your first two strings.
Now you'll be working with the second and third strings. Pull your second string diagonally over the other strings. Then, take your third and loop it over, then under the diagonal one. Pull to secure the knot. Then, repeat.
You can continue this for as many strings as you have. Always remember to do each knot twice.
Once you get to the final string, you'll want to work backward. Take the last string and pull it diagonally over the others. Loop the second string over and through the diagonal string. Repeat all the way across. Don't forget to make each knot twice.
You can watch this video for more details!
3. Practice Simple Designs
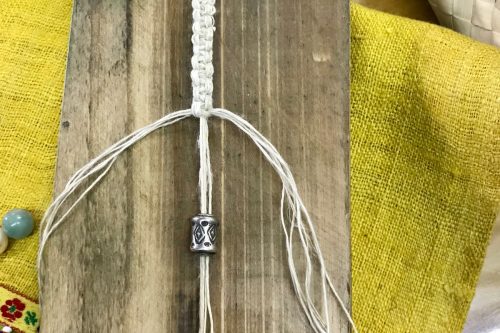
It can be tempting to jump right into intricate, fantastic-looking designs. However, if you're still a beginner, it's best to avoid these projects until you have more practice. There are tons of things that you can make with a few simple knots.
By sticking with easier designs, you're allowing yourself to learn and perfect your macrame skills. Once you feel more confident with simple designs, you can work your way up to projects with more knots or strings.
4. Keep Even Tension
You should be careful when making knots. To keep your knots uniform, it's essential to pull them with the same force. Pulling too hard on one of the sides will result in uneven knots.
In addition, you should be tying your knots closely together. Your new knots should sit snugly against the old knots. Remember to keep the tension the same. You won't get the desired results if some of your knots are tight and others are loose.
5. Switch Your Tying Position
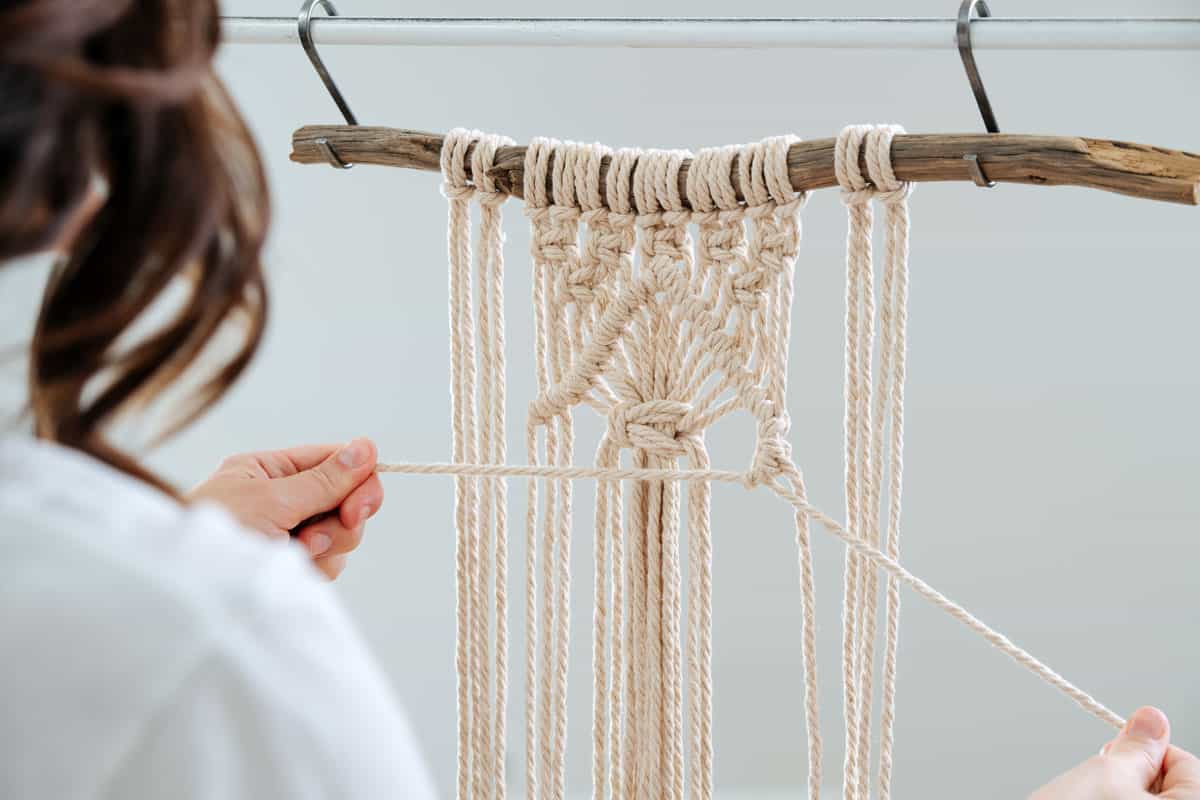
You should also consider the area that you're working in. Are you storing your projects vertically while you work on them, or do you have your macrame spread out on a table? Smaller projects can usually be accomplished with a horizontal workstation. However, you may find it easier to switch to a vertical one.
Your vertical station can be a mounting board, a store-bought one, or even homemade with a curtain rod. If you're still learning your knots, you should consider a macrame workboard. These boards have lines to help you measure, and many come with pins so you can pin your project down as you go.

Check out this great board on Amazon.
This freestanding garment rack is great for macrame!

Check out this rack on Amazon.
Tying It All Together
The best thing you can do to get better-looking macrame is keep practicing! Learning the knots and keeping them even can be difficult when you're first starting out. However, the more you do it, the better your projects will become.
Did this post interest you? Then check out the post below!
![Read more about the article Why Is My Crochet Blanket Curving? [And How To Fix It]](https://craftsbliss.com/wp-content/uploads/2022/04/Crochet-blanket-focus-500x333.jpg)
![Read more about the article Does Glue Go Bad? [By Type Of Glue]](https://craftsbliss.com/wp-content/uploads/2022/05/White-glue-container-on-a-blue-table-500x333.jpg)
![Read more about the article What Materials Can Be Used To Make Mosaics? [15 Great Options]](https://craftsbliss.com/wp-content/uploads/2021/02/A-gorgeous-circular-mosaic-art-with-using-different-kinds-of-materials-500x333.jpg)