
Are you trying your hand at necklace creation? Making a necklace without a clasp all0ws you to have a piece of jewelry that is easy to put on and take off. Moreover, you never have to worry about which side of the necklace is facing the front. Are you unsure how to make a clasp-less necklace? Don't worry; we created this step-by-step guide to lay the process out for you. We gathered our research to tell you the way to finish this type of necklace and much more.
- Thread a needle onto your string
- Create a stopper on the opposite side of your string
- Feed your beads onto your string
- Once at your desired length, thread your needle through the first bead
- Tie a knot on each side of the center bead
- Apply jewelry glue to each knot
- Feed loose ends through beads
We will explain each step in detail and provide you a list of tools and materials you will need for this project. Keep reading as we highlight how to finish a necklace without a clasp and touch on what string is ideal for beaded necklaces.
Contents
How To Make A Beaded Necklace Without A Clasp
To successfully create a beaded necklace without a clasp, or an endless necklace, the string needs to be long enough to fit over your head. A clasp-less necklace can't be too long. Longer necklaces give you more to work with and can add levels to the jewelry piece you are creating. Let's take a closer look at the steps to making a beaded necklace without a clasp.
1. Thread A Needle Onto Your String
The very first step to creating your necklace is to thread a needle onto your string. There are threads available that are designed explicitly for beading. An example is FireLine. You will want to use a strong thread for this project.
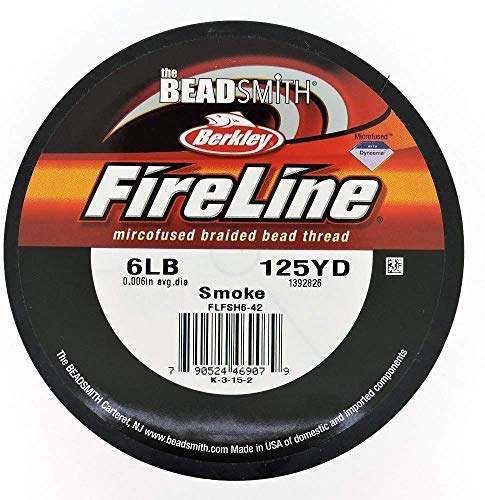
You can find FireLine bead thread here on Amazon.
2. Create A Stopper On The Opposite Side Of Your String
To stop beads from falling off the thread as you place them, you will want a stopper on the end of your string. You can use a bead stopper for this or place a piece of masking tape at the end of your thread.
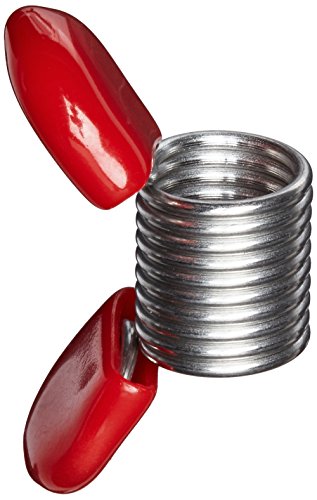
Amazon offers flexible bead stoppers here.
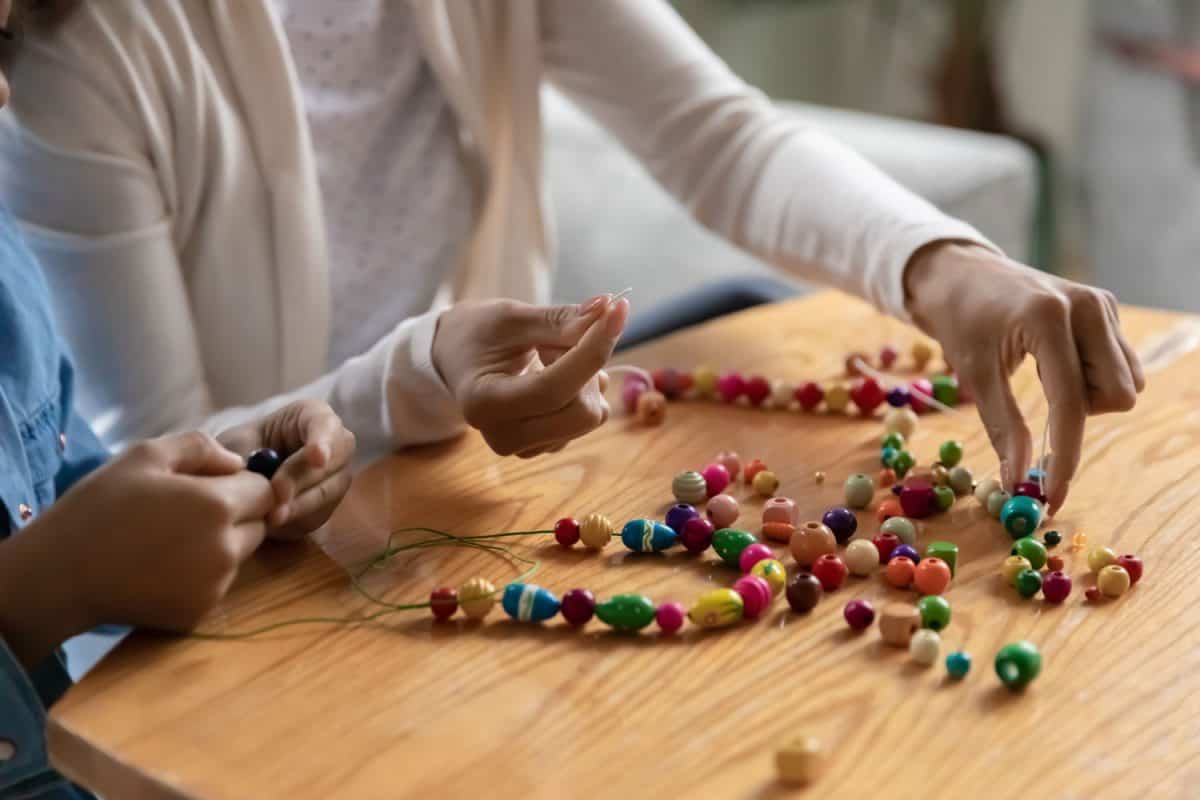
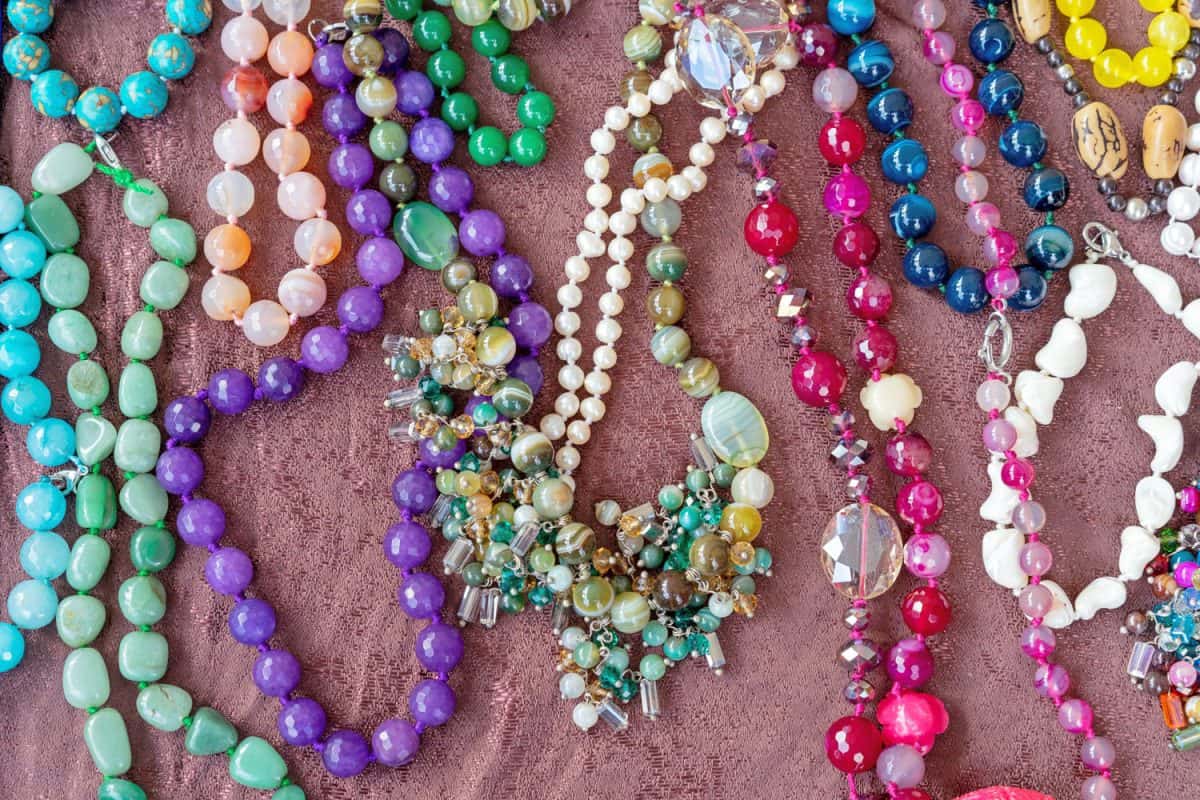
3. Feed Your Beads Onto Your String
With your needle and stopper in place, you can start to string your beads. The beads you use are entirely up to you. You can use store-bought or custom-crafted beads. Use all different ones, or string together your desired pattern. These projects are a great opportunity to go through your random bead boxes. Get creative in this step.
4. Thread Your Needle Through The First Bead
After your beads are all placed and you have reached the ideal length of your necklace, it is time to start connecting your necklace altogether.
To connect the ends of your project, thread your needle through the bead you placed first. Once threaded, pull the ends of the string to tighten the necklace. The bead you placed first is now the center bead of your necklace.
5. Tie A Knot On Each Side Of The Center Bead
With your thread ends pulled tight, expect to have a string coming from both sides of your center bead. Tie a knot on both sides of the center bead. There are various knot types you can use for the job, but a commonly used knot is the half hitch. Complete this knot twice on both sides.
6. Apply Jewelry Glue To Each Knot
You can place jewelry glue on the knots on either side of your center bead to encourage stability.

You can find adhesive glue for jewelry and beads here on Amazon.
7. Feed Loose Ends Through Beads
After you place your knots, you will notice some extra string on either side. Thread these loose ends through the next beads in the sequence, and give the very ends a trim with your crafting scissors to hide them.
The video below is a complete tutorial on how to make a beaded necklace without a clasp.
Read more on our blog post, "What Size Beads Should You Get For Jewelry Making?"
What Are The Different Tools And Materials In Making A Beaded Necklace?
Before starting the steps of creating your clasp-less beaded necklace, you need to gather your supplies and tools for the job. We talked about the use of a bead stopper, masking tape, and a bead needle already. Other materials you will need for your project include:
- An assortment of beads
- Scissors
- Tape measure
- Jewelry glue
- Pliers
- Thread
- +/- crimping tool
Depending on the material your beads have been made from, and the thread they are being strung on, you might require a crimping tool and pliers. These tools are especially helpful when working with wire for your necklace.
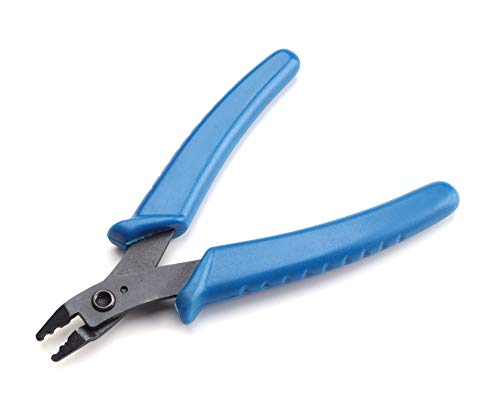
Amazon offers a bead crimper with an ergonomic handle here.
What String Is Best For Beaded Necklaces?
There are many string mediums you can utilize when it comes to the creation of beaded necklaces. When choosing your string material, some considerations include expected weight, the type of beads you are using, the need for the necklace to stretch, and the length of your necklace.
String for necklace making can be made from one of the following:
- Nylon
- Silk
- Silamide
- Coated Wire
- Leather Cord
- Monofilament
- Polyethylene
- Hemp
- Kevlar

Amazon offers these multicolored hemp threads for jewelry making.
As you can see, there are quite a few materials to choose from. So, which material is the best for beaded necklaces? Polyethylene and Nylon string materials have been the most popular among the beading community. They both offer notable strength and have been lightly waxed to prevent knotting and twisting.

Choose from a variety of colors of nylon beading thread here on Amazon.
Read more on our blog post, "How To Straighten Fishing Line For Crafts."
How To Finish A Knotted Bead Necklace Without A Clasp
The most asked question about making a necklace without a clamp is ending or finishing the project. There are a couple of methods to ending your necklace. We already touched on the "endless necklace" method. This method involves knots on either side of your center bead and tucking the extra thread into the next beads in the row.
If you don't trust knots to hold your necklace together, you can also crimp the ends of your project. Crimping is a great finish method if you are working with beading wires. To complete a crimped finish, you will need to use your crimping tool and tube crimp beads.

Amazon offers a variety of tube crimp beads here.
The video below is a tutorial on how to finish a necklace using the crimping method.
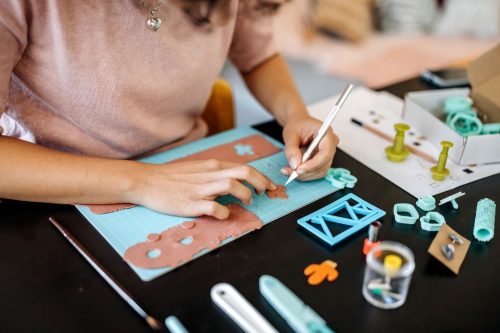
Read more on our blog post, "21 Fantastic Polymer Clay Bead Ideas".
What Is A Necklace Without A Clasp Called?
There are multiple names for a necklace without a clasp. The style of necklace can help you determine what to call it. In our steps, we broke down how to make an endless necklace or a clasp-less necklace.
Another term for a necklace without a clasp is a Lariat necklace. This style of necklace mimics a long rope or Y-shape. This necklace is closed by pulling one end through a hole in the other end and allowing the longer end to lay in front.
The image below is a great example of a Lariat or y-shaped necklace.
In Summary
Creating a necklace without a clasp can be done using the simple steps we laid out in this article. Take the time to make a thoughtful gift for a friend or something creative for yourself. Experiment with different thread materials and arrangements of beads to find what you enjoy working with the most. You will find materials and finishing methods you prefer as a crafter.
We hope you found this article helpful when getting ready to make a beaded necklace without a clasp, and maybe you found some inspiration for crafting materials as well. Happy crafting!
Are you looking for more crafting inspiration? Have a look through our blog post, "25 Types Of Crafts You Can Try — The Ultimate List".
![Read more about the article Why Is My Crochet Blanket Curving? [And How To Fix It]](https://craftsbliss.com/wp-content/uploads/2022/04/Crochet-blanket-focus-500x333.jpg)
![Read more about the article How Much Sewing Thread Do You Need For A Project? [Here’s How To Tell]](https://craftsbliss.com/wp-content/uploads/2020/12/assorted-and-mutilcolored-spools-of-threads-in-a-table-How-Much-Sewing-Thread-Do-You-Need-For-A-Project-Heres-How-To-Tell-500x333.jpg)
![Read more about the article Is Glass Blowing Expensive? [Price ranges discussed]](https://craftsbliss.com/wp-content/uploads/2020/10/A-glass-blowing-artist-forms-a-blob-of-glass-into-a-vessel-using-a-gas-torch-500x333.jpg)