Asking how long it takes to crochet a scarf is wise before getting your project started, especially if you want to give the scarf as a gift. One of the most important things to consider is your level of experience with crochet. Other variables to keep in mind are the level of complexity in the chosen stitch and the weight of the yarn or crochet thread you want to work with. We've looked at all of these factors to determine just how long it can take for novice to expert crocheters to fashion a scarf.
While an experienced crocheter may be able to crank out a scarf in two or three days, a more relaxed schedule would be about a week, maybe a little more. However, a novice should set aside two weeks, even a month.
Now that you know how long it might take, based on your expertise and scarf styling, stay with us as we delve into various crochet stitches to use for scarves. We'll discuss scarf length, width, and share some great patterns with you. So be sure to keep reading.
What is the best crochet stitch for a scarf?
For beginners, the most simple stitch is the single crochet. It makes a nice, dense piece, so there is no reason to think that it won’t be a great scarf!
For a scarf that’s extra thick and cozy, try the granite stitch, also known as the moss stitch or linen stitch. It uses a very basic combination of chaining and single stitch, giving the scarf a thicker, more interesting texture without being so difficult as to overwhelm someone just learning the craft.
Learn more about crochet patterning, "Does Crochet Have A Right And Wrong Side?"
How long should you crochet a scarf?
There are no set rules for the length of a scarf; it all comes down to the crocheter’s imagined design and the wearer’s needs. They can be functional but short or dramatically long. Do you want the scarf to wrap once around the neck or twice? It's all a matter of style preference.
Naturally, scarves for children will need to be shorter than those for adults. Keep in mind that too long a scarf can catch on playground equipment and could be a tripping or even a choking hazard. A crochet cowl may be a better option to keep little ones warm. Avoid cowls and scarves for infants and toddlers due to the risk of suffocation and strangulation.
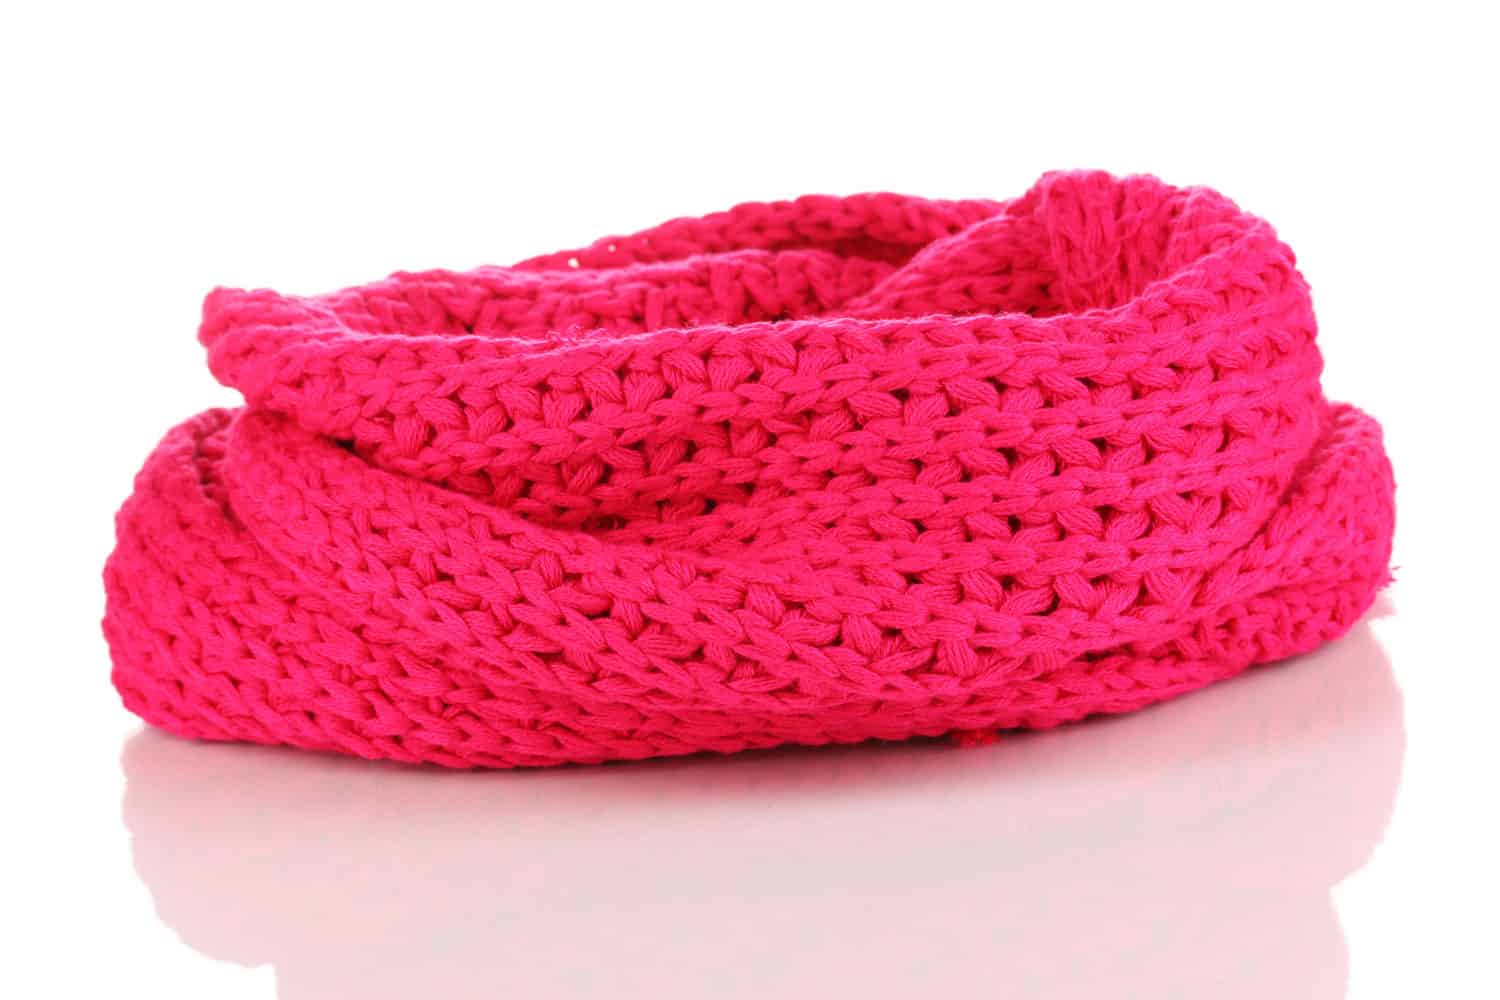
A traditional length for scarves is the span of the wearer’s reach from fingertip to fingertip. Others prefer to make the scarf as long as the wearer is tall; this will give most wearers a couple of extra inches. Most crochet scarf patterns that can be purchased will run the length of 65 inches, long enough for a double wrap and enough excess to tuck into your coat for additional warmth. A short scarf will be around 55 inches, while an extra-long one will be in excess of 70 inches.
How many chains do you need to crochet a scarf?
This can vary greatly depending on the weight of the yarn you’ve chosen. For middle-weight yarns, each chain will be about ¼ of an inch wide. Given that every inch will require four of such chains, a six-inch-wide scarf will need 24 chains. A light yarn might make a chain that is ⅛ inch wide, making the same width scarf require 48 chains.
What is a good width for a scarf?
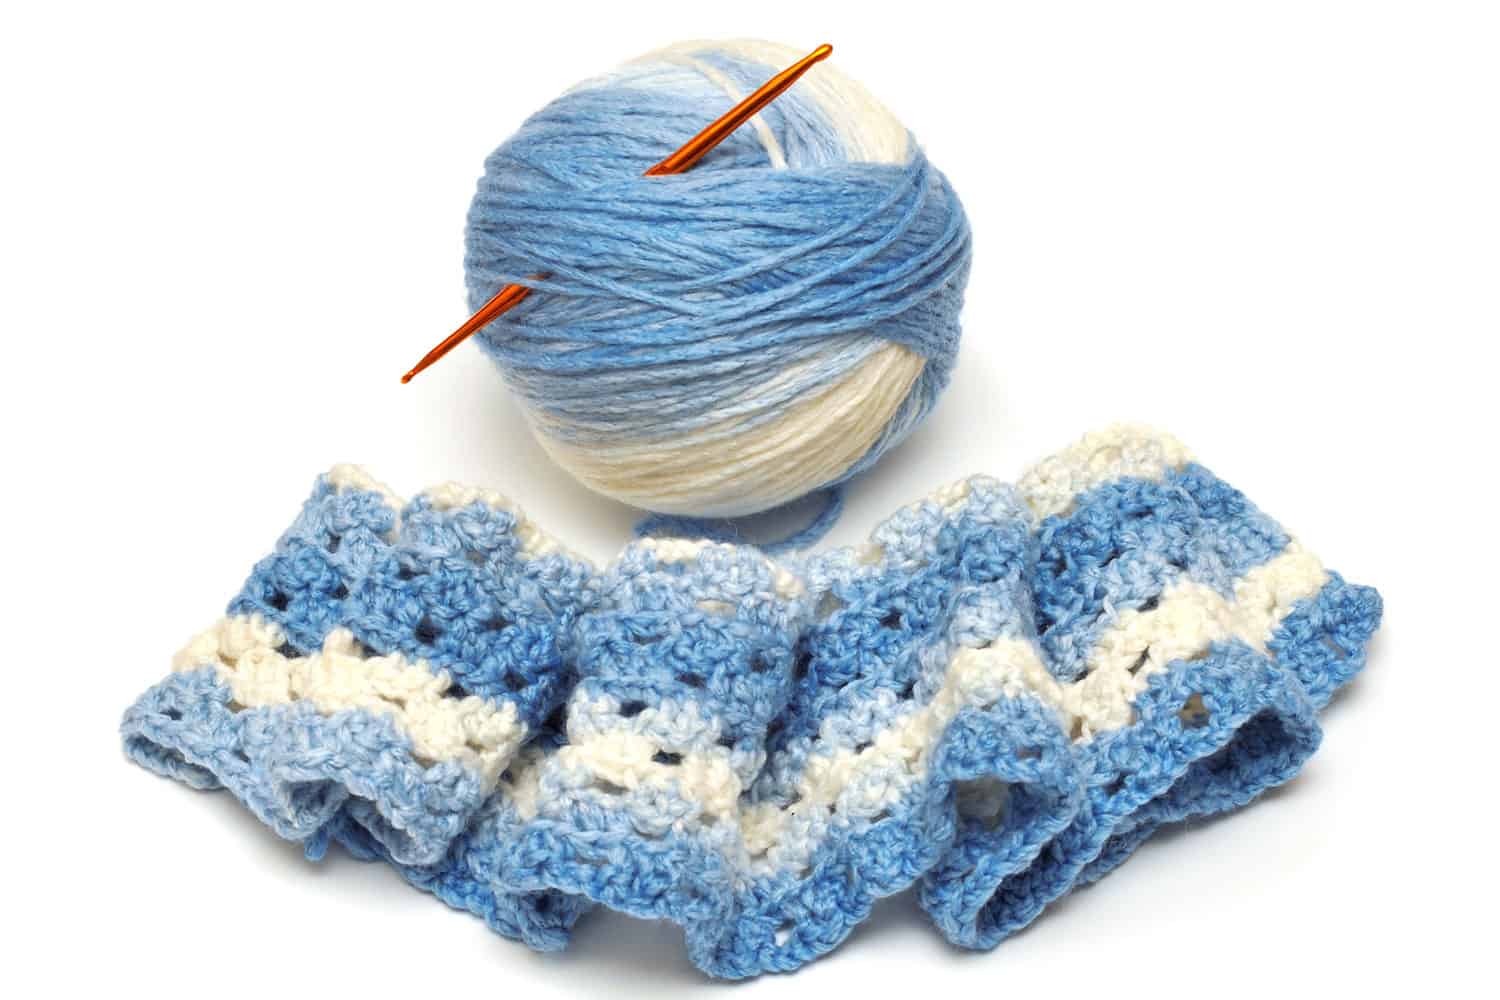
Here again, there are no fixed rules. Try to keep the scarf’s intended use in mind. While the majority of scarves are between six and eight inches wide, a skinny scarf worn as a statement rather than for warmth might be three to five inches wide and even double as a belt. While an extra-wide scarf -10 inches or more- might be impractical both to make and wear, it will add an extra layer of drama to any ensemble.
A valuable step that many crocheters are reluctant to invest in is to work up a gauge swatch. A gauge swatch will give you a sense of how easy or difficult the yarn is to work with, but most importantly, it lets you know if your stitches are too tight or loose. This is why a gauge swatch is sometimes called a tension swatch.
Many patterns will come with instructions for a swatch. Follow them, and when you lay your swatch flat, it should be 4x4 inches or 10x10 centimeters. If your swatch is smaller than 4x4, consider going up a hook size. If your swatch is larger, you may want to down a hook size.
Curious how much yarn you'll need? Check out "Does Using A Larger Crochet Hook Use Less Yarn?"
Keep the use of the scarf in mind. A tighter stitch will create a more dense fabric, which is desirable for winter-weight scarves. A looser stitch will create more drape-effect as well as allow for more airflow through the fabric. Loose-stitch scarves might be better suited for spring weather.
Crochet scarf patterns
Single Stitch
As mentioned before, the best stitch for beginner-level projects is the single stitch. It’s usually the first stitch taught after learning to make a single chain.
Begin by creating a slip knot and sliding it onto your crochet hook. Leave plenty of tail, and pull the working end, attached to your skein, taught. Then make a chain with your desired number of stitches to create the desired width of your scarf. Don’t pull the stitches too tight, or your piece will bunch up and be uneven.
Begin your single crochet by inserting the hook into the top loop of the second link in your chain. Remember: always count completed stitches, never the one on the hook. Pull the working end of the yarn through the chain link, reinsert the hook, wrap once around the yarn and pull through both loops on your hook. You have just completed one single crochet stitch.
You should now have a new length of yarn on your hook. Insert the hook into the top of the next link in your chain, wrap once and pull through both loops on your hook. Repeat this process for the length of your chain.
Once you reach the end of your first row, turn your work over so that the working end of the yarn sticks out of the back of your piece. Then, chain one link, and begin your single crochet stitch as before. Work the length of the chain, turn over, chain one, and single crochet again.
Here is a great step-by-step video:
Granite Stitch
If you are looking to add to your stitch repertoire and create that extra cozy winter scarf, give the granite stitch a whirl. The granite stitch requires a chain of an even number. Consider your yarn weight and desired scarf width as discussed above.
Once you have, for example, 14 links, skip the first three and perform your single crochet in the fourth. Create one chain link, skip the fifth link -skipping only one- and make another single crochet into the sixth. Then chain one, skip one, single crochet in the next. Repeat, and as long as you have counted correctly, you will single crochet in the last chain stitch.
To begin the second row, chain two and turn your work. You will notice that there is a gap in the last two single crochets from the previous row. Skip the single crochet from the end of row one and create a single crochet stitch in that gap. Make one chain, skip the next stitch, and single crochet through the third gap.
Repeat for the length of the row. Chaining one, skipping one, and then single crochet. When you reach the end, single crochet through the loop created by the first three chain stitches skipped at the very beginning. Then turn your work, chain two, and single crochet in the space created by the last row.
See the granite stitch demonstrated in this video:
Tunisian Arrowhead Stitch
For a lighter scarf, the beautiful arrowhead stitch might be for you. It is a two-row repeat pattern that also needs an even number of stitches.
Create your chain, and turn the chain over. Skip the first chain link, inserting the hook into the bump on the back of the chain. Wrap the yarn once and pull the loop onto your hook. Do this for each bump in the chain, so that you have the same number of loops on your hook as you do links in your chain. Count the slip knot you started with as the mate for your skipped first chain.
Chain one, wrap the yarn once, and pull through two loops on your hook. Repeat wrapping once and pulling through two until you have only one loop on your hook. Consider this loop the mate for the first bar in the two-row repeat pattern.
Skipping this first bar, insert your hook into the front bar of the next two stitches, wrap the yarn over your hook, and pull up a loop through both bars. Repeat this wrap and pull through two bars process for the length of your row. Be sure to hook through the front and back of the last stitch, then begin the return pass.
See it here:
In Closing
Hopefully, this answered your question and opened your imagination to the endless possibilities of crochet. Happy stitching!

