Whether you are painting a chair, table, or another woodcraft, you'll want to ensure it has a smooth finish. But how do you achieve a smooth finish devoid of brushstrokes or globs of dried, excess paint? We researched suggestions to get a picture-perfect finish on wood.
Tackling a paint job on wood doesn't have to leave you feeling lost. Check out our suggested list of steps to get a smooth finish with professional quality results.
- Use a high-quality roller or paintbrush that feels good in your hands when painting.
- Thoroughly clean your wood before painting, removing old finishes, paint, chips, and dents.
- Prep your wood so it absorbs more paint and adheres to the surface more evenly.
- Work carefully, using enough paint so the brush or roller can do most of the work.
- Sand between coats of paint for a smoother finish.
Get your brush or roller ready, and your choice of paint to get a beautiful finish on wooden crafts and furniture with ease. Keep reading to learn more!
![Painting timber boards with the white paint, How To Get A Smooth Paint Finish On Wood [A Complete Guide]](https://craftsbliss.com/wp-content/uploads/2021/09/How-To-Get-A-Smooth-Paint-Finish-On-Wood..png)
Get A Smooth Finish On Wood
Enjoy a better experience painting a piece of wood furniture, craft project, or vintage find. If you take certain steps, you are more likely to get a smooth finish. Consider using quality matte paint to hide imperfections.
Go For Quality
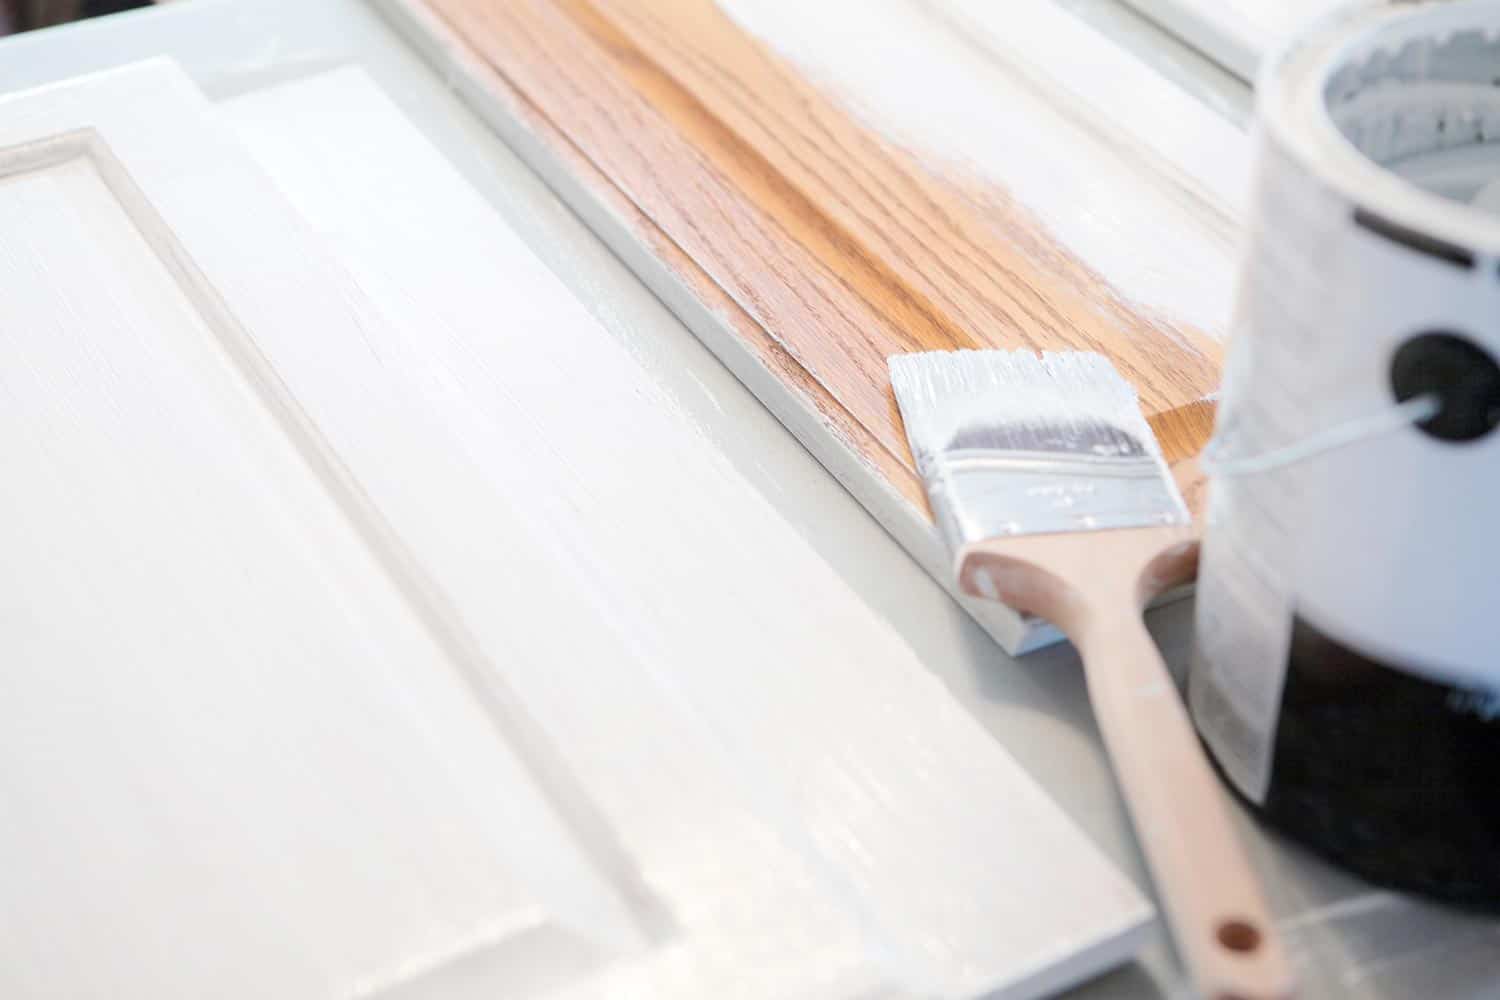
If you want a smooth finish on wood, don't be cheap. You want a brush with high-quality bristles that pick up paint and don't shed everywhere. Don't like paintbrushes? Pick up a roller with suitable features for the wood's texture.
Clean Before You Start
Don't put in hours of work in vain painting wood before it has been thoroughly cleaned and prepped. Remove any grease, buildup, dust, and grime from the surface before painting. Strip any finishes or old coats of paint too.
Preparation Is Key
Gather all of the tools you need to get started and plan a block of time to get your project done. You'll need to allow coats of paint to dry before adding a new layer too, so be patient.
Let The Brush And Paint Do The Work
Find a sweet spot when painting wood and allow the weight of the paint on your brush to glide along and guide you. Don't use too much pressure or too little paint when working. Take your time and find your balance.
Sanding Is Your Ace
Sanding your wood before painting is optional and not necessary. However, sand your wood before cleaning it to help the paint seep into the surface better. Also, you'll want to sand each layer of paint as you go along, except for the last coat, for a smooth finish.
What Paint Gives The Smoothest Finish?
Grabbing a comfortable, well-made brush and using a solid painting technique help create a clean finish on the wood. Here are some suggested brands to use for your next paint project or furniture reboot.
- Benjamin-Moore Regal Select—The top pick for painting wood so it looks smooth and flawless. Note, this paint is 100% acrylic and has a thick formula that's a dream to use.
- Sherman-Williams Cashmere—Painters agree that this brand and formula is a solid choice for a smooth finish. The application process is nice, the paint dries well with a silky finish, and you can scrub the surface.
- PPG Diamond—Grab a can of this paint to hide stains, and end up with a finished coat that is even and smooth to the touch. As an added plus, this formula is very affordable and durable for interior projects.
Do your part, and try out different paint brands to get the best results for your next project.
Should I Sand Between Coats Of Paint?
It's unnecessary to sand wood before painting, but it helps remove visible damage like chips or dents, and gives you a smoother work surface to absorb paint evenly.
Choose to sand your wood between coats of paint to achieve a smoother, cleaner finish, especially if using a brush or roller. If you are using a sprayer, you can skip sanding if you wish.
Sanding wood helps achieve a smooth painted finish because it improves the adhesion of the paint to the surface and keeps the paint even and level. Avoid ending with shiny and matte areas all over your project.
Use fine-grit sandpaper that is 220 or 240 on your painted wood after each coat has fully dried. Once you add the final layer of paint, you no longer need to sand the piece.
After sanding it, you may notice a thin white layer on your wood project, which is normal and can be gently wiped off before adding another coat.
Work carefully; allow a coat of paint up to 12 to 24 hours to dry before sanding and adding more paint.
Check out this quality sander on Amazon.
How Do You Prevent Brush Marks When Painting Wood?
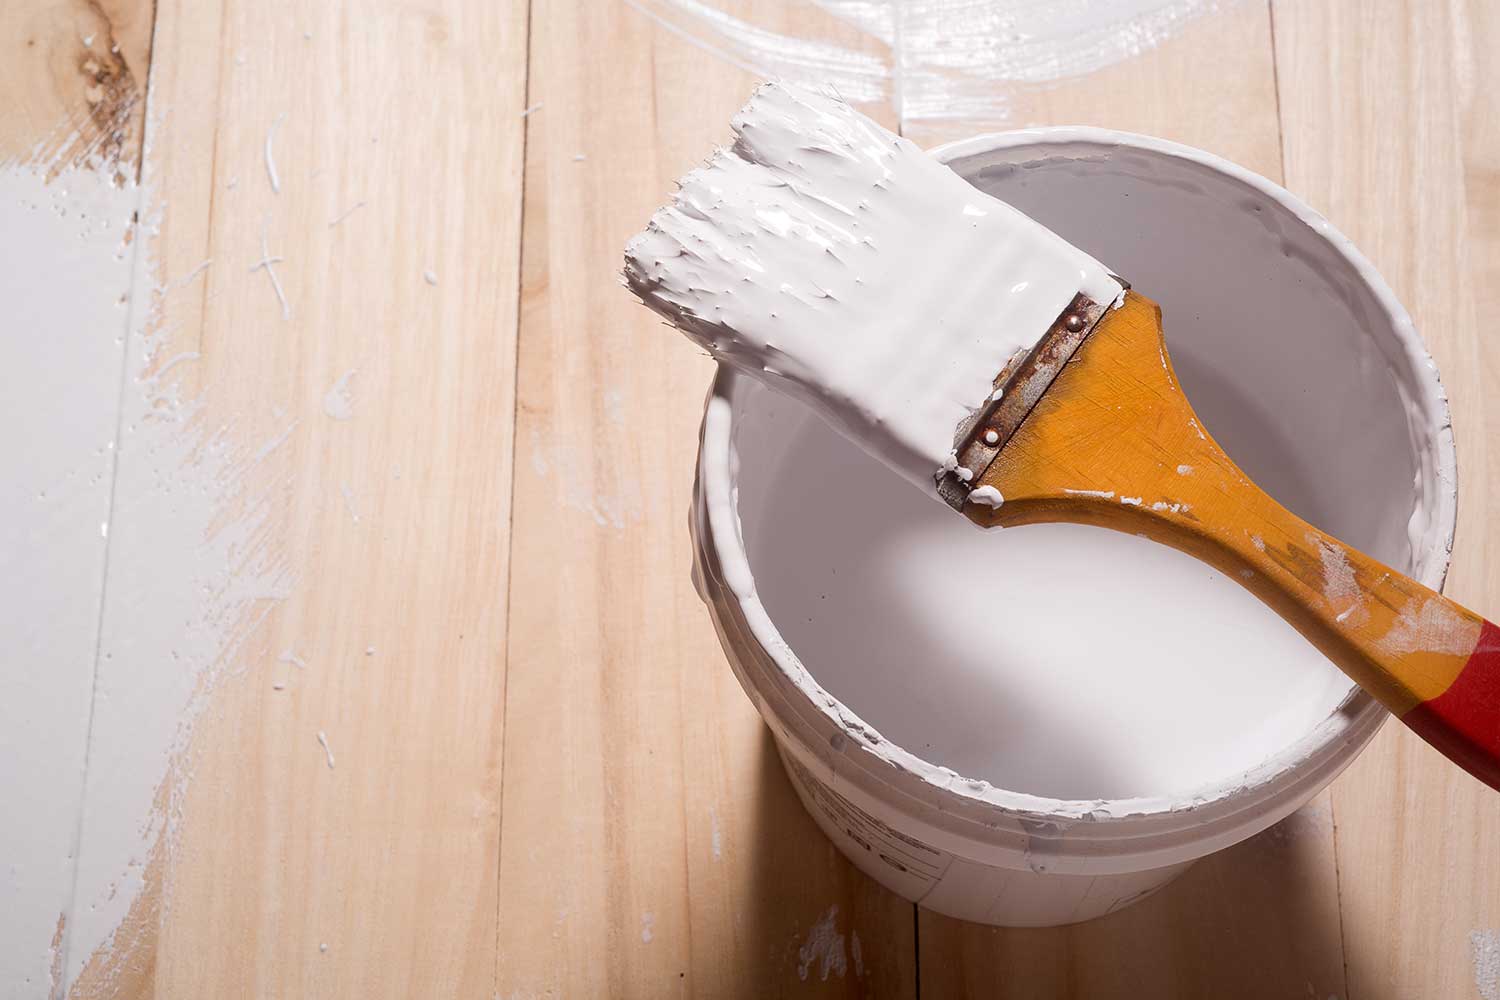
If looking at brush marks on painted wood leaves you feeling frustrated, you can reach for a paint roller instead. However, you can avoid leaving unwanted brush marks on wood and end up with a more attractive finish. Try the following next time you have a wood piece to paint:
- Before painting, ensure the wood is cleaned and stripped of old paint, finishes, grime, and dust.
- Sand the wood before painting so your brush doesn't catch any dents or chipped areas, making visible imperfections. Don't forget to sand between coats for best results, too.
- Choose the right size brush for the job. Also, keep your brushes clean.
- Paint in the direction of the wood grain and use similar strokes in length and pressure.
- Apply paint with a brush at an angle and work carefully, don't rush.
- Stick with high-quality brushes and use matte or flat paint to hide imperfections. High gloss paint is more likely to show brushstrokes.
Choose a brush that feels comfortable in your hands and learn how to eyeball how much paint you need to work. Allow the paint to help you fill in the space. Get a feel for how much paint needs to be on the brush and strive for balance.
If the bristles are cheap and falling out easily, the brush is too wide or too narrow; it can make painting the wood more challenging.
Check out this 5-piece paintbrush set on Amazon.
What Roller Gives The Smoothest Finish?
Get a smooth finish with the best roller for the job, and don't skip out on wet-prepping your roller. Depending on the surface you are painting, you'll be able to better select a suitable roller.
Smooth surfaces are compatible with a white woven short nap roller. For an ultra-fine finish, opt for a roller with a foam cover or a nap roller cover measuring 1/4-inch.
Do You Wet A Foam Roller Before Painting?
If you want to boost the absorption power of a foam roller before painting, you'll want to wet it a bit first. Don't have your roller sopping wet but ensure it is damp to pick up your paint better.
If you think your foam roller is too wet, give it a shake and blot it with a paper towel to remove excess water.
A good technique to wet your roller before painting is to roll it in water like you are painting with it. Move quickly so the naps of the roller are agitated and will pick up and release the paint evenly.
Check out this high-density foam roller on Amazon.
What Type Of Roller Should I Use To Paint Furniture?
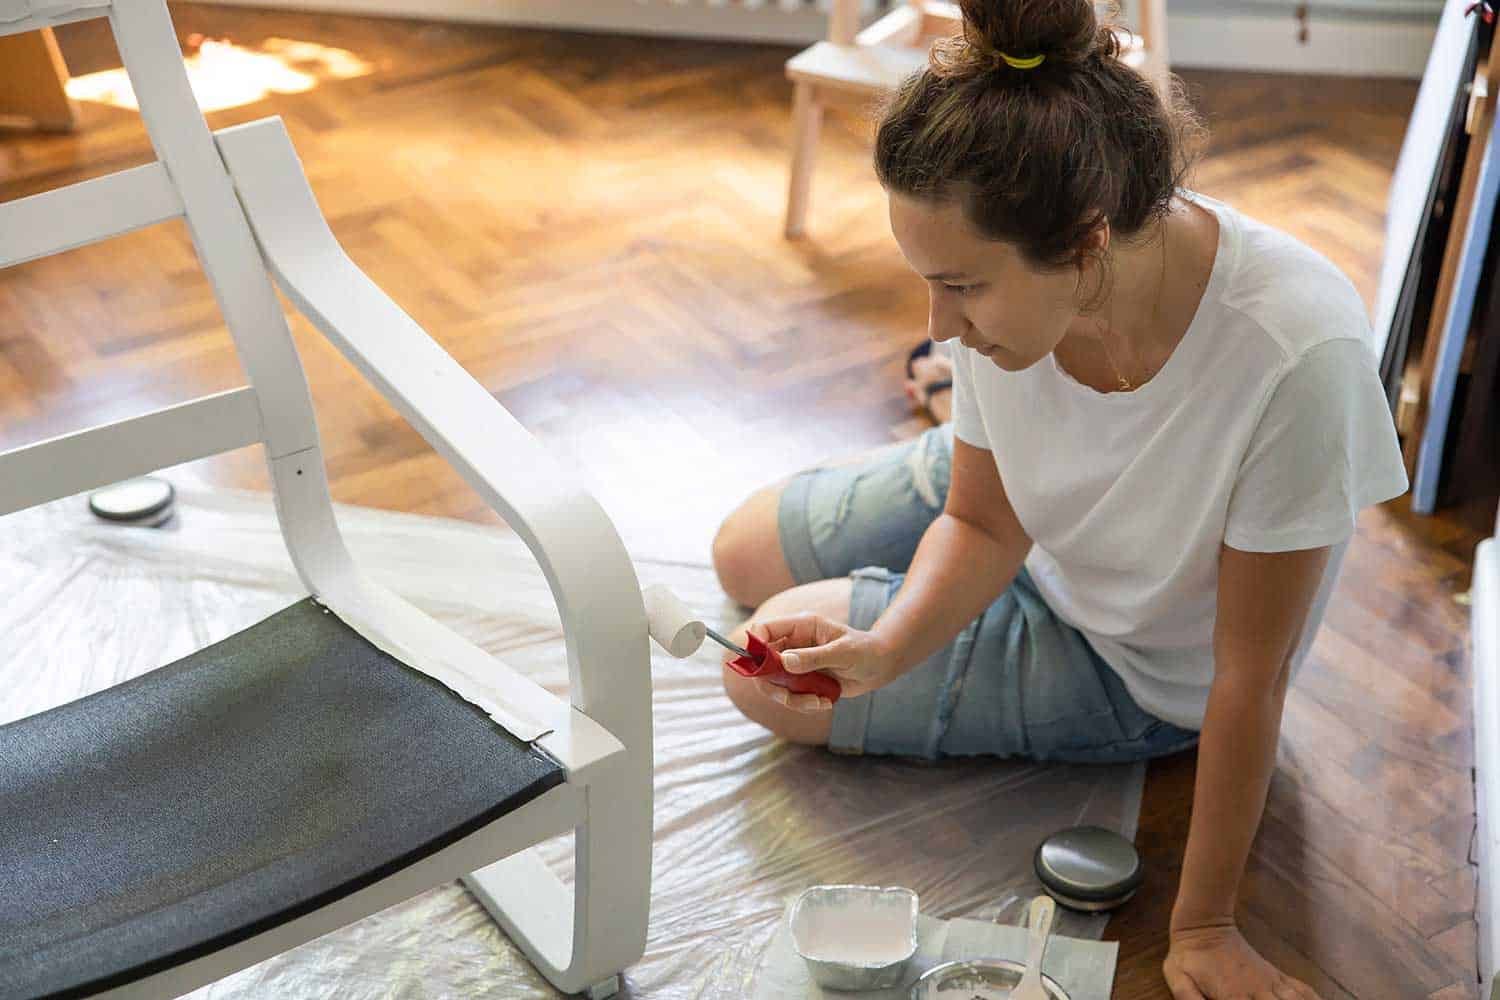
If you are ready to paint some furniture, you'll most likely want to stick with a 4-inch roller. A microfiber roller is a great choice for painting furniture with a light or medium texture.
Paint smooth surfaces with a roller that has a white woven short nap for a fine finish. Materials with a very rough surface might fare better if you use a roller with 3/4-inch nap cover.
You can get a good finish using a 1/4-inch nap cover or opt for a foam roller. Next time you are shopping for rollers, look for a high-density foam roller with rounded edges for painting furniture.
Check out this paint roller and tray set on Amazon.
In Closing
We hope you discovered some helpful information to get a smoother finish when painting wood. Doing some prep work and working patiently with the right tools will help you achieve professional-quality results.
Using a blend of high-quality paint or varnishes and a good technique with a paintbrush or roller will make it easier to get a smooth finish.
Before you go, don't miss out on the following articles that might be of interest:


![Read more about the article Can You Use Hot Glue On Glass? [And How To]](https://craftsbliss.com/wp-content/uploads/2022/06/A-collaged-photo-of-a-glue-gun-and-glass-sheets-500x333.png)
