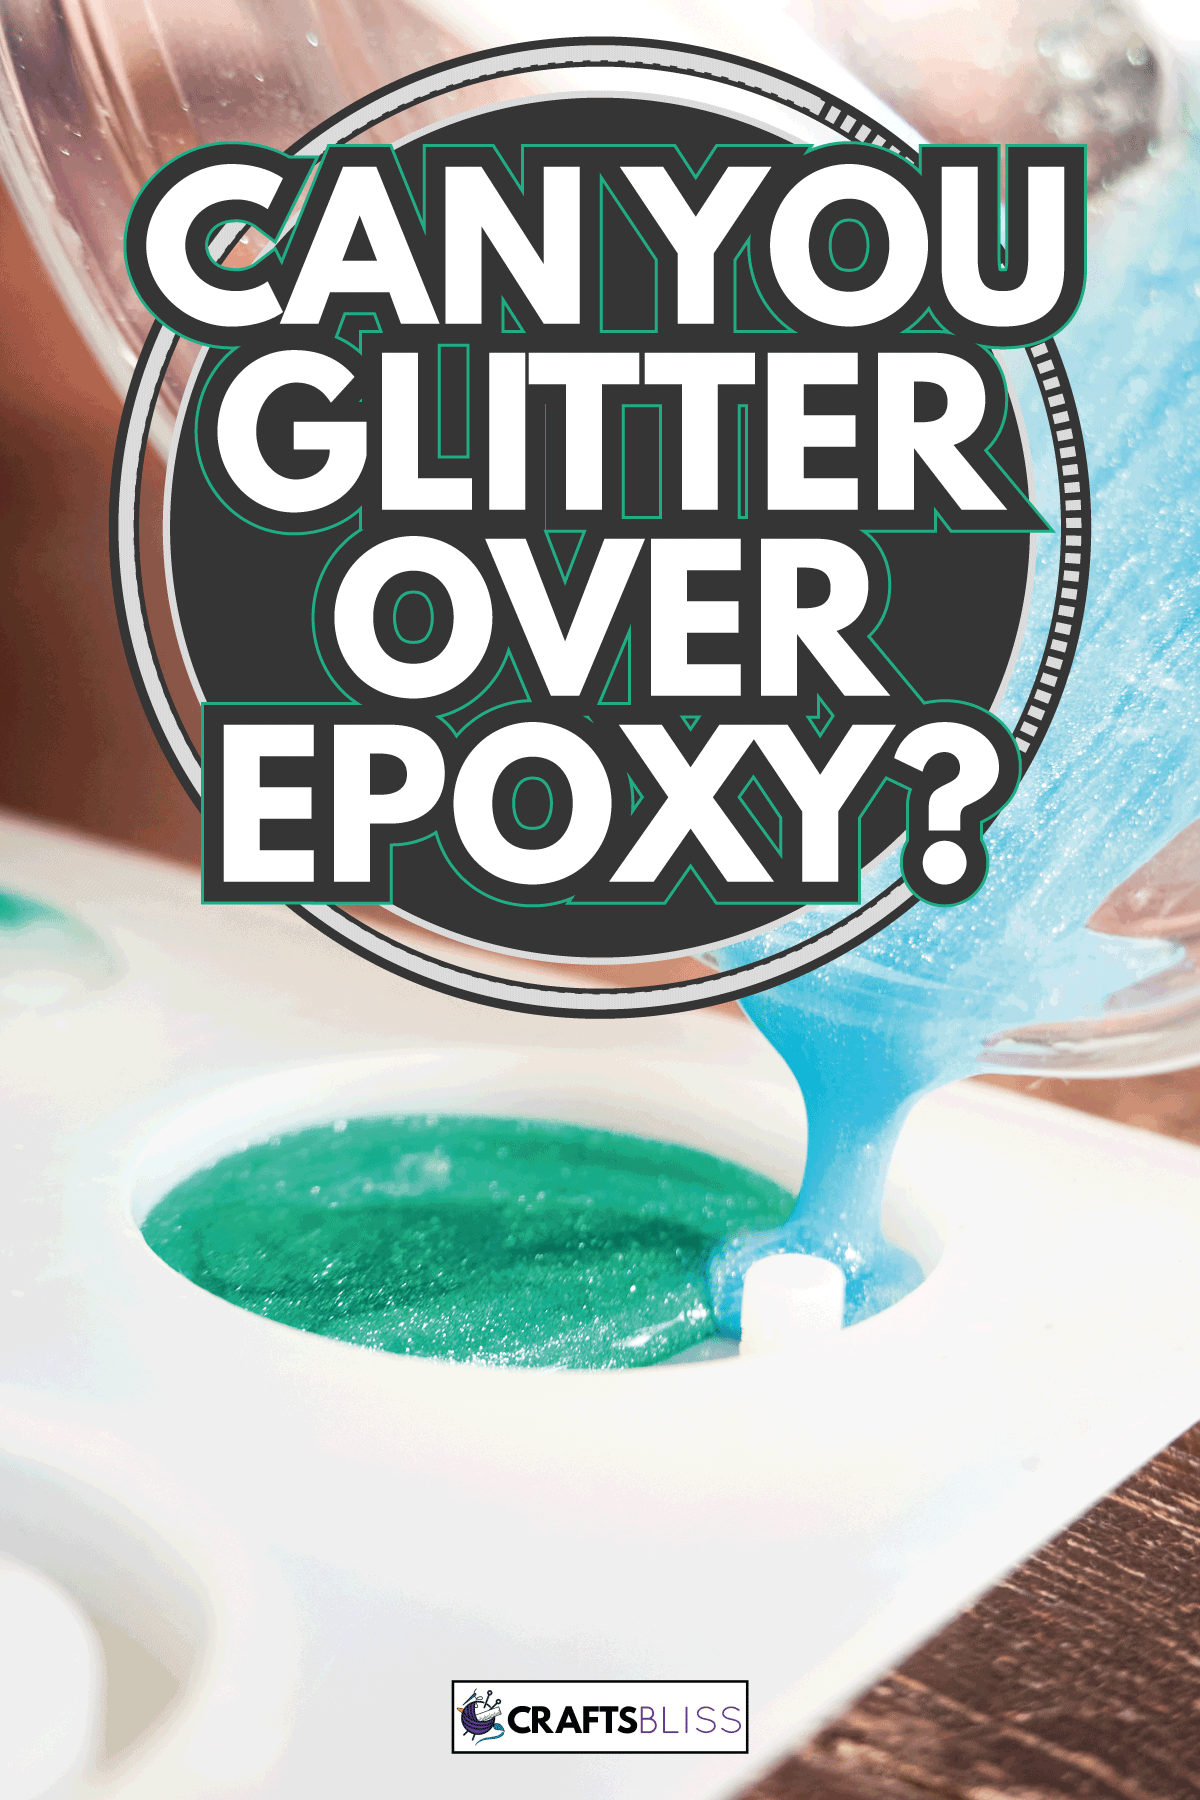
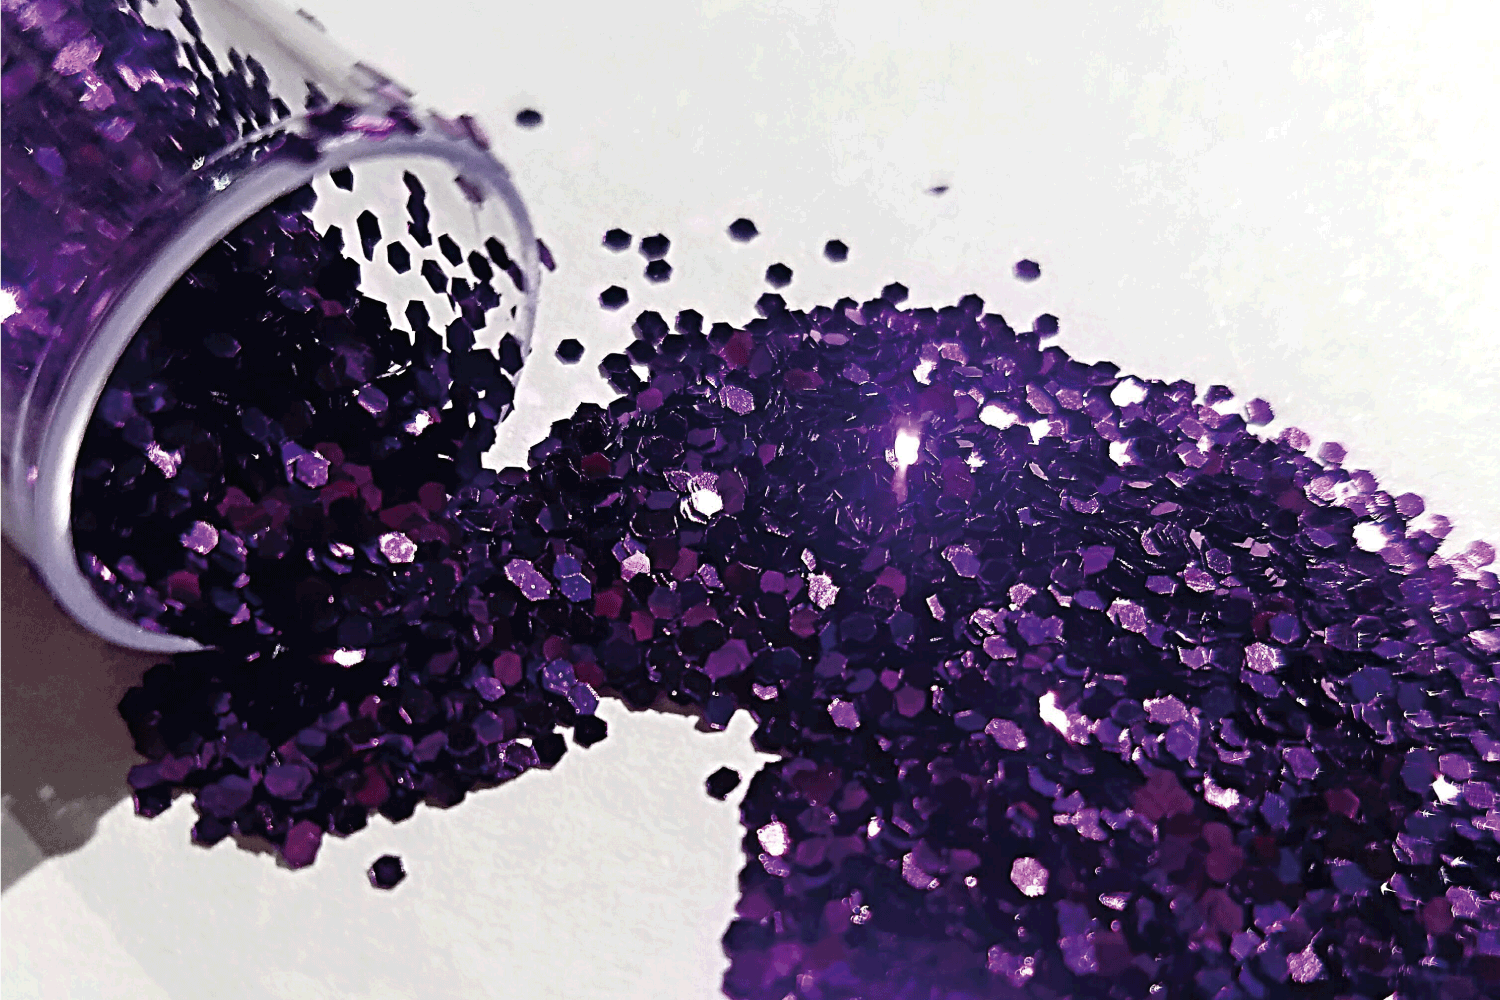
Epoxy resin is all the rage right now. Glitter is timeless. But put the two together, and you have a real hit. Crafts mixing glitter and epoxy are taking off, but how do you do it? Doesn't the glitter sink? Or do you glitter over the epoxy? We've checked tons of craft directions to cover everything you need to know about combining glitter and epoxy.
It's possible to glitter over epoxy. In this case, the epoxy acts as an adhesive, and you still need a top layer of epoxy to seal everything in place. For a similar look, you can also use an adhesive, apply the glitter, then epoxy. Alternatively, you can mix the glitter directly into the epoxy.
Keep reading to learn more — we'll cover all the steps for applying glitter over epoxy. Then we'll cover a project explaining how to make the popular glitter tumbler — with epoxy or other adhesives. Finally, we'll explain how you can mix glitter directly into resin when casting a mold, why the glitter sinks, and what you can do about it.
How To Apply Glitter Over Epoxy
It's a pretty simple process, particularly if you've used epoxy before. If you aren't familiar with epoxy, start with How To Use Epoxy Resin For Crafts [7 Great Ideas].
Assuming that you have a project in mind and know how to use mix epoxy, just:
- Lightly cover the surface with epoxy.
- Be sure to go over the surface several times, making sure that the entire thing has a thin, consistent epoxy coat.
- The epoxy acts as an adhesive. Sprinkle the glitter over the surface, letting it stick to the epoxy. Make the coat as thick (or thin) as you want.
- Once you're done, carefully poke the glitter before it cures if any spots aren't laying flat or stuck down, smooth them out now.
- Add another layer of epoxy to seal the glitter.
How Do You Glitter A Tumber Using Epoxy?
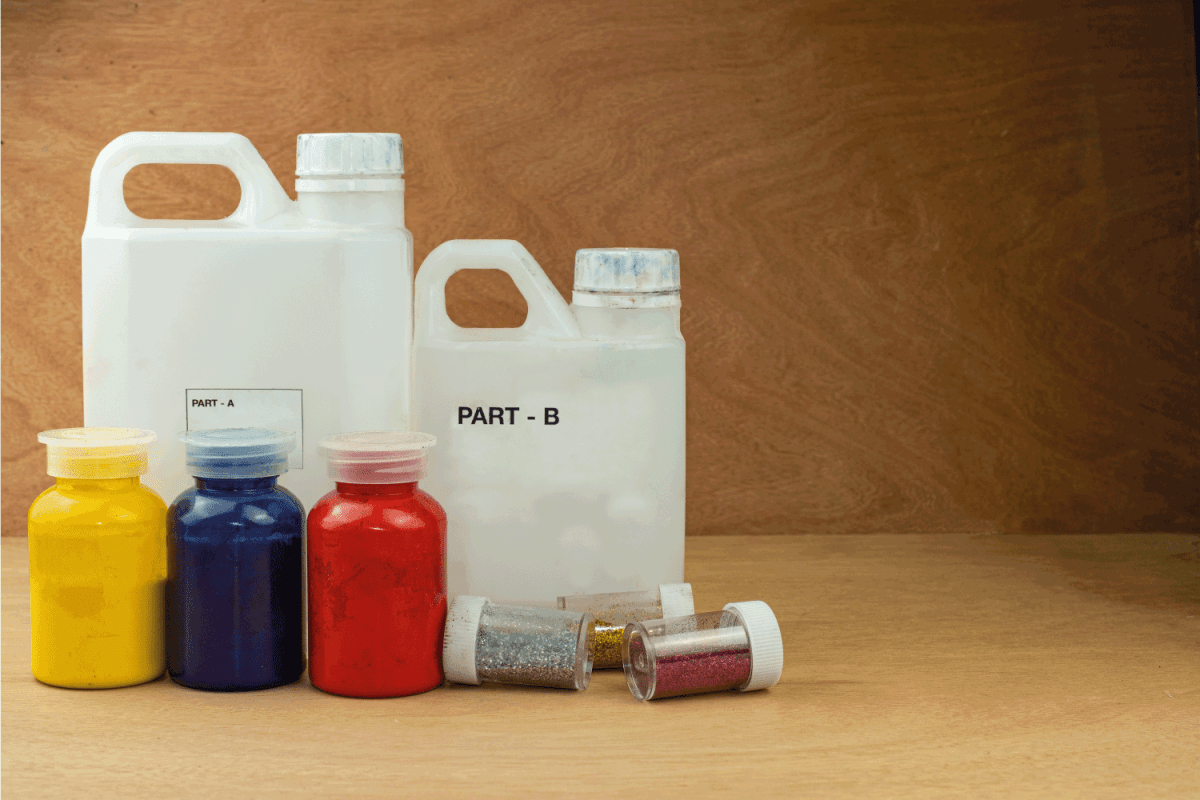
First, gather your materials. You need the tumbler, rubbing alcohol, epoxy resin, paintbrushes, and glitter. You also need an adhesive - you can use a thin coat of epoxy as described above, mod podge, or an adhesive spray.
Plan a way to hold the tumbler in place, being able to turn it around while you add the glitter and epoxy without touching the surface. Some people use PVC pipe on the inside of the cup or a pool noodle.
Just be aware that to make a tumbler you can use, the epoxy must be FDA-approved like this one:

Click here to see this epoxy on Amazon.
1. Clean The Surface
Use the rubbing alcohol to clean the tumbler first. Wipe the surface, and let it dry. This will help the adhesive and glitter stick better in the next steps.
2. Tape and Paint the Cup
Cover any areas that you don't want paint/adhesive/glitter with tape. The obvious one is, of course, the mouth of the cup.
Then if you want, you can paint the cup. Pick a color that complements the glitter. This will help conceal any spots where the glitter isn't thick enough and make it look a bit more even.
3. Apply Adhesive
You can use pretty much whatever you like here. A lot of people use mod podge since it's cheaper than epoxy. Other people like using epoxy since they'll be using it over top of the glitter anyway. Some people do a spray adhesive, which is fast but may not stick as well.
Whatever you're using, apply it now. If you use mod podge or epoxy, use a paintbrush to cover the entire surface lightly. Be sure to check and go over the tumbler several times, making sure you get every possible space.
4. Add glitter
The next step is the fun one - glitter! As soon as you've covered the tumbler with adhesive, add the glitter. Be careful and thorough — you don't want to miss any spots.
As soon as you're done, smooth out any areas where the glitter isn't firmly in place. You might want to wear gloves for this, so you don't leave prints. Then let it dry for about 30 minutes to an hour.
5. Brush Off Excess Glitter
Any extra glitter needs to come off now before you add the next coat. Just use a stiff brush and whisk it off gently.
6. Repeat
You can do as many coats as you want until the tumbler looks the way you want. Just continue repeating the adhesive/glitter/dry time/brush pattern.
When you're satisfied, let it dry for several hours before proceeding.
7. Mix And Apply The Resin
Mix the FDA-approved resin, and brush it in a thin coat over the cup. Work carefully, making sure you cover the entire surface thoroughly but don't apply too much at a time.
While you're doing this, you'll want to keep the cup moving with the pool noodle, PVC pipe, or whatever other system you planned. This keeps the resin from dripping or running while it dries. Even once you're done applying resin, you need to turn the tumbler regularly to avoid drips.
If it does drip, you can gently sand them off, but be cautious.
Can You Put Normal Glitter In Epoxy Resin?
How Do You Keep Glitter From Sinking In Resin?
Even fine glitter tends to sink in resin. It's simply heavier than the resin, even if it doesn't look it. This means it naturally starts to settle at the bottom.
Four methods can help:
- Let the resin cool for a bit - but not too long, or it's too hard to stir. Once it's cooled for a couple of hours, add the glitter and re-stir.
- If you're covering a surface, like a mug or a coaster, use just a thin layer of resin. Let the resin act like an adhesive rather than a thick coat - the glitter won't have anywhere to sink.
- Add the resin and glitter in layers.
- Try a lighter glitter, though this is only partly effective - even light glitter is still heavier than resin.

Do You Seal Glitter Before Epoxy?
If you like the extra protection, you can use a spray sealant on the glitter before the epoxy coat. It's not necessary, as the epoxy acts as a sealant itself. But it won't hurt and does offer a little extra strength.
How Long Does It Take For Epoxy And Glitter To Dry?
Unfortunately, there's only one place to find out how long your epoxy takes to cure. You have to check the instructions on your epoxy, which should list a "cure" time. There's no one answer - it depends on how it was manufactured.
Slow curing epoxies can take days - like three or more - before you can even touch the product without damaging it. Most epoxy is safe to touch within about 24 hours, but it still takes several days to harden fully. Even if it seems safe to touch, be gentle - rough handling can dent it if it's not fully cured.
In Closing
You can use epoxy like an adhesive and then apply glitter to your project in a final coat of epoxy. Instead of epoxy, you may also use another adhesive, such as mod podge, for the glitter to stiglitterYou don't need to seal the glitter with aglitter additional, but you can if you prefer. The top coat of epoxy is sufficient as a sealer, which makes adding an extra coat of sealer before epoxy optional.
Happy crafting!

![Read more about the article How To Use Epoxy Resin For Crafts [7 Great Ideas]](https://craftsbliss.com/wp-content/uploads/2021/05/A-breathtaking-and-stunning-looking-wooden-chestnut-table-with-an-epoxy-resin-design-in-the-middle-500x333.jpg)